Fun New Page

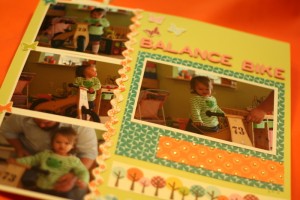
Ok, so I actually did this page a few weeks ago, but nothing I made tonight was *fabulous* enough to go on the blog so you get this one instead.  Don’t judge me.  🙂

This page was so much fun! I used this awesome line by Echo Park.  Dude.  Where have they been all of my life.  I am loving all of their lines.


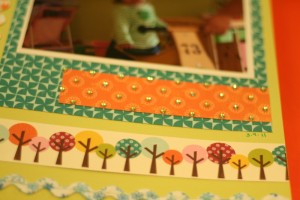
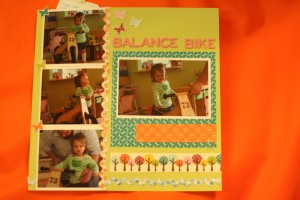
I matted the focal point photo and then added this extra strip of paper.  I added a bit of bling to it.  🙂


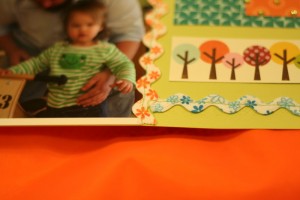
When I had my photos printed, I had them add a white border which I love.  It does pose a challenge when I want to crop a photo though.  I stitched on some rick rack to hide the lack of a white border.  Then I added some horizontal rick rack to help balance the page.  That and I have an ongoing love affair with rick rack.


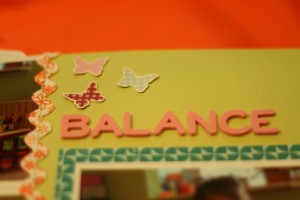
While I loved the butterfly paper, the butterflies overlap in such a way that you cannot cut strips of them.  It was really making me angry until I decided to just cut them out individually.  I added a tiny bit of glue in the middle only so that their wings pop up a bit and they look more three dimensional.

Here’s the finished page!  I’m actually really pleased with the way it turned out.


Kate’s Apron

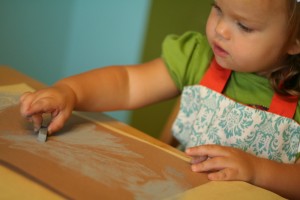
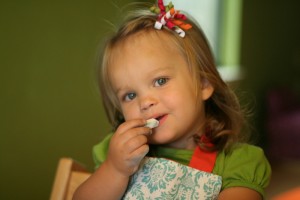
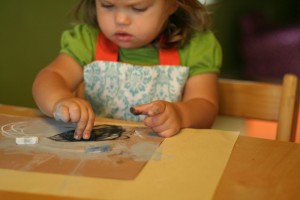
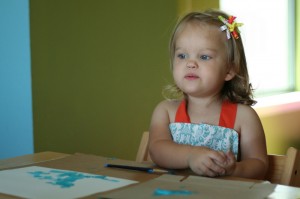
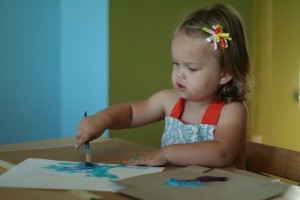
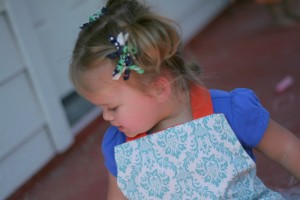
We had our second Toddler Art Group today and it was awesome!  Some of you may remember last time when Kate had a massive meltdown when I tried to make her paint in only a diaper.  She was indignant at the thought of appearing in public in only a diaper.  An apron seemed to be the answer to our problems with the added bonus of being adorable.

As usual, I had no pattern to work off of, but I figured how hard could an apron be, really?  Famous last words.  I loosely based it on this pattern, by which I mean I looked at it and thought hmm… I can do that.  Of course I didn’t print off the pattern or read any of the instructions because patterns have a tendency to frustrate and confuse me.

I thought about making the apron single sided, but then I realized that I didn’t quite know how to hem on a curve.  In the end, I decided that it would be easier to just make it double sided.  I stitched the front and the back together and looked at my apron pleased as punch.  Then I realized that I hadn’t added the straps yet.  Grr..  Off to find the seam ripper which of course has been sucked into the black hole that is our office.  I ripped out the neck with some scissors and then had the brilliant idea to add a pocket.  Kate loves pockets.

Of course, I was much too lazy to rip out the whole apron by hand so I decided to try and stich on the pocket through the hole in the neck.  Let’s just say epic fail.  I threw the apron against the wall and had a temper tantrum fit to rival Kate at her worst.  A few days later, I went over to my Mimi’s house and she gifted me with a seam ripper.  Bless her, she even ripped out the pocket for me.  There was much more ripping involved later, but in the end I was successful.

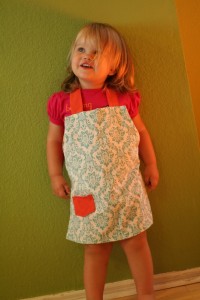
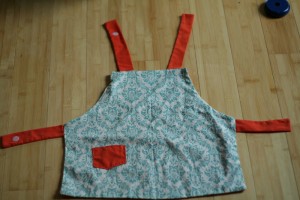
I made it big on purpose so Kate could wear it for a while.

Here it is laid out flat so you can see the shape in case you want to make one for your own little one.  Note: I recommend remembering to stitch the pocket and straps on before sewing the front to the back.  You know, unless you *love* seam ripping as much as I clearly do.

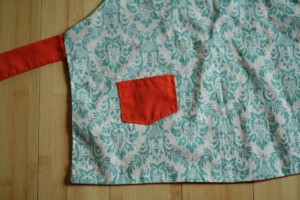
Here’s the pocket.  As predicted Kate is a huge fan.

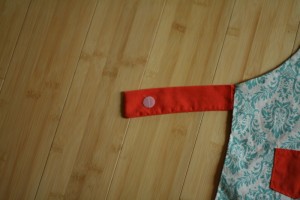
I used some of my leftover velcro for the neck strap and the waist strap.  The original pattern had the neck strap as one piece (I think?) that the kids could slip over their heads.  Michael really wanted it to have velcro though so that if the strap got caught it wouldn’t choke Kate.  Made sense to me.  The kid’s middle name most certainly isn’t Grace.  Or Cautious.

In the end, I must say that sewing for kids is fun!  Plus, if you screw up, you haven’t wasted 2 yards of fabric.  I made Kate’s apron from scraps I had laying around.

Felt Cake

A friend of mine is going to a baby shower later this month and the mom-to-be is a pastry chef.  How exciting!  She asked me to make her a felt cake where the future kid could decorate it.  A challenge, I love it.  I poked around on Etsy to get some ideas.  It took a bit of trial and error, but I did finally figure out how to make the icing.
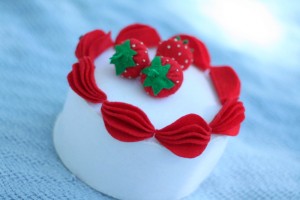
I was really happy with the final product!  Here it is in the strawberry version.  Baby-to-be is a boy so I went with red icing instead of pink.
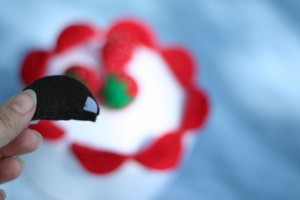
I sewed velcro onto the back of the individual pieces of icing so that they could be changed out.  I remember vividly standing in the velcro section of Hobby Lobby trying to decide between adhesive backed or sew on velcro.  It didn’t seem like much of a big deal at the time so I went with the adhesive backed even though I planned to sew it on.  What’s the harm in a bit of extra adhesive, I thought?  What’s the harm indeed.  It just gunked up my needle and made a few holes in my thumb.  Never again. Of course I was way too cheap and lazy to go back and buy some more.
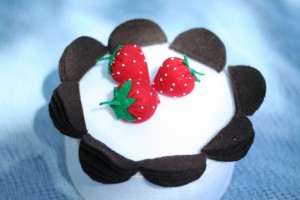
Here’s the cake switched over to the chocolate icing.  The pointy velcro half will stick to felt all on it’s own, but I ended up sewing the soft velcro half onto the cake anyway so that the cake wouldn’t get torn up over time.
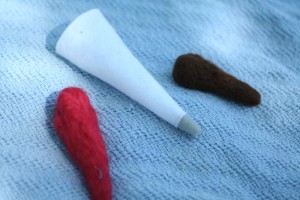
The night before I was to hand over the finished cake I got the brilliant idea to make a piping bag.  These things always sound like a good idea in my head…  I figured out the bag without much trouble, it’s not much different shape wise from a carrot after all, but the icing proved a challenge.  I wanted future-tot to be able to change the colors of the icing, but I was stymied on how to make that happen.  I finally decided to try out some hand felting with wool roving.  Oh dear.  Nothing like trying to learn a new skill in the 11th hour.  I ended up with a few more holes in my finger before throwing in the towel.  Maybe it’s time for a thimble?
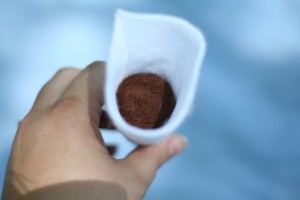
Do you see the brown icing?  Yeah, when it’s in the bag it’s not so bad.  In fact, it looks a lot like icing.  The problem is when you go to change the colors…
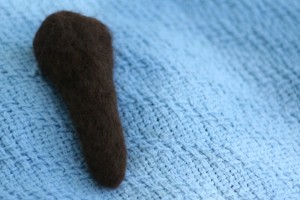
Um, yeah.  It looks like poop and I mean that quite literally.  It actually looks worse in person.  I know you’re thinking that there’s no way that it can look any worse.  Let me assure you that it does.
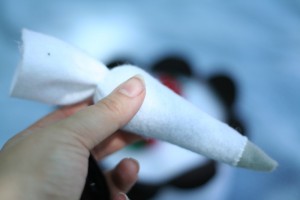
In the end, I showed my friend the options and while she liked the concept of changing the icing, she agreed that it looked like poop.  I ended up just stitching up the piping bag.  Much better.
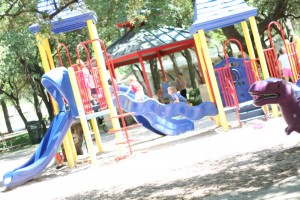
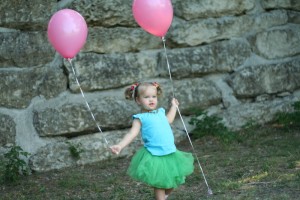
I wanted to take some more pictures, but as those of you who know me can attest, I am a chronic procrastinator.  I gave my friend the cake yesterday at our weekly playgroup so I took some pictures while the kids were climbing on the death trap playscape.  There’s Kate in the blue.  She’s fearless.
Busy Busy Busy!

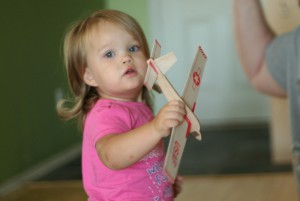
I am up to my ears in projects that are *almost* finished, but sadly have none finished by today.  I’m on a bit of a deadline so I’m going to leave you with with these 2 adorable pictures of Kate playing with a model airplane and get back to work.  I should have something really awesome to share with you on friday.  At least I hope you think it’s awesome.  ::fingers crossed::

Backyard Regatta

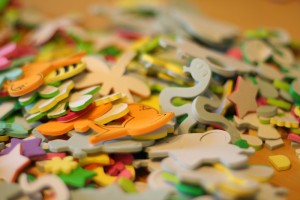
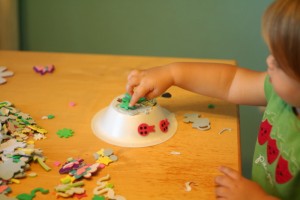
Michael had the brilliant idea to have a backyard regatta a few weeks ago.  We gave Kate and her friends some foam stickers and some styrofoam bowls that have been sitting in our pantry for years.  Literally.  We stopped using paper plates or bowls in an effort to be more green several years ago.  Throwing them away seemed to totally defeat the purpose so they’ve been cluttering up our pantry ever since.  First order of business was to decorate the boats.

Kate thought that the bottom of the boat would be the best place to stack up some stickers.  She’s a fan of layering.

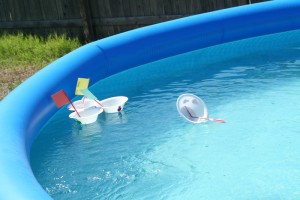
Michael and I jury rigged some sails out of straws, index cards, and scotch tape.  Durable they were not, but it worked for a few races.

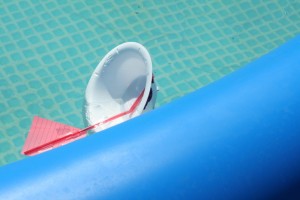
We launched the boats in our above ground pool.  I thought that the overabundance of stickers on the bottom of Kate’s boat would put her at a disadvantage, but it actually worked in her favor.  Her boat capsized and then the boat itself acted as a sail.

It probably didn’t hurt that her boat crossed paths with the output of our filter.  🙂

And the winner is the USS Raptor!

I imagine this would also be a lot of fun in a kiddie pool.  Maybe even more fun because the kids would be able to get closer to the boats.  I imagine there are more bowl boats in our future.  After all, we still have a ton of styrofoam bowls in our pantry.

30 Sucks!

I saw this on Pinterest and I’ve been dying for an excuse to make it.  Well, wouldn’t you know it, we just had a friend turn 30 just last week.  🙂

(You’ll have to excuse the less than stellar photo.  I am such a procrastinator that I finished this the day of the party and then we had to stop for the suckers on the way.)

This was way more fun that my usual go to gift which is a bottle of wine.  I just wrapped a box up like a present using some of my patterned paper and added some ribbon around the top.  I stitched around the edge of the “sign” and the letters are little stickers that I traced over with dimensional adhesive.  I added a popsicle stick.  Then I put some floral foam in the bottom and stuck in my sign and 30 suckers.  It was a big hit!

Final Minibook Post

For this minibook at least.  I’m sure there will be more minibooks to come in the future.  🙂

I take a ton of pictures.  Seriously, a ton.  So it’s hard for me to narrow them down for a project like this.  Even after ruthless culling, I still wanted to include 7 photos of Kate and Michael playing on the basketball court deck.  Instead of including 4 full 6×6 pages which I would then feel compelled to embellish, I adhered 3 sets of the photos back to back and included them as stand alone pages.

It was at this point that I realized that it would be much better to have 3 rings instead of 2.  I wanted each picture to go through (at least) 2 rings so it wasn’t floppy, but I also wanted them spread apart so that you could see the next set of pictures peeking through.  Mine are spaced as wide as they could be given the placement of the rings, but ideally I would have had them justified at the top and bottom.  Next time.

Once the book was assembled, I noticed that the photo only pages were kind of sticking so I took the book apart and added some quick stitching around the edges.  The texture was an added bonus.  You can see on the next page that I added some more film strip ribbon and a few more rubbons from my stash.

This project was so much fun!  I actually completed it without buying anything which is a minor miracle for me.  To be fair, I could probably open up a store with the amount of scrapbooking products that I have collected over the years.  What can I say?  Unlike clothes, paper is always the right size.  🙂

More Cruise Minibook

I’m back with the second installment of the minibook saga.  🙂  Here’s the second page.

I lined this photo up with the photo on the other side of the transparency so that the adhesive would be covered up.  It wasn’t a great photo, but this girl was amazing and I wanted to include a pic so I could journal about it.  I found some clear envelopes that I bought 12 million years ago and I added one on top of the photo so I could put our sea passes in it.  If you take out the sea passes then you can clearly see the photo.

I added a strip of green cardstock which I journaled on and then I threw on a prima flower and some bling.

On the facing page, I started with the freaking adorable picture of Kate.  In case you can’t tell, she was a huge fan of the buffet.

This is also the first page that I used the Tim Holtz film strip ribbon on.  I *love* it.  I printed out a ton of pictures when I was planning on scrapping these pics as 12×12 pages and obviously I couldn’t fit them all in a minibook.  Since they were already printed I happened to have index prints of them which is what I used in the filmstrip ribbon.

I ran the ribbon through my xyron machine and then attached the tiny index prints to the back.  Then I stapled the whole thing to the page.  Love, love, love.

I think I’ll do one more post about the book on Wednesday and then move on.  I have new stuff I’ve been working on.  🙂

Cruise Mini Book Part 1

I haven’t had very many substantial blog posts in the past week or so because I’ve been working on this minibook.  I finally finished it and I can’t wait to share!

I <3 minibooks.  I had a blast making my December Daily (here’s Ali’s) and have been looking for an excuse to do another one, so when I recently looked at my to-be-scrapped list and saw that it had 7 or 8 2 page layouts from our recent family cruise, I decided that it was a minibook waiting to happen.  I was also dying to use my new Tim Holtz filmstrip ribbon tape and this project was the perfect excuse.

I’m going to break this down into 2 posts several posts in an effort to avoid making this post 12 pages long.  🙂

I found some plastic sheet thing in our office that, according to Michael, came out of a picture frame.  Score.  I was going to order an acrylic album, but I’m cheap and impatient so this was way better.  I used my trimmer to cut it and then punched holes in it with my crop-a-dile.  Side note: I am in love with my crop-a-dile.  I used an old acrylic album as a template to decide where to place the holes, but if I had to do it over I would have put 3 holes in the album instead of 2.  I might add some stuff to it later, but for now I’m leaving it blank.

On the right you can see the first page.  I used a Hambly transparency that I bought forever ago.  It was so nice and thick that it worked great as a stand alone page.  I trimmed one of my 4×6 prints down a bit and added some ric rack so the side of the of the photo with staples.  Then I got all fancy and put some stickles on the staples.  Yum…  glitter.

A million years ago, I was on a design team at a local scrapbook store which is now out of business.  Basically, I got products once a month to make a layout for them to display in the store.  One month they gave me some cruise rubbons which I had to get pretty creative with as I had never been on a cruise.  Clearly my pack rat nature has paid off.  I actually found these and added one to this page.

You can see green showing through from the back of the page and that was intentional.  One of the challenges (and a lot of the fun) of working with transparencies is that they are, well, transparent.  To keep the adhesive from showing through on the green strip of cardstock, I used my Xyron machine.

Hmm…  I was hoping to get a few more pages included in this blog post, but it’s already pretty long.  I’ll post some more on Monday.  I would love to know what you guys think!


New Skirt!

Well, it’s not so new anymore, but here’s the most recent one.  🙂

I added some elastic to this one and I love it.  It keeps it from falling off of my tush.  🙂  It was super easy; I just made the top hem a bit bigger and suddenly it was a pocket for elastic.  I bought some new fabric and I have grand plans for another skirt soon.  This time I’m going to try to figure out how to add some pockets!