October Daily Part 1

So, I realize that I already blogged some layouts from my October Daily, but I finally finished everything including the covers and took new pictures.  I think it’s neat to see the album as a whole (especially seeing how the different page sizes/ transparencies work) so I’m posting the whole shebang again.  🙂  The way I structured it is that each day gets one page front and back and then I add pages as needed.  It’s different because the 2 pages are not a traditional spread, but I like it this way.  It gives me more freedom to tell the stories I want to tell.

This post will be heavy on the pictures and light on the text so please leave comments if you want more info on products or techniques!  (No seriously, please post comments.  I <3 them.)

Front cover.  I wanted to use acrylic pages for the covers, but I couldn’t find any!  So I used the chipboard from the back of the paper pack (and stole the chipboard from the back of my friend’s paper pack) to make some.  The lovely Kelly from Happy Soul Photography took this awesome picture of Kate at a fundraiser.  <3

Day 1.  Pumpkin counting work.

Days 1/2. Mailing invitations.

Days 2/3.  Cooking and gymnastics.

Days 3/4.  Day 4 is on a transparency so you can see day 5 peeking through.

Day 4/5.  Playing in the back yard.

Day 5.  I had a bunch of cute pictures from the 5th so I added an additional smaller page.  You can see day 6 peeking through.

Day 5/6.  Pumpkin patch!

Day 6.  Obviously I needed an extra page for the 6th.  🙂

Day 6/7.  In the past (December Dailies) I’ve made sure that each day has at least 1 full 6×6 page.  I decided that didn’t matter anymore.  I like the flexibility  especially if I’m using a hipstamatic print from my phone which prints 4×4.

Day 7/8.  Speaking of hipstamatic, I loved mixing phone pics and “real camera” pics in this project!  Makes it much easier to keep up with and gives the pages more variety.

Day 8/9. Family walk.

Day 9/10.  Decorations.

Day 10/11.  I love layering pages.  You can see day 12 peeking through and since it’s a transparency you can see a bit of day 13.  <3

Day 11/12.  Kate and her bestie Will decorated cookies on the 12th.  His mama, the fantastically talented Libby of Libby Ann Photography, took this picture of them.  ::swoon::  How cute are they?!?

I’ll post part 2 on Friday and part 3 on Monday so be sure to check back for those.  🙂
 

Turkey Button Activity

You guys get a bonus post today!  Last night, I couldn’t sleep because I had all of these awesome Thanksgiving crafty projects running through my head.  (That’s what I get for looking at Pinterest after work.)  What’s a girl to do except bust out the felt and go with it?  🙂

I finished up his little face this morning.  Kate loves it!  You don’t get a picture tutorial because there’s only so much I can fix in post when I’m crafting in the dark at 1AM.  That and operating the camera in a Benadryl fog seemed like a bad idea at the time.  lol.  It was super simple to make though.  I made a template out of some product packaging and cut out 6 feathers.  Then I traced a plate for the body and cut it out.  I found some old buttons in my scrapping stash and stitched them on and then cut little slits in the feathers for button holes.

I just freehanded the body and feet.  I ran a sharpie along the edge of the head/ neck to outline it since I only had 1 color of brown felt.  This project probably took about an hour and a half all told and it was super simple.  Inspiration comes from My Montessori Journey by way of Pink and Green Mama.

ETA: Y’all, another blog featured this post! Squee!!! Go check it out.

Leaf Letters

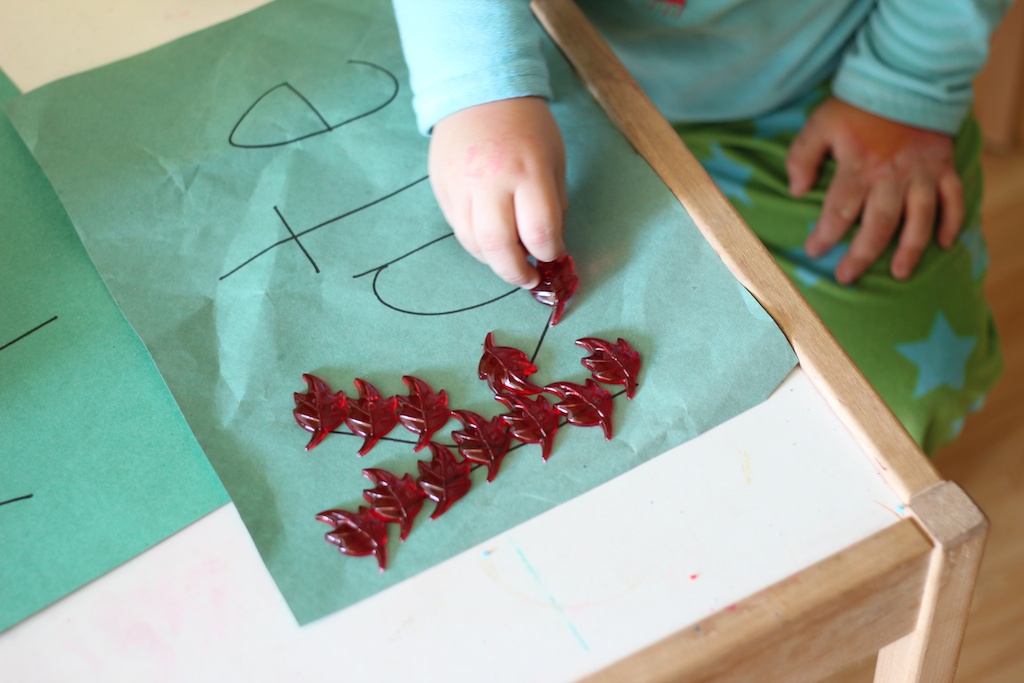
I found these great leaves in the Dollar Spot at Target.  They’re “table scatter” much the same as the ghosts and pumpkins that I made this counting work with earlier.

I had originally intended to make another math activity, but it didn’t go over quite so well.  Plan B!  I wrote her name in sharpie and had her place the leaves along the lines.  She loved it, and has chosen to work on this several more times.

Emily enjoyed this too.  She didn’t spell out her whole name, but she enjoyed placing the leaves all the same.

October Afternoon Fun

I had a lot of fun putting this page together.

The papers are pulled from several different October Afternoon lines.  I was about halfway done when I realized that I had used red, orange, yellow, and green.  Being a sucker for all thing rainbow, I looked in vain for some blue or purple paper.  (October Afternoon is cream based not white based so, while it looks fantastic mixed and matched with other pieces from its own collections, it’s not great to mix with other, often white based, patterns.)  (Holy run-on sentence Batman!  Not to mention several crimes against the comma!)  Never fear, I found some washi tape.

I quite like the scalloped edge on the yellow piece of paper.  I made it using the knock-outs system.  More on that later.

I traced around the paper with a brown marker, added some thickers and some trim and called it good.  Simple and quick, but I like it.

Fun Healthy Snack

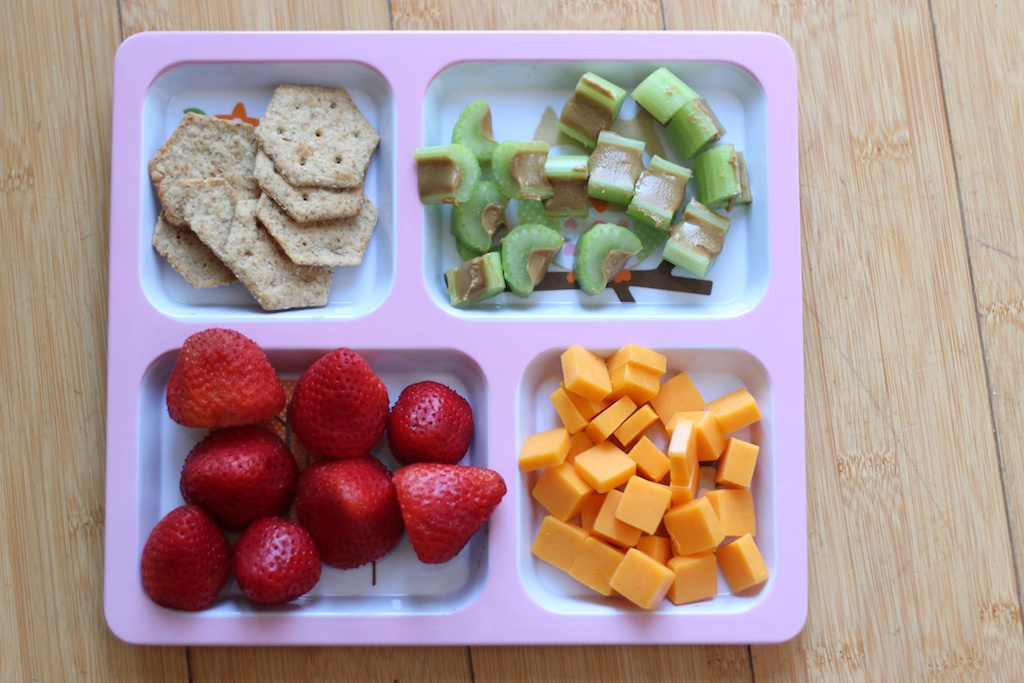
Those of you who know me know that I am a disaster in the kitchen, so easy snacks and lunches are a must around here.  Here’s an fun healthy snack I made for the girls.

Whole grain crackers, celery bites made with sun butter, cut up cheese sticks and strawberries.  The celery bites have been a surprisingly big hit.  The trick is to cut them up into bite sized bits so that there’s no stringiness to the celery.

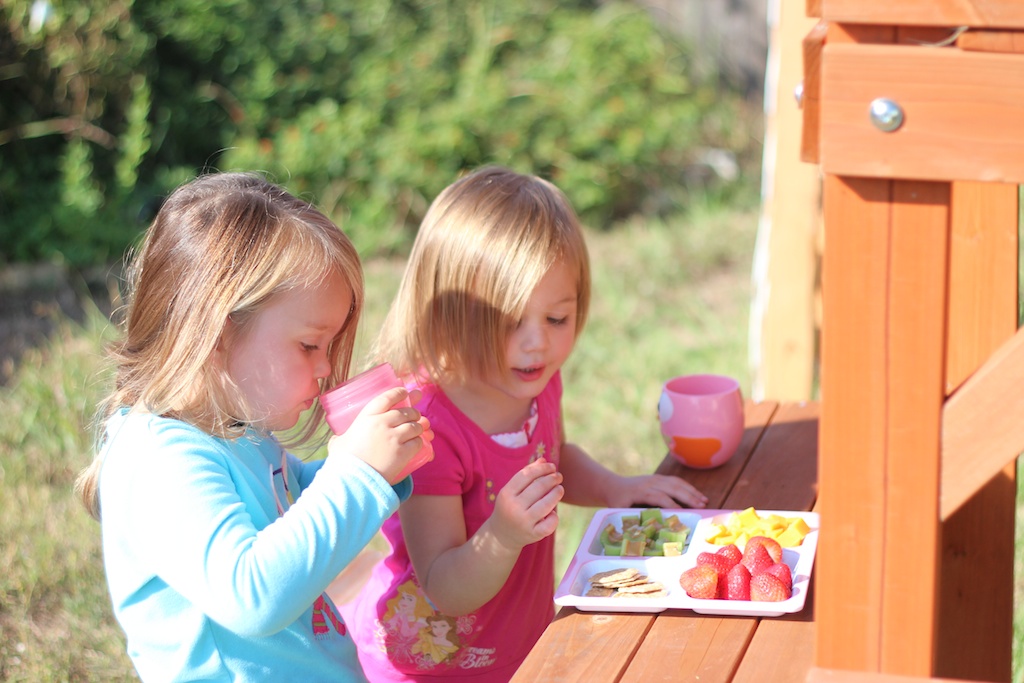
And here they are enjoying their snack a fresco.  🙂

Turkey Clothes Pin Color Match

I came across this gem and knew I had to make it for Kate because how cute is it!  I started by painting some clothes pins to be the feathers.

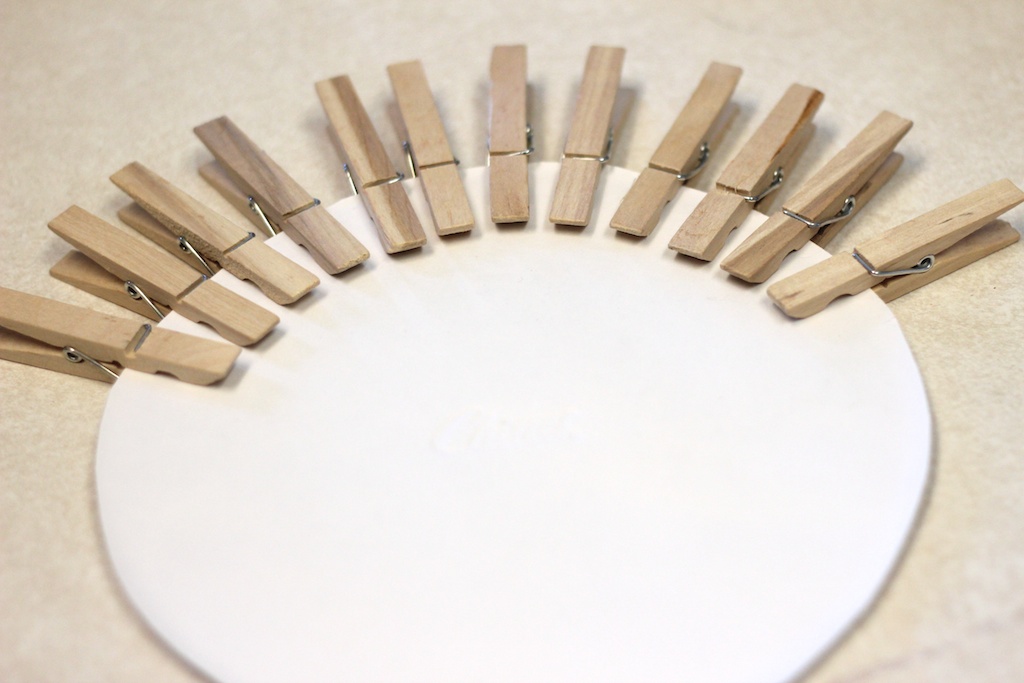
I cut the edge off of a paper plate to be the base of the turkey and spaced the clothes pins around to see how many I would need it.  Looks like 12.

Then I painted them red, orange and yellow.

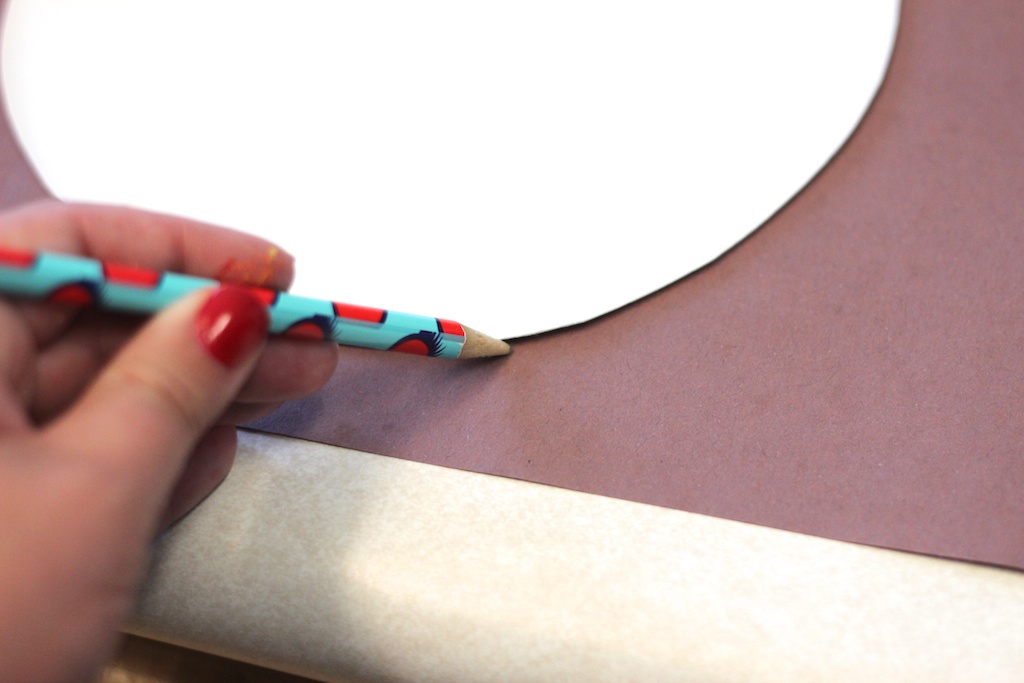
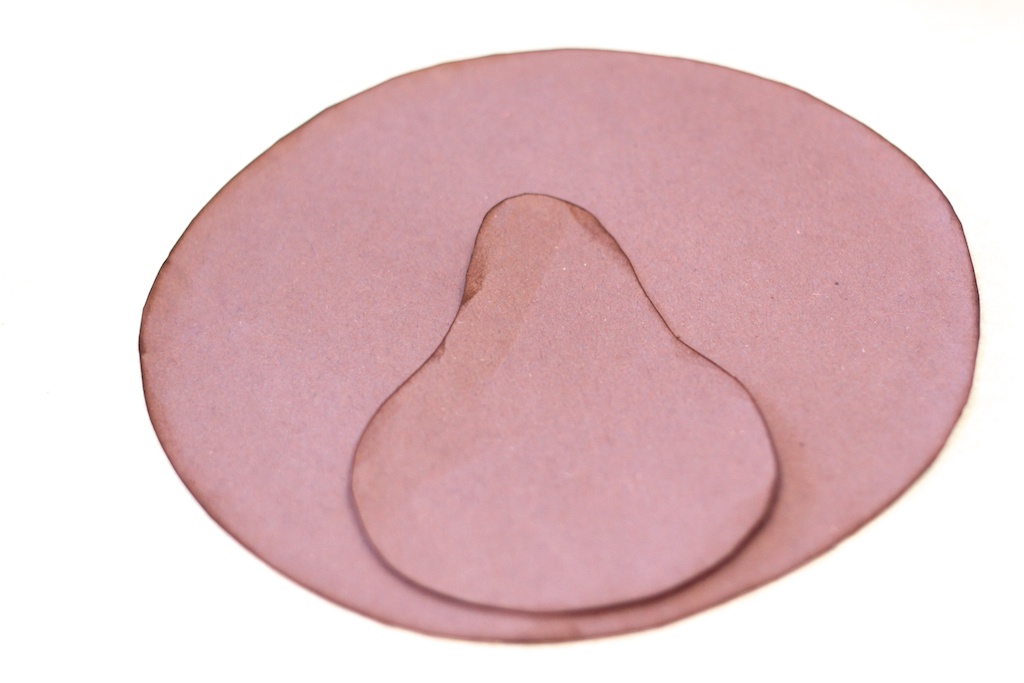
I used the plate as a stencil to make a circle out of brown construction paper.

And I modeled the rest of the turkey after this one.  I inked up the edges so that you could see them.

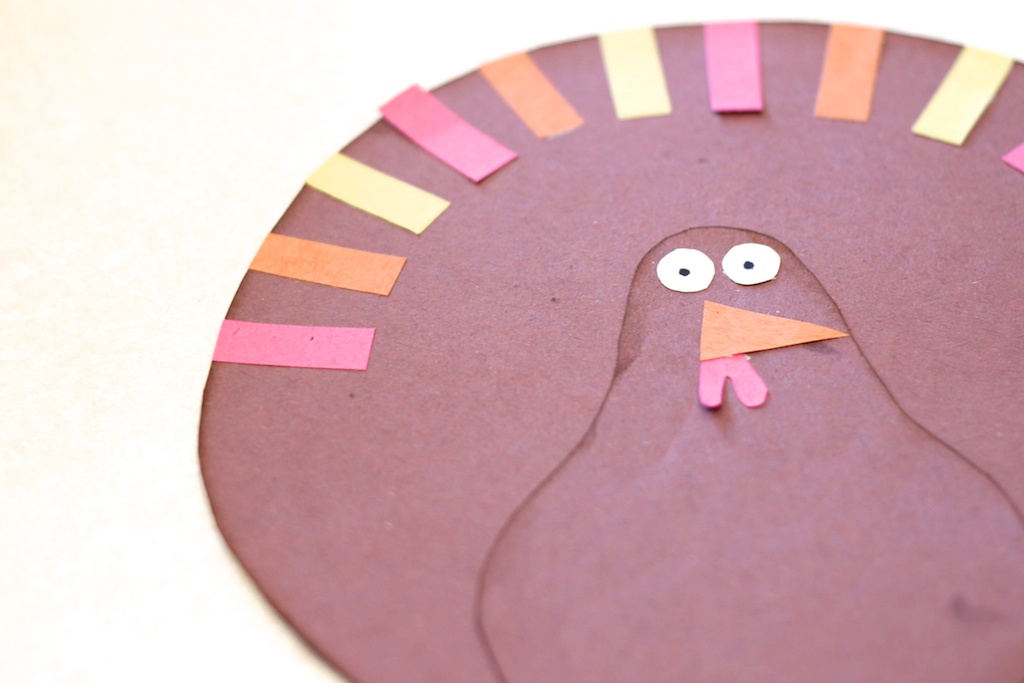
Then I gave it a face.

I cut some strips of paper in red, orange and yellow and glued them around the edge to show where the clothes pins should go.

At this point, I realized that I needed to laminate it so it didn’t fall apart, but since I’m not a teacher anymore I don’t have access to a laminating machine.  Mod Podge to the rescue!

I give this one 2 thumbs up.  Kate was a huge fan.  🙂


Halloween Playgroup

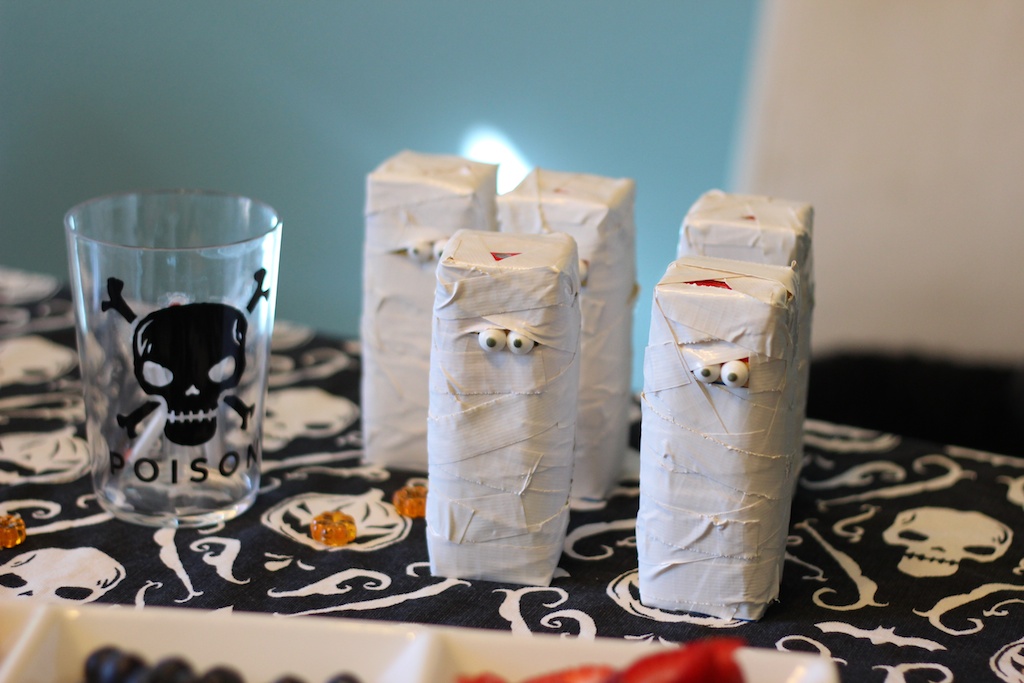
I decided to host a little Halloween party for Kate’s playgroup, largely because I saw these mummy milk boxes on Pinterest and decided that I *had* to make them.  (And really, how could I resist?)

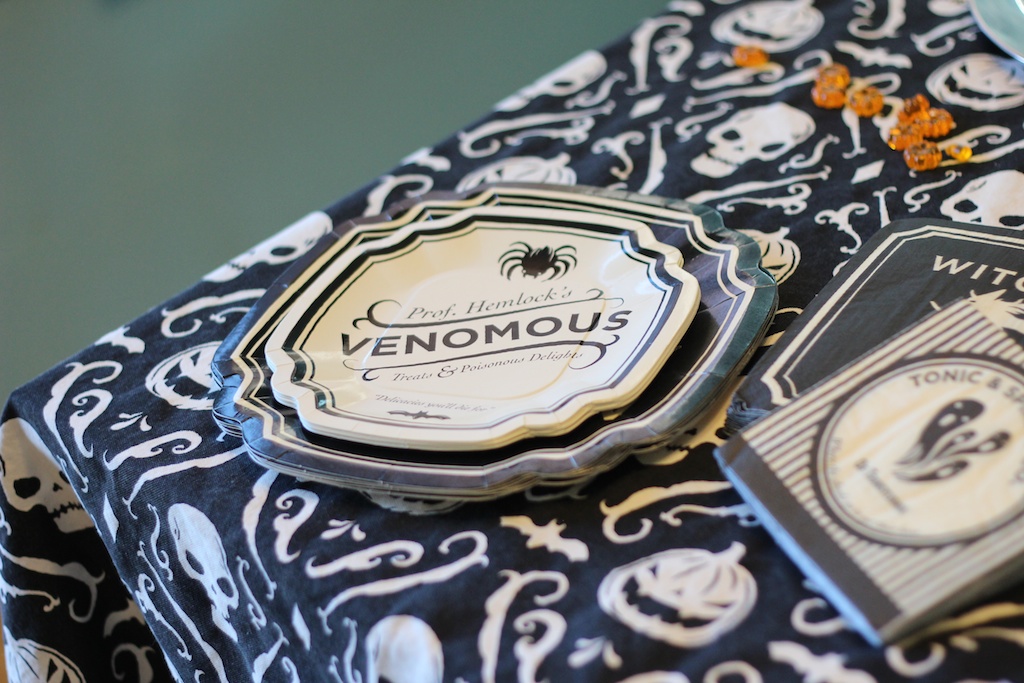
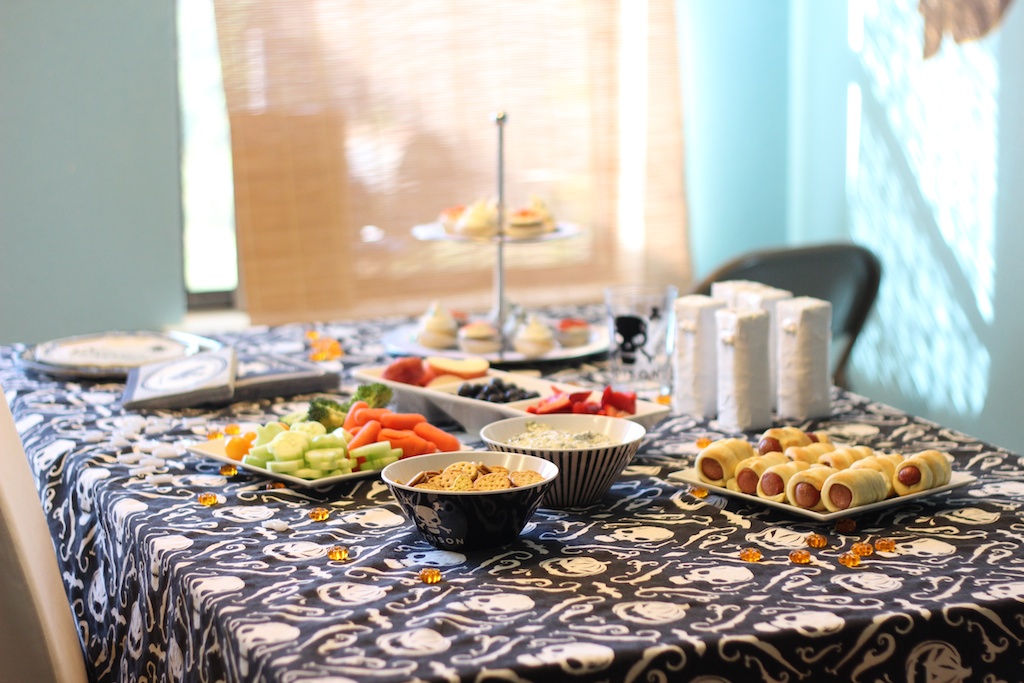
Here’s our table all ready for our guests.  The menu included mummy hot dogs, fruit, crackers, spinach dip and veggies.

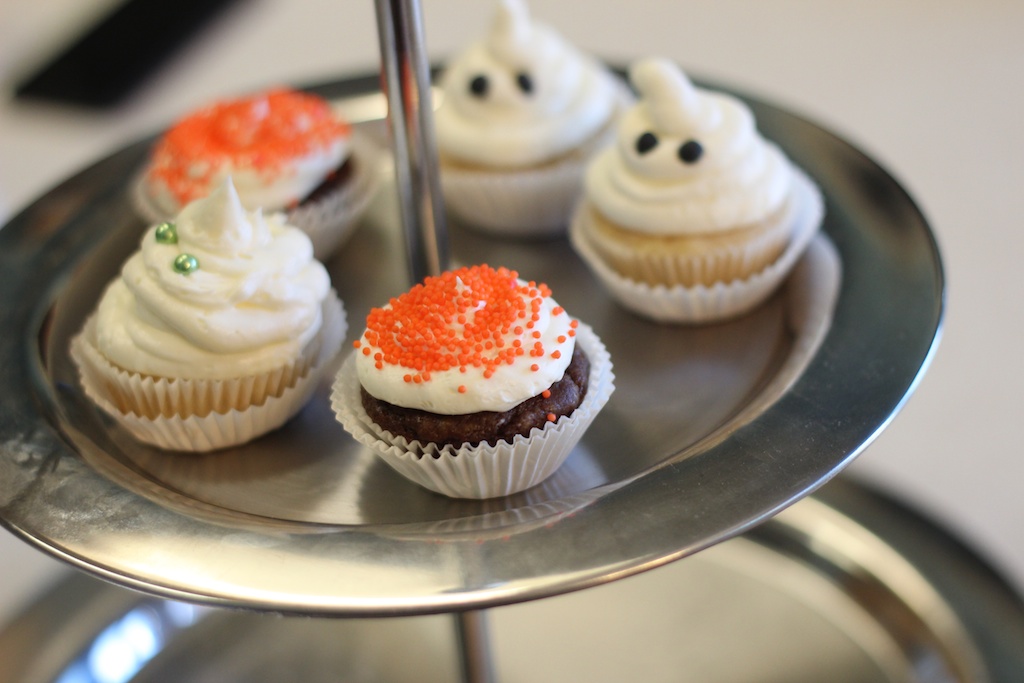
Oh, and cupcakes!  My friend started an awesome bakery and she made these adorable cupcakes for us.

They’re 100% organic and egg and nut free.  (We have some food allergies to work around.)  Now, I’ve gotten egg free cupcakes before and they were kind of gross.  These however were divine!  She makes gorgeous cakes too.

They were perfect with our milk boxes.

The table cloth, plates, bowls and napkins were all from Target.  I <3 Target.

I thought about planning elaborate games for the kids to do, but mostly they wanted to run around outside.  Works for me!  We had a blast and it was great to see all of our friends in their costumes.


Pumpkin Cucumbers AKA Kate eats vegetables!

Kate eats a decent variety of foods considering she’s a preschooler, but veggies are still a bit of a sticking point.  Enter the mini cookie cutters.  Kate loves to use the cookie cutters and cucumbers are the perfect firmness for her.

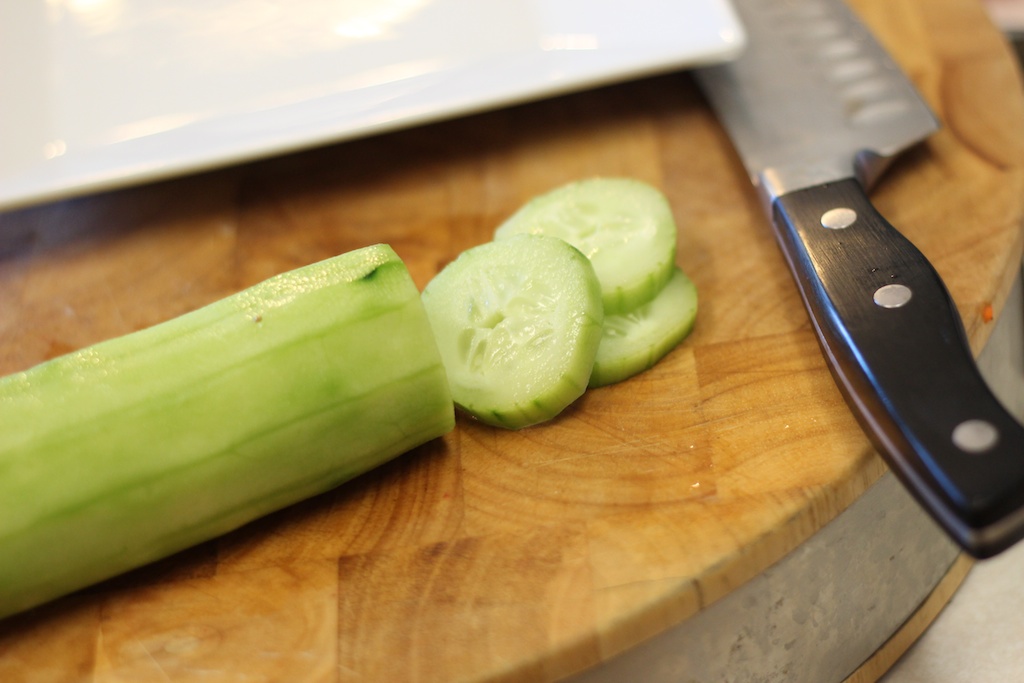
First, peel and slice your cucumbers.  I slice them maybe 1/4 of an inch thick?  Maybe a touch thinner?  Too thin and they don’t hold their shape well.

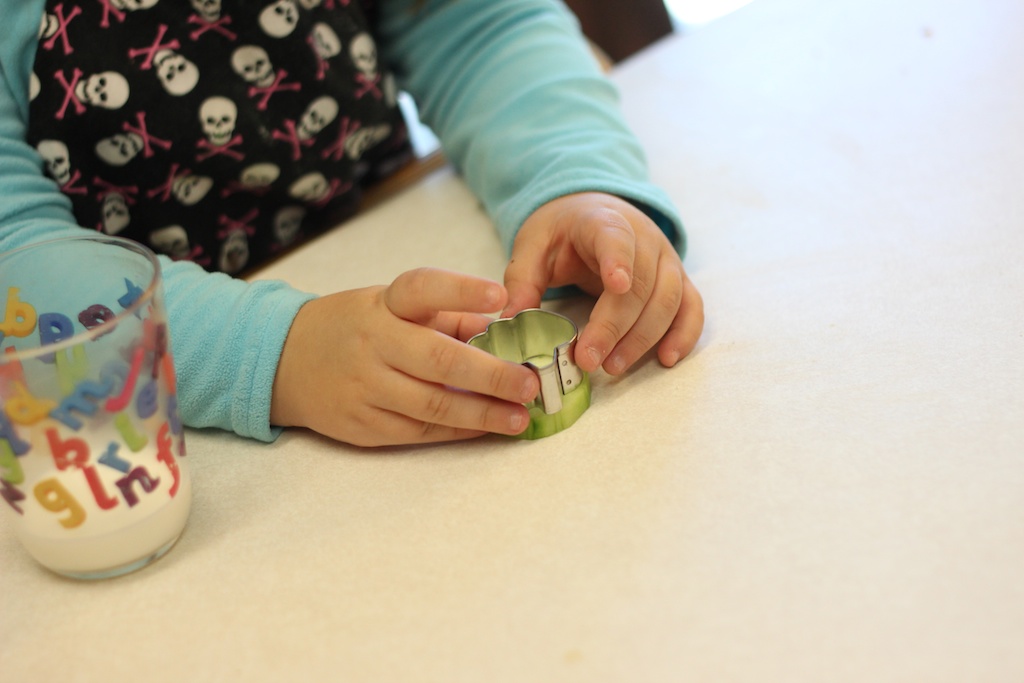
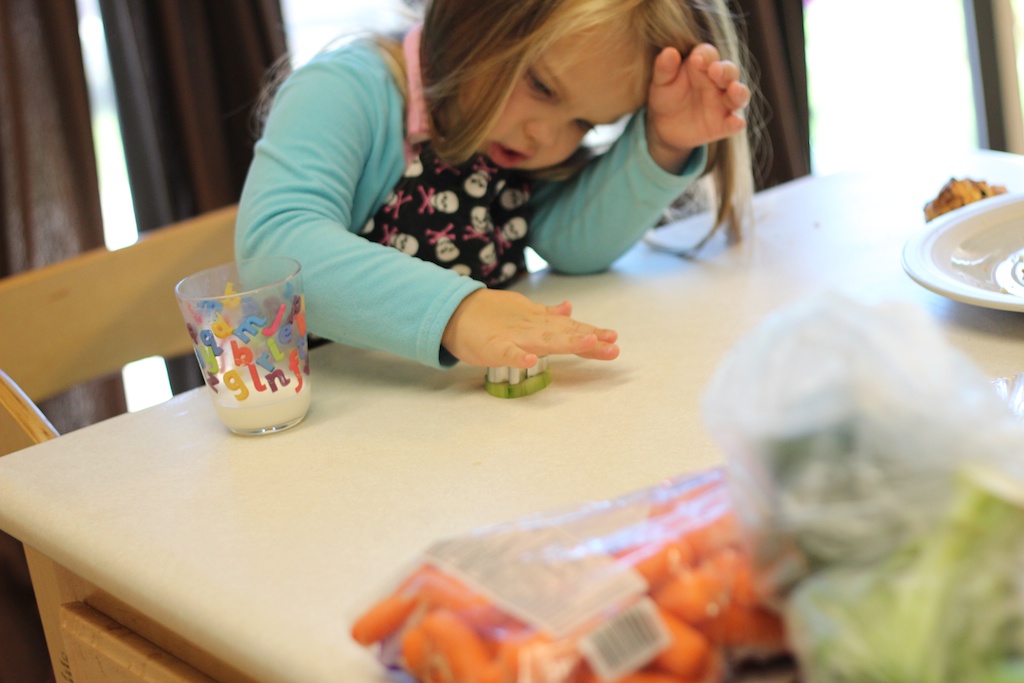
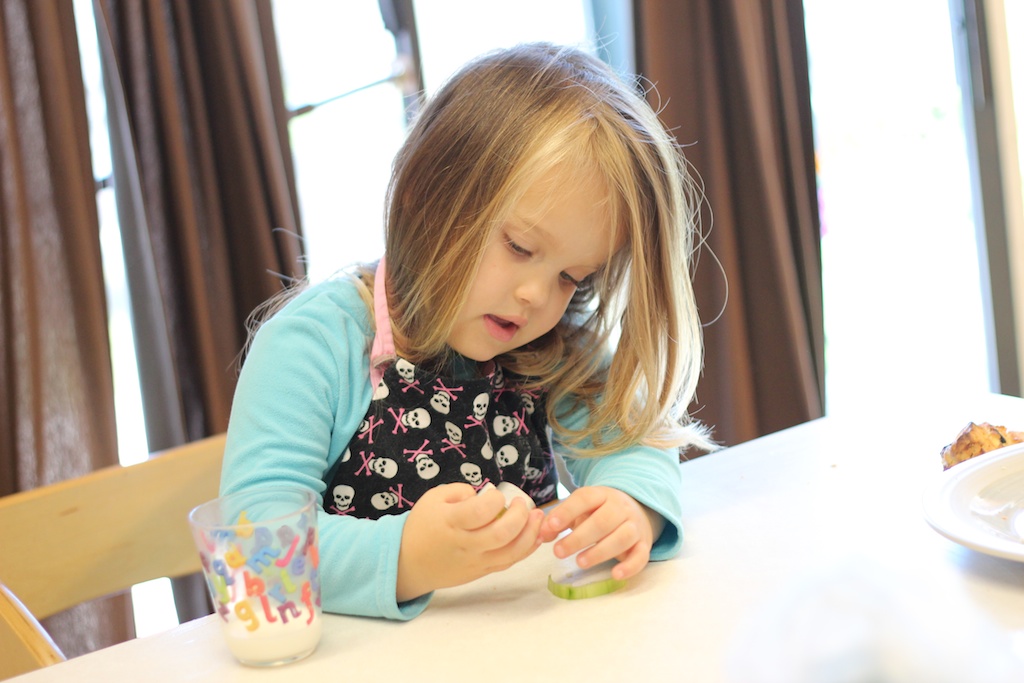
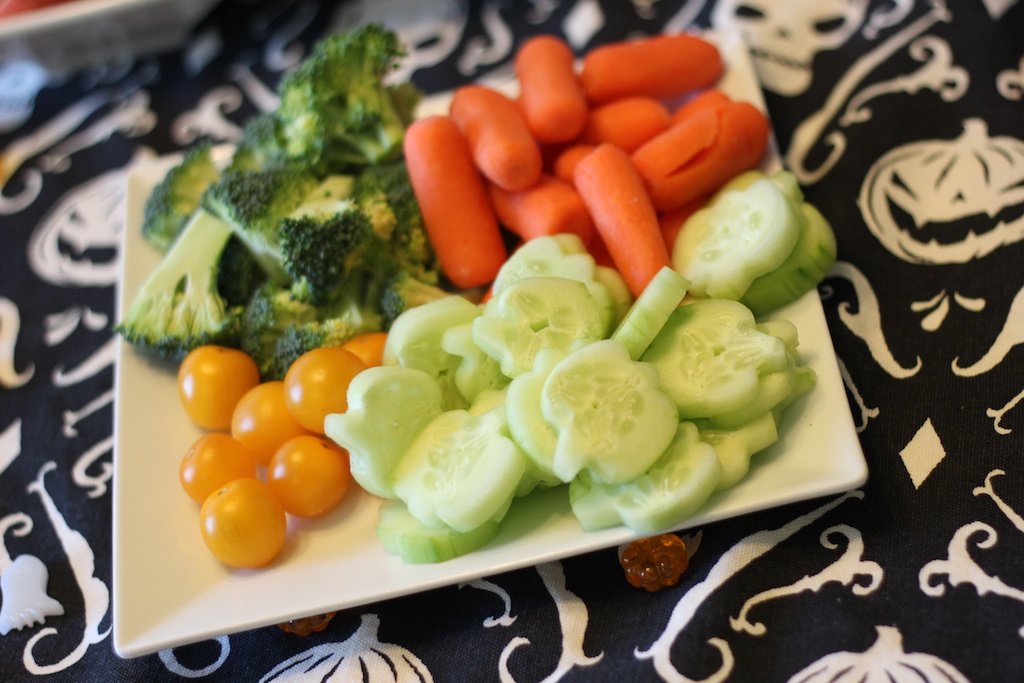
Then I give Kate a stack of slices and she punches out the pumpkins with the mini cookie cutter.

It’s nice because it took her a bit to punch all the way through which kept her occupied while I got everything else ready for the party.

And the veggie eating?  Well, Kate is more likely to eat cucumbers when they’re fun shapes, but even more than that I make her eat the leftover bits before she can punch out a new pumpkin.  Not in a militant way (at all, we avoid battles over food at our house) but she can’t punch out a new pumpin until she’s eaten the scraps from the last one.  Sometimes that means that she only punches out one pumpkin and that’s ok.  I’ll punch the rest (for her lunch or whatever) and put the scraps on salads.  But today we were punching a whole cucumber for our little party and she ate all of the scraps!  Honestly, I was amazed that she ate all of that.  I even gave her a pass after she’d eaten about half of them and told her that she could just keep punching if she wasn’t hungry, but she assured me that she wanted to eat more.  🙂
And here’s our veggie tray.  It was nice to be able to “cook” with Kate, but have her working on something independently so I could get everything else ready.

Echo Park

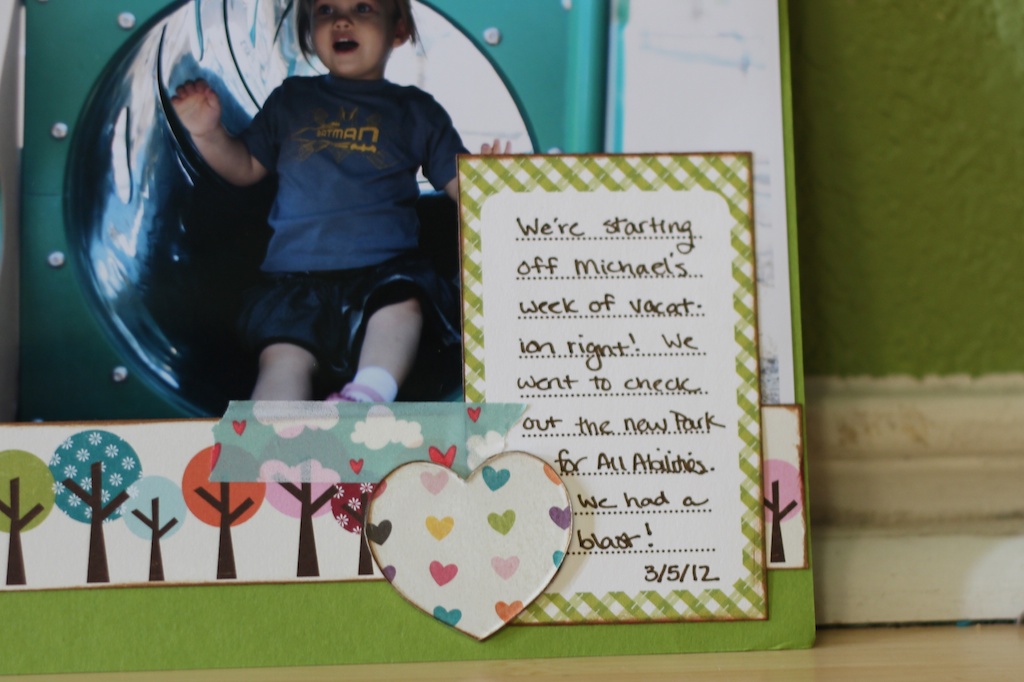
Here’s a fun little page I made with the new Echo Park line, some twine and some washi tape.

I’m always perplexed with what to do with twine. I love the look of it, but how to attach it… This time I literally wrapped it around the paper and then secured the ends with some tape on the back. Easy peasy.

Then I just tied on a few strips to give it some dimension. This is a super simple page, but I like it. It took me less than an hour to finish while Kate was at preschool.

Acrylic Hearts

I’ve had these acrylic hearts for ages and I recently unearthed them while cleaning my desk.

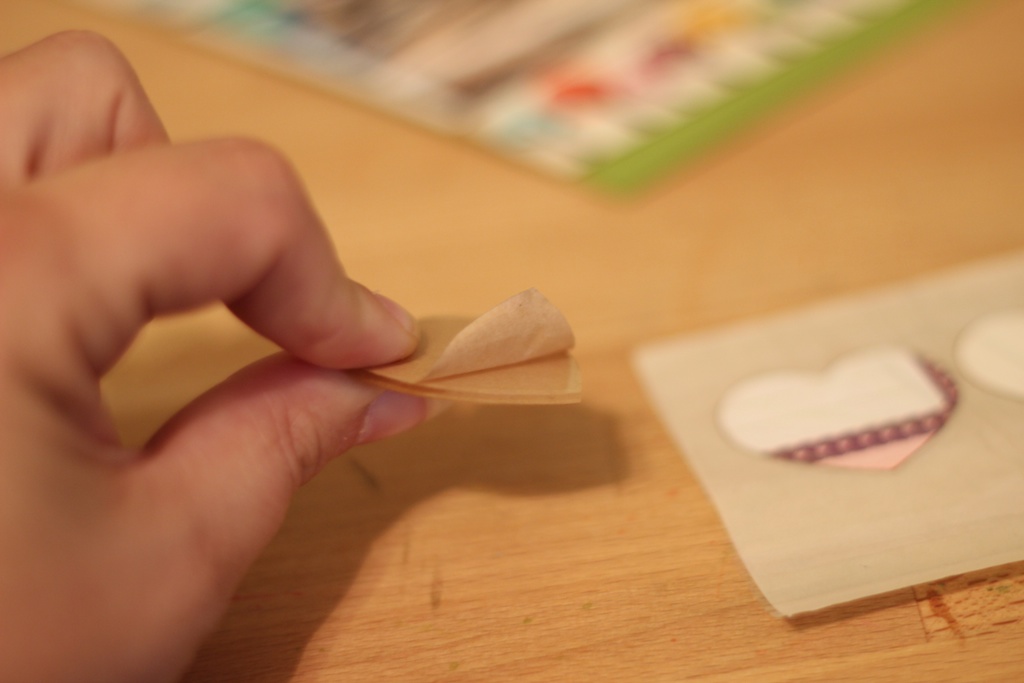
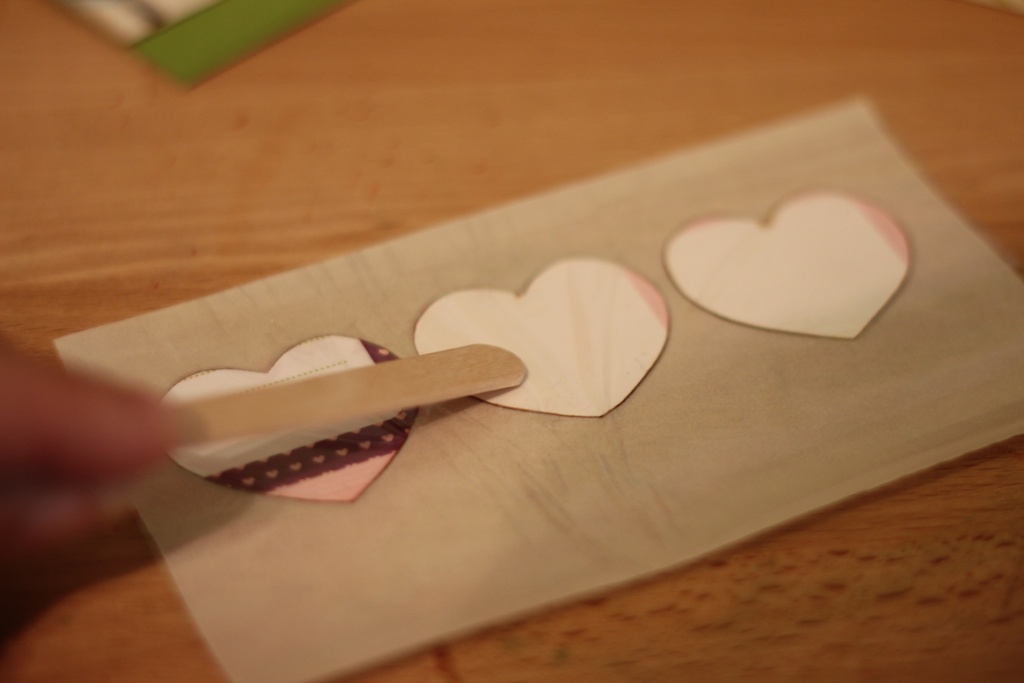
I peeled the back off and used it to trace the shapes onto some patterned paper.

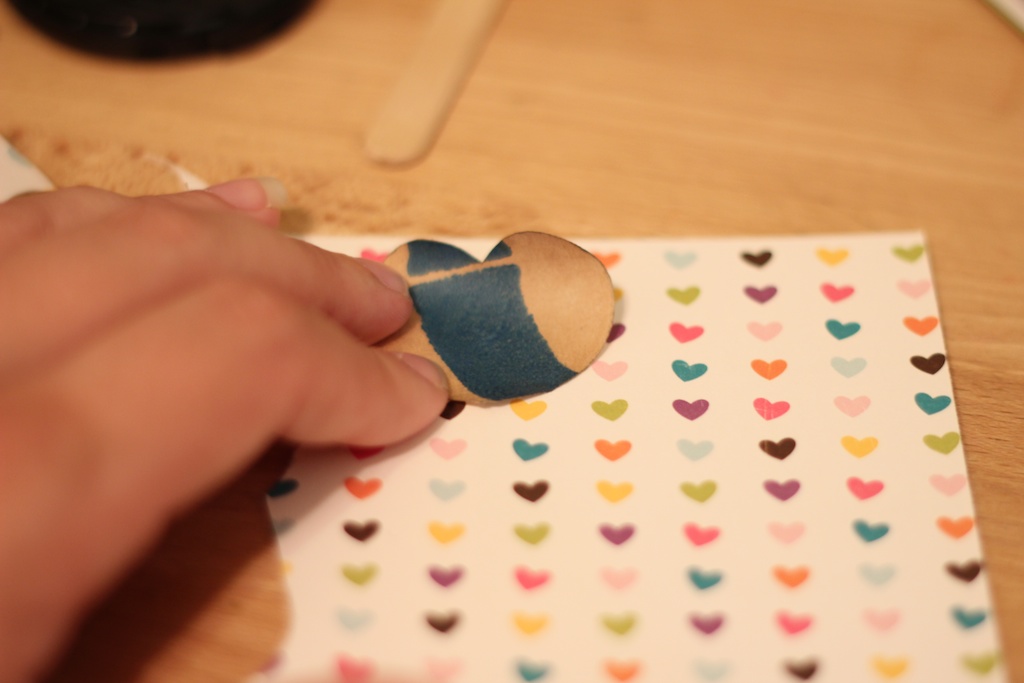
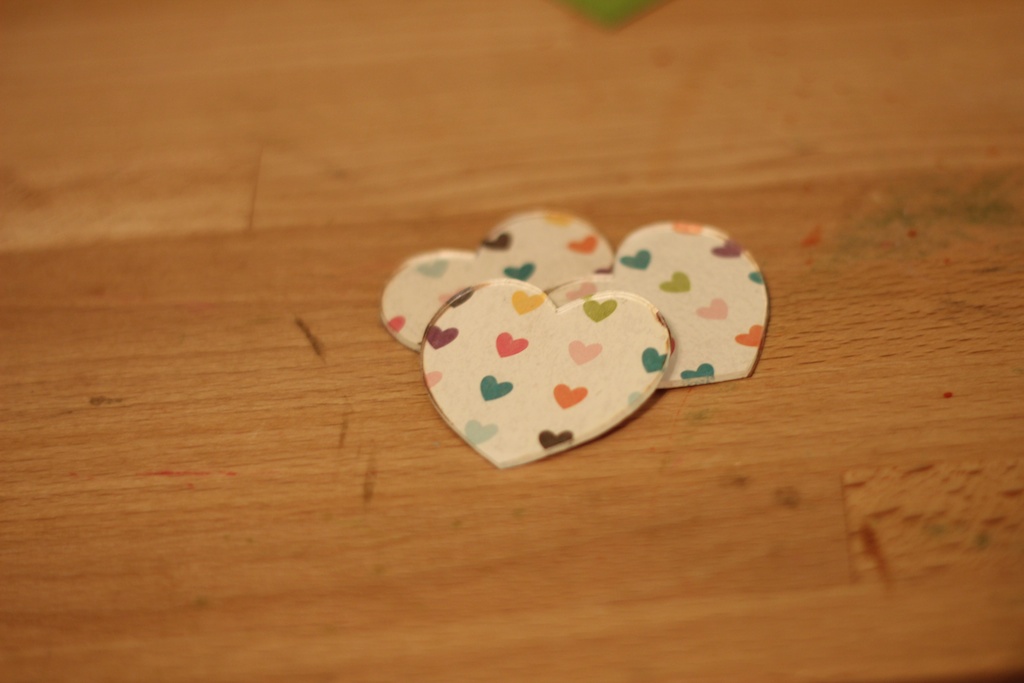
Then I cut the heart out and ran it through my zyron machine.  You need to make sure that you run it through the machine wrong side up so that the adhesive is on the front of the heart.

I like to burnish the paper before removing the backing.  It helps the adhesive to stick.  I also inked the edges before running them through the machine.

I set the acrylic heart on top of the paper and hope to get them perfectly lined up.  Usually I do ok.  🙂
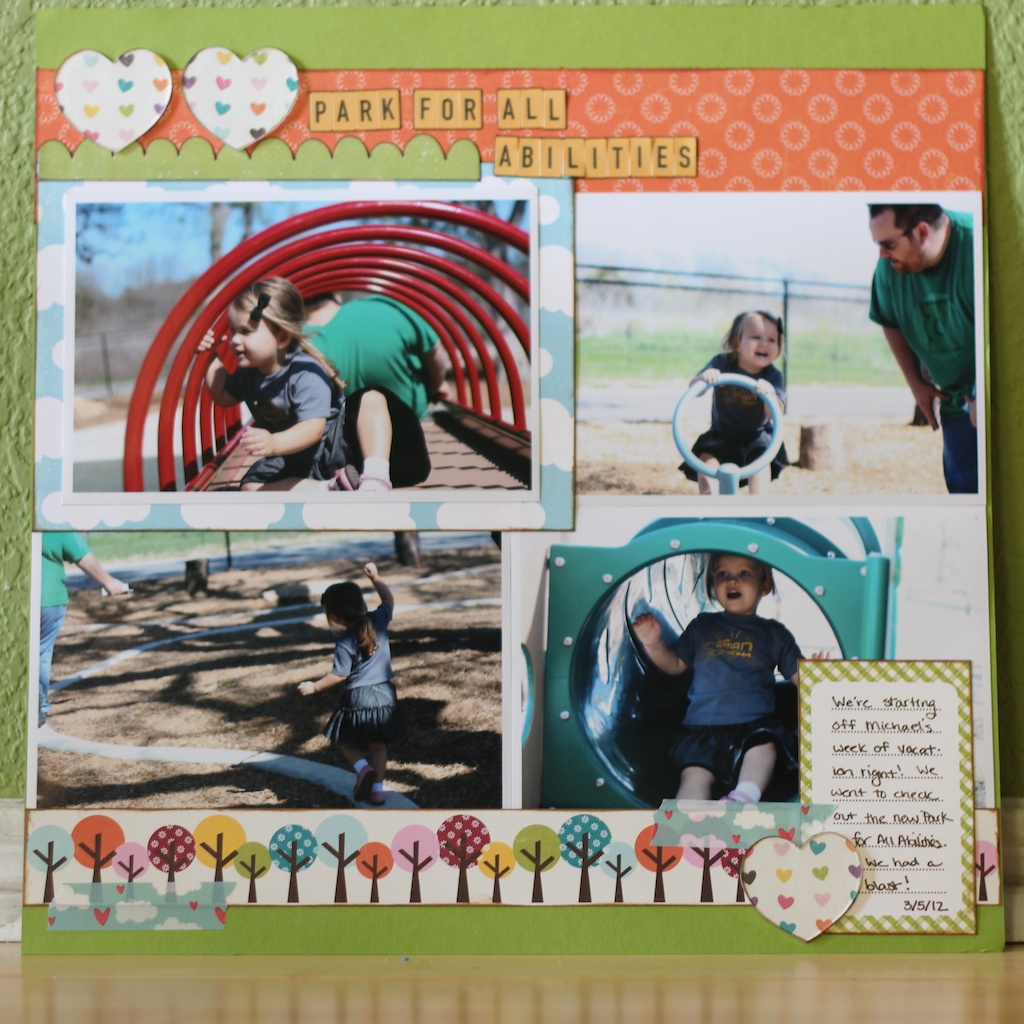
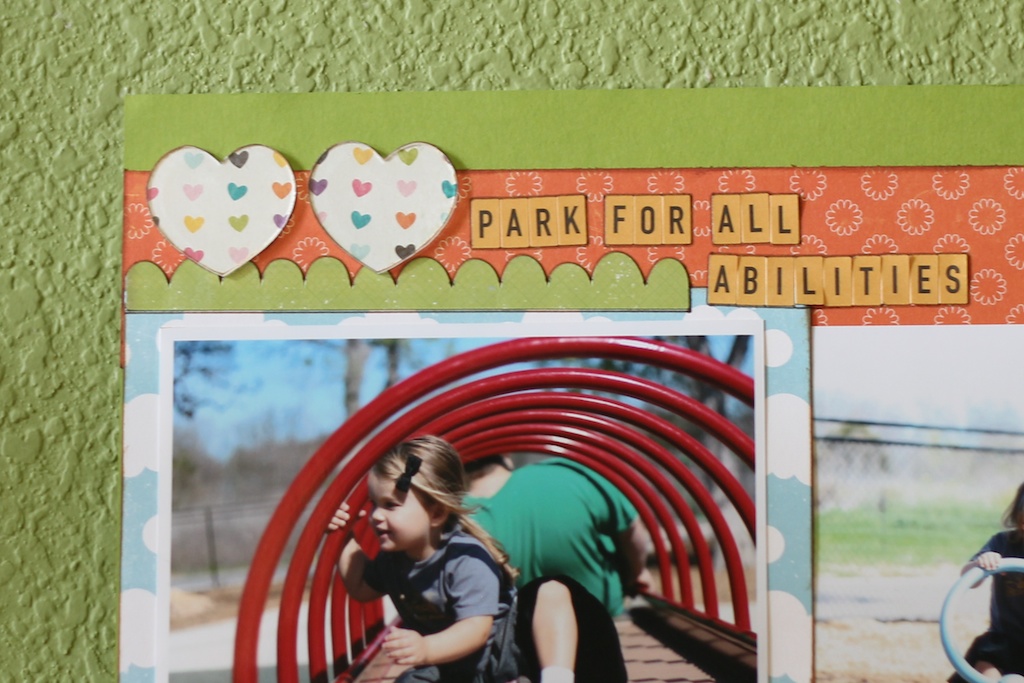
I used the acrylic hearts as embellishments on this page and I think it turned out quite cute.  🙂
The letters are from October Afternoon and the papers are all Echo Park.