Park Bag

So as I said, we were at the park last week hanging out with a friend and I was super impressed with how prepared she was.  She had chalk, buckets, shovels, a blanket…  all of the things that I always think I should bring to the park, but then forget when it actually comes time to head to the car.  Then she shared her secret- she keeps a park bag in the car!  Genius!

I pulled out Kate’s old diaper bag (which I spent way too much money on, but which I still love!) delighted that I had found a new use for it.

We don’t use plastic containers to store food, but we seem to accumulate them at a rapid pace nonetheless.  It seemed like they would work for holding the chalk.  Initially, I wanted to put the chalk in a cute little drawstring bag that I was planning on making at a later date, but actually the plastic container was kind of perfect.

We used to have 10 of the stacking cups, but they’re disappeared over the years into the great toy box in the sky.  I gathered up the remaining few along with a shovel and added them to the bag.  Side note: I always put Kate’s name on them.  I’m more than happy to share while we’re at the park, but having her name on them makes it much easier to make sure that they come home with us.  Especially when 12 kids have the same shovel.

Finally I added our super snazzy new picnic blanket.  Eventually I want to add a granola bar or 2 for emergency snacking and a travel size Benadryl.  Maybe an extra set of clothes (although am I the only one who gets super irritated to have two outfits tied up at school, one in the diaper bag and now possibly one in the park bag?)  Other suggestions?  What do you always wish you had at the park?

Picnic Blanket Tutorial

I bought some fabric, oh about 2 years ago, with the intention of making splat mats.  Let’s just say that that never happened.  Fast forward to this week and we met up with some friends at the park.  As we sat down on my friends blanket, I thought to myself (as I have a thousand times before) I need a picnic blanket of my own.  I was thinking about all of the blankets that we own and which might be suitable when I remembered this forgotten fabric.  It would be perfect!  It’s super lightweight, folds down small and it’s not fuzzy so grass won’t stick to it.  Brilliant.

I looked for this fabric online so I could link to it, but it’s super old.  I’m not really sure how to describe it.  It’s kind of stiff and papery/ plasticy?  Regardless, it’s very thin which suits me perfectly.

If I’m being perfectly honest, a big part of the reason that I never made the splat mats was that I wasn’t sure how was too lazy to hem this.  In my defense, I’m not sure that this kind of fabric can be ironed though since I just came up that excuse today I’m not sure how valid it is.  lol.

Then I remembered about bias tape!  I was first introduced to this miracle product back when I made my apron and it seemed perfect for this application.  I even remembered to get double fold this time.  I was thinking I would do it in teal, but Kate was with me when I was shopping and she *really* wanted purple.  We pick our battles over here and I was not prepared to go 10 rounds in the middle of Joanne’s so purple it is.

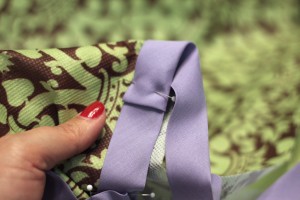
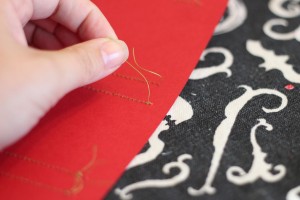
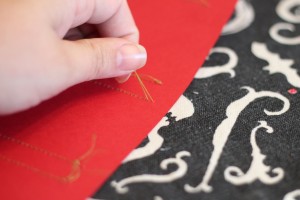
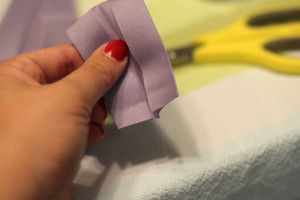
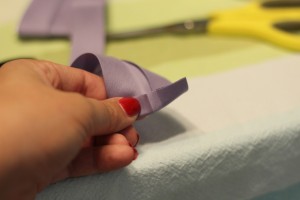
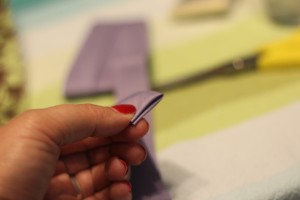
I was feeling fancy so I decided to pin it while Kate was finishing up her dinner.  I’m not sure if this is “right” or not, but here’s how I handled the spots where the tape ran out.  I unfolded it, folded back a bit going the other way and then folded it back.  Clear as mud?  Check out the pics.


As yes I realize the colors are all wonky.  Note to self, when crafting at night make sure that you have something in the frame that’s white so you can correct the white balance in post.

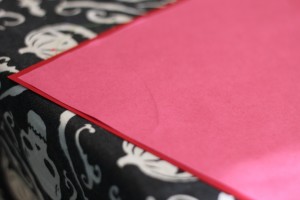
I folded the corners all pretty too.  That required both hands though so you don’t get a pic.

I used a zig zag stitch since I thought it would be more sturdy.  Plus, it just looked fun.  Since I didn’t have any matching purple thread, I decided to use a high contrast color and make it look intentional.  I went with pink since that’s Kate’s fav.  🙂

I panicked a bit at the end since I was *almost* out of thread and then the bobbin ran out.  It was a bit of a guessing game as to how much to put on the bobbin while leaving enough on the spool, but in the end I squeeked by.

The tape gathered a bit as I was stitching it despite my best efforts.  This project might have benifited from some kind of special foot (walking foot?) but I’m way too cheap to buy anything like that.

I’m really pleased with how they turned out.  Kate loved it, though I think she was over modeling for me.  🙂

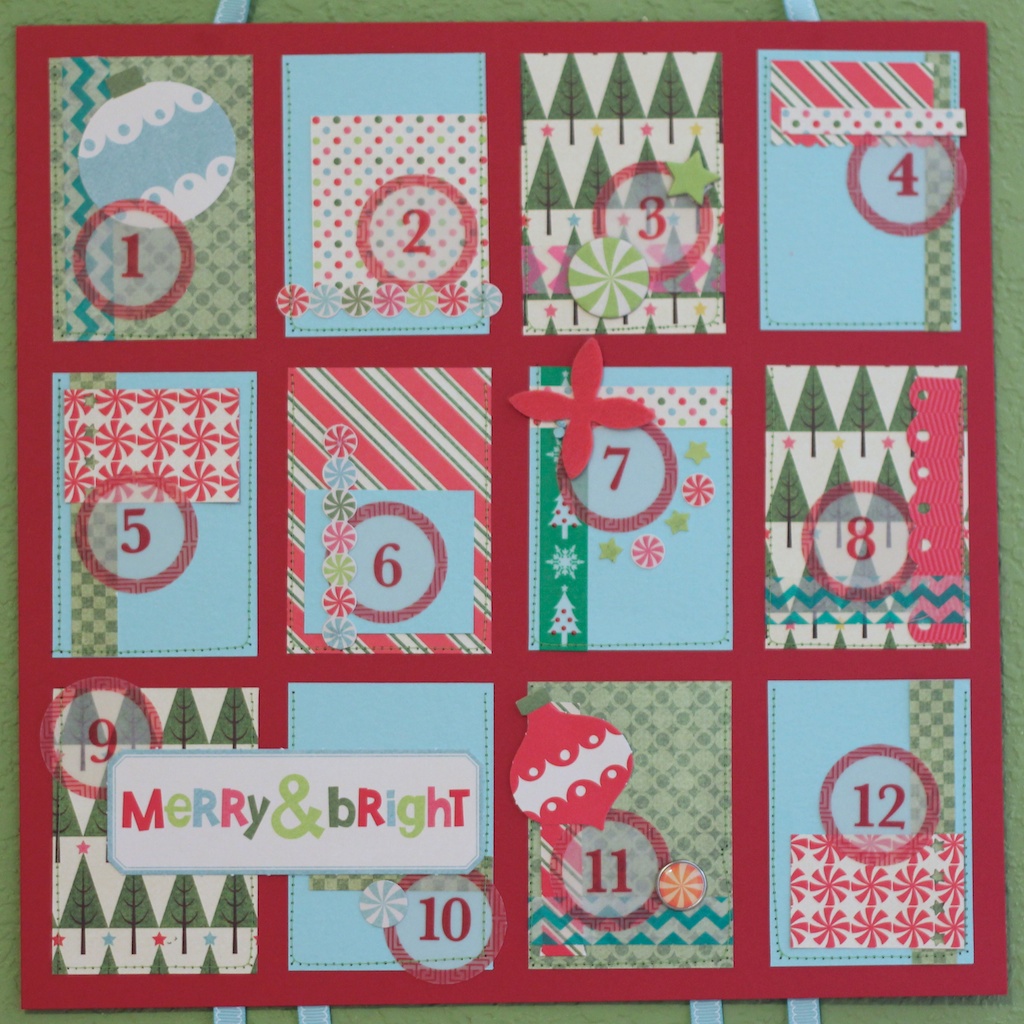
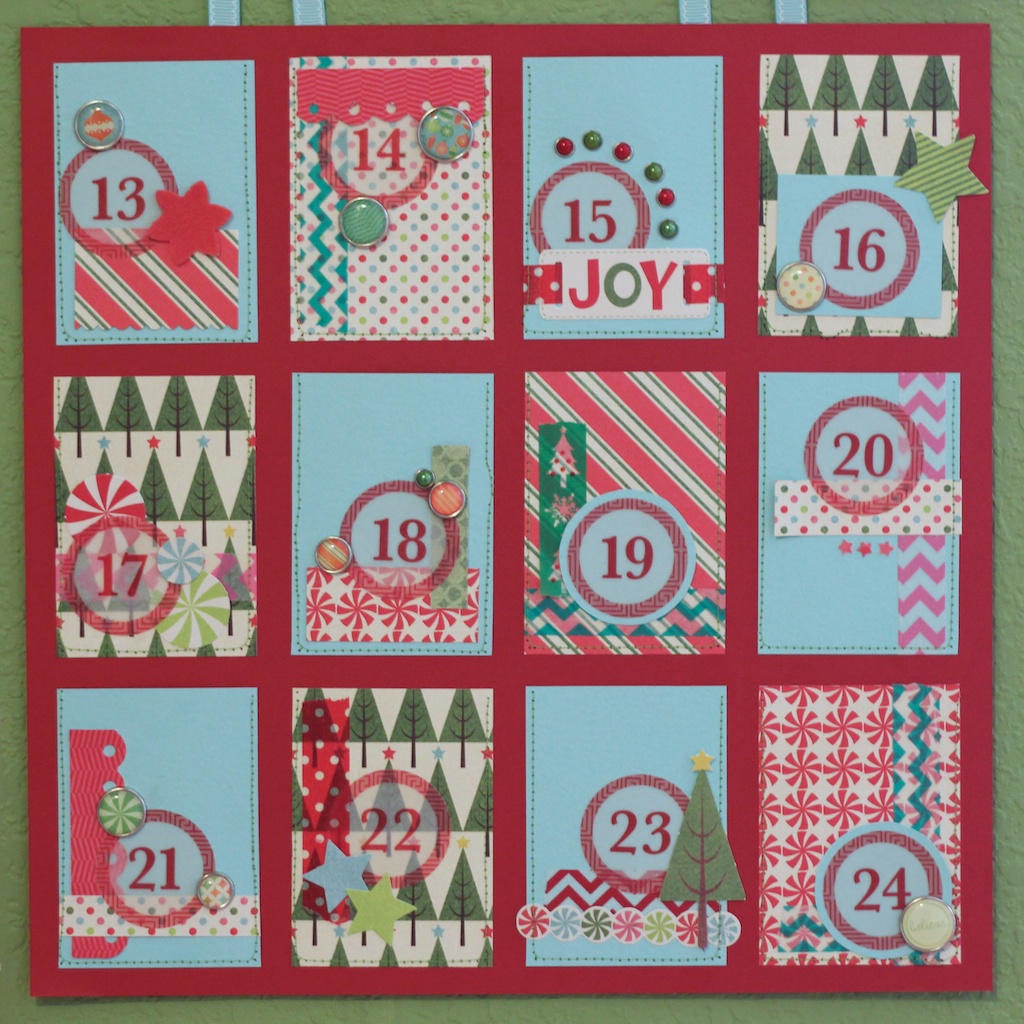
Scrapbook Paper Advent Calendar

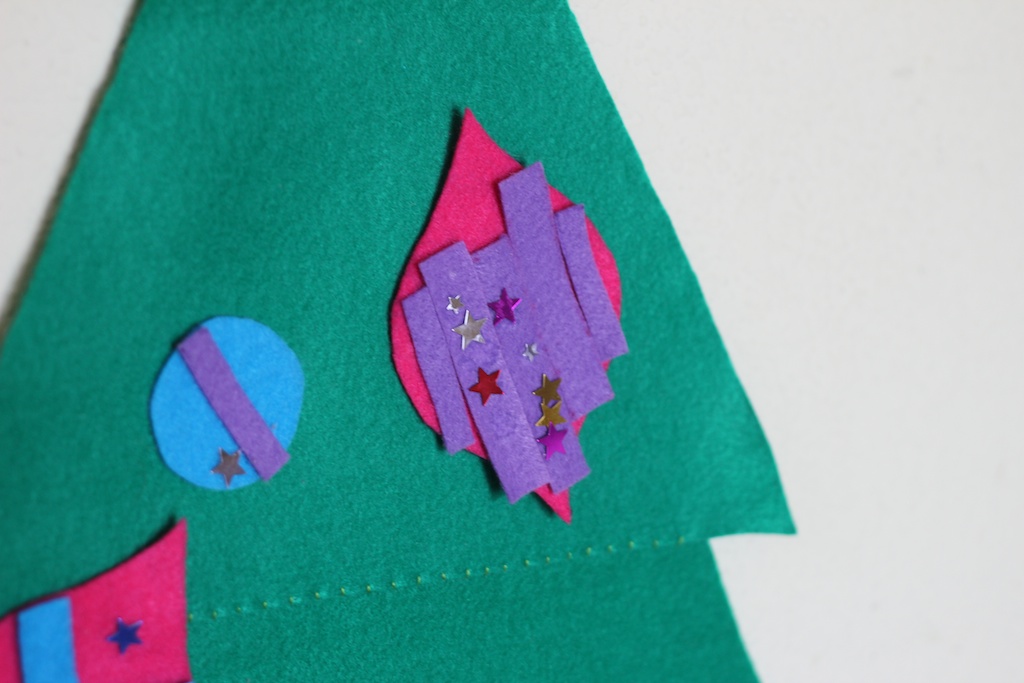
I’m working on a felt advent calendar (and by that I mean that I’ve opened the kit and cut out the first piece) but by mid-November it became abundantly clear that there was no way it would be finished by December 1st.  Maybe by December 1st of 2014.  lol.  Time for plan B.  By which I mean Pinterest.

I had already gathered all of my Christmas paper prepping for December Daily so I sorted through them and pulled out the last few sheets from last year’s My Mind’s Eye 12 Days of Christmas.  I wish I had bought more of it last year!  It’s my favorite Christmas line ever.

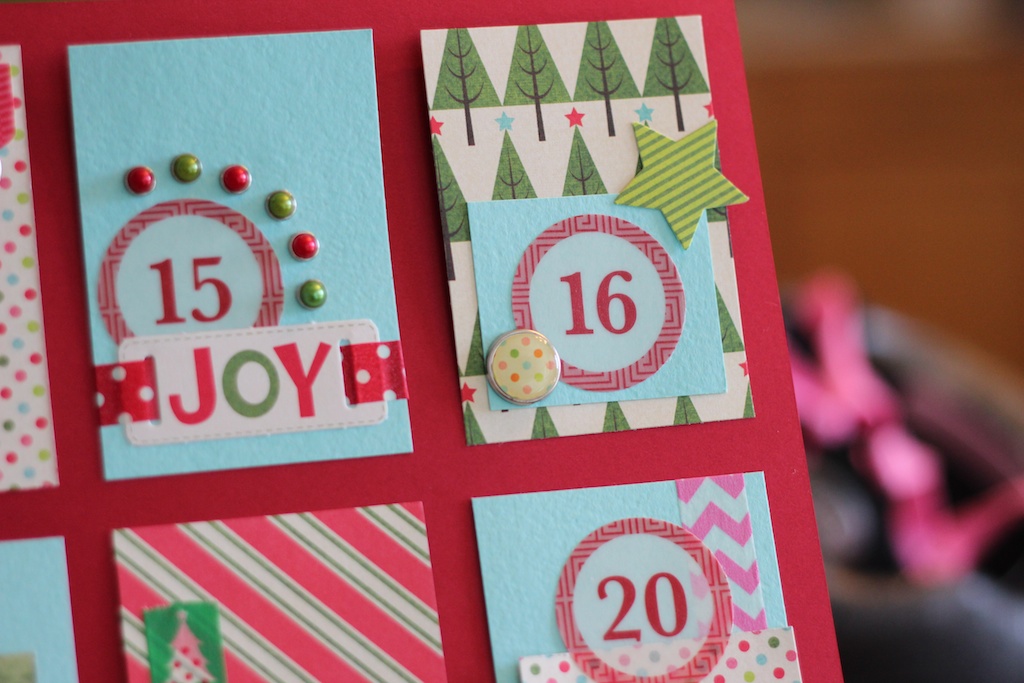
The first thing I did was to cut the paper bases for the pockets.  I knew that I wanted to use 2 12×12 sheets of cardstock as the base, so I made the pockets 2 1/2 x 3 1/2.  I spread them out on the table until I was happy with the randomness and started embellishing them.

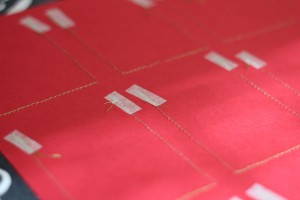
I knew that I wanted to stitch the pockets down, so I just put a little bit of tape on the bottom edge to hold them in place.

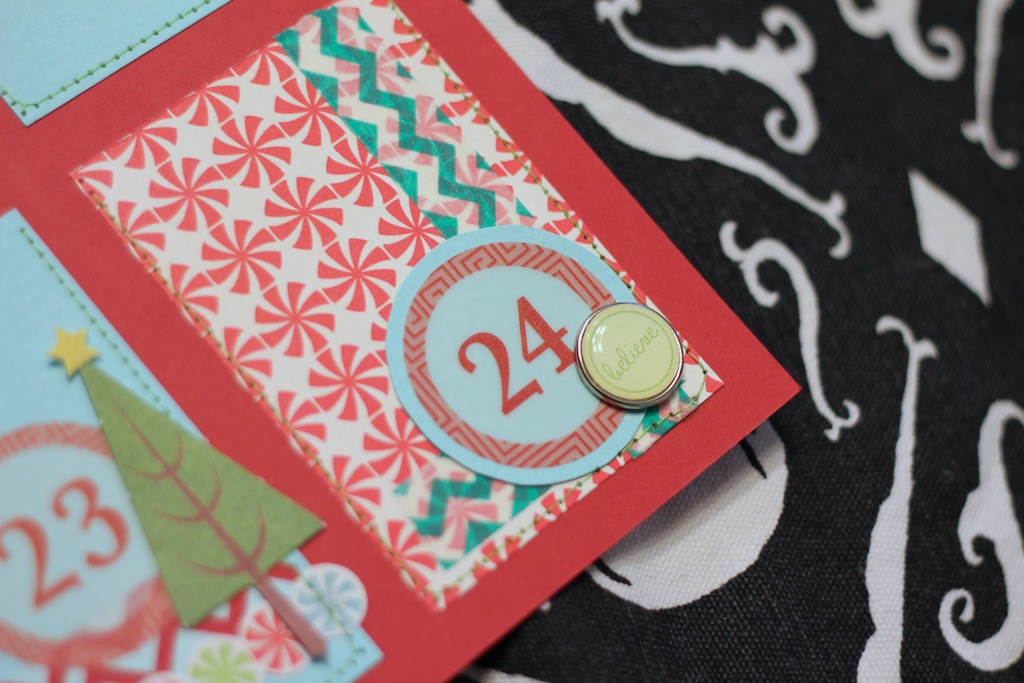
Here they are ready to be stitched.  The numbers are from this year’s Crate Paper.  They’re vellum so I ran them through my xyron.  (I have an older version of this.)


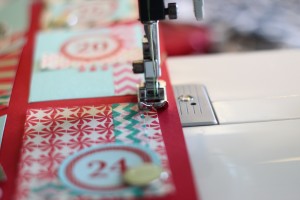
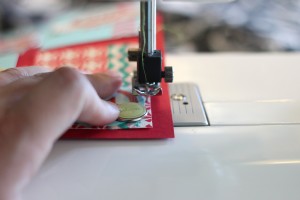
I stitched it with some green thread and whenever I came to a brad, I lifted the foot up and guided the paper through by hand.  In retrospect, I might have left the brads off but they’re just so cute!


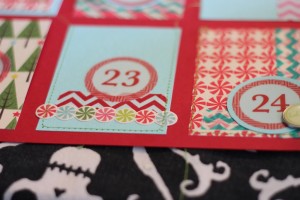
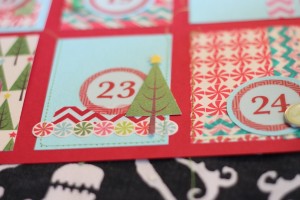
I decided to have a few of the pieces on top of the stitched line so I added them last.

Now I was left with all of the strings on top of the paper.  No worries.  If you pull on the piece of thread that’s left on the back the piece from the top will come through so both pieces are on the back.


I put a bit of tape over the thread to keep it from unraveling and then I covered the whole back with some cheap construction paper.  Oh, and I taped some ribbon to the back to hang it up.


Here it is!  I really happy with how it turned out.  🙂

The plan is to put a piece of paper in each pocket with an activity for us to do as a family.  Luckily Kate can’t read (much) yet so I only have to be one day ahead of her.

ETA: Squee!  This post was featured at True Aim Education! Go check it (and all of the other awesomeness) out at True Aim Education.

parents as teachers

Reindeer Pancakes

This is actually from last year, but it seemed more timely to post it at the beginning of December so you had time to plan rather than randomly posting it in January February so I saved the post.  That’s right, I’ve had this post scheduled since last February!   You’ll forgive me if I don’t go back and try to edit the picture, right?  Let’s just pretend that I corrected the white balance, m’kay?  lol.

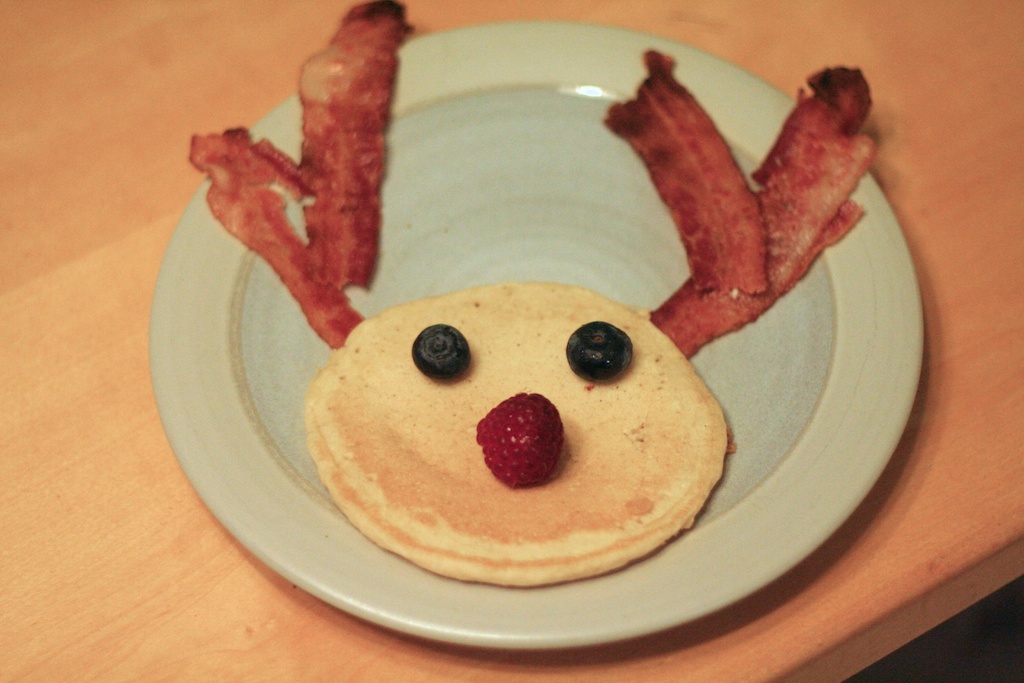
Last year I stumbled upon this via Pinterest and decided that I *had* to make it Christmas morning.  Or rather, that Michael should make it Christmas morning.  I think we can all agree that he is the far superior cook.  🙂

I made a few changes, namely 1 pancake instead of 2, and I used blueberries for the eyes instead of whipped cream and chocolate chips.  Y’all, I’m way too neurotic to give Kate whipped cream and chocolate chips for breakfast!  We also did a raspberry nose instead of a strawberry nose.

I think they turned out super cute!  Michael did get a wee bit grumpy that his pancake got cold while I was taking the picture.  What can I say?  I don’t eat bacon so I couldn’t use mine!  Kate was kind of ambivalent about the pancakes.  I think she was way more excited about all of the toys Santa left her.  🙂

Mod Podge Letters

Let the Christmas crafts begin!

I had so much fun making these!

It was a pretty simple supply list.  I bought some cardboard letters at Joannes to use as the base.  I had planned on using wooden ones, but I didn’t like any of the fonts so cardboard it is.  🙂  I also used 1 piece of scrapbook paper (last year’s My Mind’s Eye), some paint, mod podge, scissors and a paint brush.

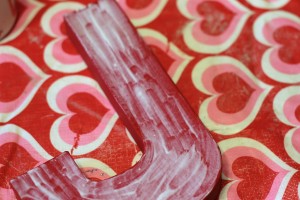
First I painted the front and sides of the letters red.  I gave them 2 coats with plenty of dry time in between.  Oh, and about halfway through the first coat, I remembered that thinner paint is your friend so I added a bit of water and shook it up.  I’d go ahead and do this first if I was you.  🙂

The next day, I played around with how to lay out the letters so I could get away with using only one piece of paper.  (I’m cheap like that.)  If you’re spelling joy it works like this.  🙂  Of course this only works if your paper doesn’t have a directionality.

I just traced around the letters with a pencil.  (Should I add that to the supply list?)  When I cut them out, I cut inside of the lines because I wanted a wee bit of a red border on the top (maybe a mm or 2.)

As you can see from the curly cues, that’s easier said that done.  lol.  I erred on the side of too big and then went back several times removing just a hair more paper.  It’s way easier to cut off a bit more than to cut out a whole new set because it’s too small.

Here you can see the bit of border.  I think it gives it a bit of definition.
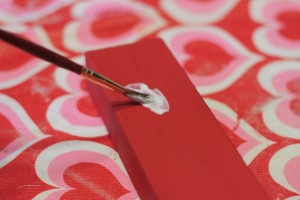
   

To attach the paper, first I painted a coat of mod podge onto the front of the letter.  Paint quickly because it dries fast!
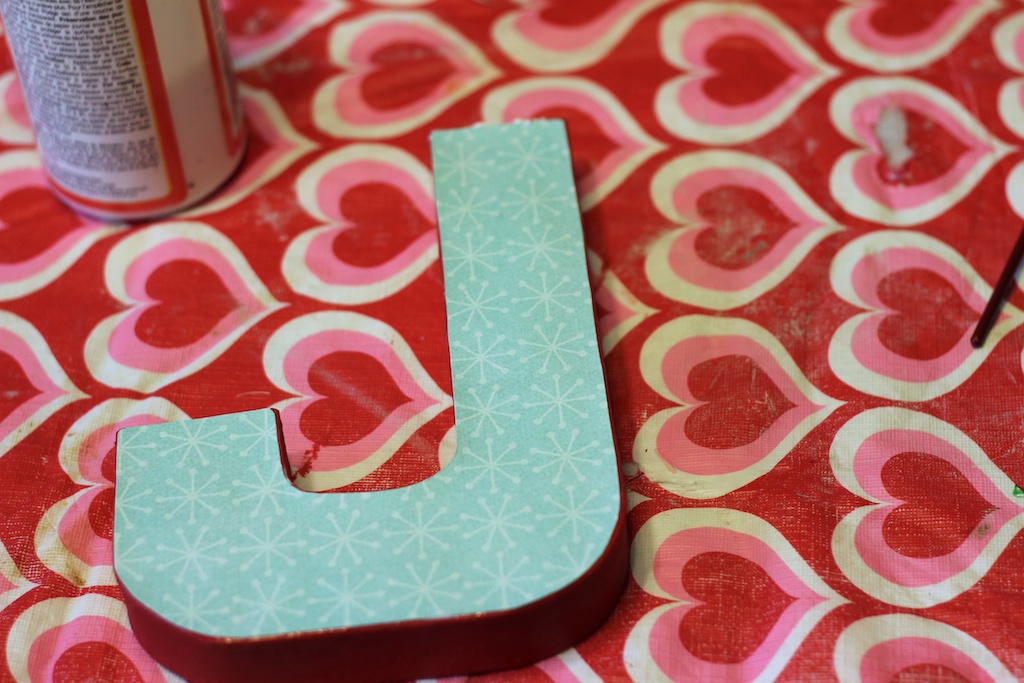
Then carefully set the paper on the letter and smooth out any bubbles.

I always end up with a bit of glue oozing out the sides because, according to my kindergarten teacher, I am a glue glober.  It’s cool.  We’ll deal with it in the next step.

Paint mod podge over the top of the letter to seal it paying special attention to the edges.

Then carefully paint the sides.  You could probably skip painting the sides, but I like the gloss that it adds.  Also, I would find it really frustrating to try to keep the mod podge from the sides while I was painting the top due to my previously mentioned glue glober status.  It seems like more work to paint the sides, but trust me it’s easier in the end.  After it was very dry, I added another coat to the top.

I love how they turned out!

ETA:

Y’all, my turkey button activity was featured on another blog!  I may be a super huge dork, but I cannot tell you haw excited I am about this.  🙂

October Daily Part 3

Last one I promise!  🙂

Day 22/ 23.  The back of page 22 is blank except for a few stickers and some washi tape.  That’s why I like doing a front and back page instead of a 2 page spread.  It gives you more options.

Day 23/ 24.  Story time pics on a transparency.

Day 24/ 25. Pumpkin patch!  This one is right next to our house so we ran over one evening and met Libby and Will.  This pic is my fav!  Obviously Libby took it.  🙂
Day 25.  The kids were so over pumpkins by this point.

Day 25/26.  Birthday party at Home Depot.  (Did you know you could do this?  So cool.  All of the kids got to make a birdhouse.)

Day 26/27. Chocolate apples and oranges.  (Kate’s been eating the sprinkles.  She doesn’t have goth lipstick, promise.)

Day 27/28.  Playing at the Park for All Abilities.  Super fun.

Day 28.  More park pics.  (They’re in focus promise.  It’s harder than you think to take a picture of a picture and have it be in focus.)

Day 28/29.  I thought that Kate was going to be all over carving pumpkins, but she was not impressed.

Day 29/30.  She was much happier paining a pumpkin.  New felt project in the works.

Day 30/31.  Another Libby pic.  Yay!  We took the kids down to the fall festival put on by the city.  Fun.  🙂
Day 31.  I just realized that this is the only pic of my in this book.  Might need to work on that for December Daily.

Day 31.  Trick or Treat!  We always cheat and go to my mom’s house so I can take a Trick or Treat picture while it’s still light out.  🙂
Day 31.  Then we trick or treated in our neighborhood for the first time per Kate’s request.

Day 31.  <3

The back page has another fun pic from Kelly!

October Daily Part 2

Continuing from where we left off…

Day 12/13.  We took Kate to see Brave at the dollar theatre.  🙂  I just glued the tickets right in.  I’m never super worried about the “archivalness” of things, and I’m not worried about them *at all* in a book like October Daily.  I didn’t even use page protectors.  lol.

Day 13/14.  I tried to cook dinner.  If you know anything about my cooking, you’ll know that the poison stickers are appropriate.  🙂

Day 14/ 15.  Just some general craftiness.

Day 15/ 16: Kate got a new puzzle.

Day 16/ 17.  Innerspace Caverns with my Dad.

Day 17/18.  I totally punched the holes for this page backwards.  Whoops.  On a regular page, I would have tried to find a way to remake this “correctly” but like I said, I’m pretty go with the flow where mini-books are concerned.

Day 18/ 19. Halloween party!  There are several pages for this one.  🙂

Day 19.  Kate’s costume.

Day 19.  Guests.

Day 19/ 20.  Birthday party.  I used the knock outs punch thingy on this one.  See the stars?  Love it.

Day 20.  Baby cousin.

Day 20/ 21.  Grand Mimi.

Day 21/22.  TV.

I’ll do one more October Daily post on Monday and then it’s on to Christmas stuff!  All of my December Daily paper came in today and I can’t wait to start playing with it!

October Daily Part 1

So, I realize that I already blogged some layouts from my October Daily, but I finally finished everything including the covers and took new pictures.  I think it’s neat to see the album as a whole (especially seeing how the different page sizes/ transparencies work) so I’m posting the whole shebang again.  🙂  The way I structured it is that each day gets one page front and back and then I add pages as needed.  It’s different because the 2 pages are not a traditional spread, but I like it this way.  It gives me more freedom to tell the stories I want to tell.

This post will be heavy on the pictures and light on the text so please leave comments if you want more info on products or techniques!  (No seriously, please post comments.  I <3 them.)

Front cover.  I wanted to use acrylic pages for the covers, but I couldn’t find any!  So I used the chipboard from the back of the paper pack (and stole the chipboard from the back of my friend’s paper pack) to make some.  The lovely Kelly from Happy Soul Photography took this awesome picture of Kate at a fundraiser.  <3

Day 1.  Pumpkin counting work.

Days 1/2. Mailing invitations.

Days 2/3.  Cooking and gymnastics.

Days 3/4.  Day 4 is on a transparency so you can see day 5 peeking through.

Day 4/5.  Playing in the back yard.

Day 5.  I had a bunch of cute pictures from the 5th so I added an additional smaller page.  You can see day 6 peeking through.

Day 5/6.  Pumpkin patch!

Day 6.  Obviously I needed an extra page for the 6th.  🙂

Day 6/7.  In the past (December Dailies) I’ve made sure that each day has at least 1 full 6×6 page.  I decided that didn’t matter anymore.  I like the flexibility  especially if I’m using a hipstamatic print from my phone which prints 4×4.

Day 7/8.  Speaking of hipstamatic, I loved mixing phone pics and “real camera” pics in this project!  Makes it much easier to keep up with and gives the pages more variety.

Day 8/9. Family walk.

Day 9/10.  Decorations.

Day 10/11.  I love layering pages.  You can see day 12 peeking through and since it’s a transparency you can see a bit of day 13.  <3

Day 11/12.  Kate and her bestie Will decorated cookies on the 12th.  His mama, the fantastically talented Libby of Libby Ann Photography, took this picture of them.  ::swoon::  How cute are they?!?

I’ll post part 2 on Friday and part 3 on Monday so be sure to check back for those.  🙂


Turkey Button Activity

You guys get a bonus post today!  Last night, I couldn’t sleep because I had all of these awesome Thanksgiving crafty projects running through my head.  (That’s what I get for looking at Pinterest after work.)  What’s a girl to do except bust out the felt and go with it?  🙂

I finished up his little face this morning.  Kate loves it!  You don’t get a picture tutorial because there’s only so much I can fix in post when I’m crafting in the dark at 1AM.  That and operating the camera in a Benadryl fog seemed like a bad idea at the time.  lol.  It was super simple to make though.  I made a template out of some product packaging and cut out 6 feathers.  Then I traced a plate for the body and cut it out.  I found some old buttons in my scrapping stash and stitched them on and then cut little slits in the feathers for button holes.

I just freehanded the body and feet.  I ran a sharpie along the edge of the head/ neck to outline it since I only had 1 color of brown felt.  This project probably took about an hour and a half all told and it was super simple.  Inspiration comes from My Montessori Journey by way of Pink and Green Mama.

ETA: Y’all, another blog featured this post! Squee!!! Go check it out.

Leaf Letters

I found these great leaves in the Dollar Spot at Target.  They’re “table scatter” much the same as the ghosts and pumpkins that I made this counting work with earlier.

I had originally intended to make another math activity, but it didn’t go over quite so well.  Plan B!  I wrote her name in sharpie and had her place the leaves along the lines.  She loved it, and has chosen to work on this several more times.

Emily enjoyed this too.  She didn’t spell out her whole name, but she enjoyed placing the leaves all the same.