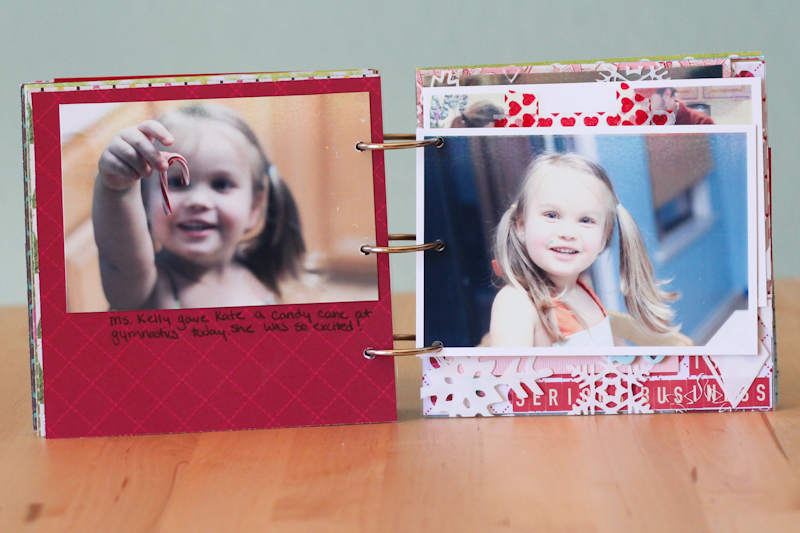
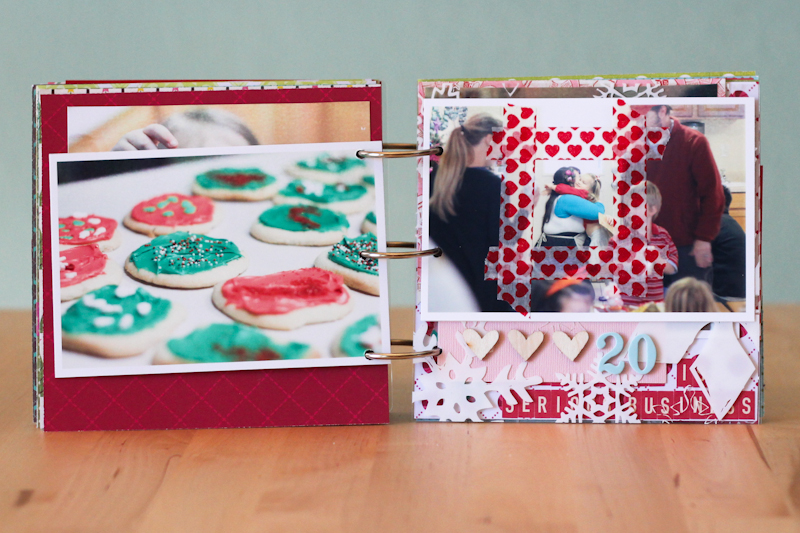
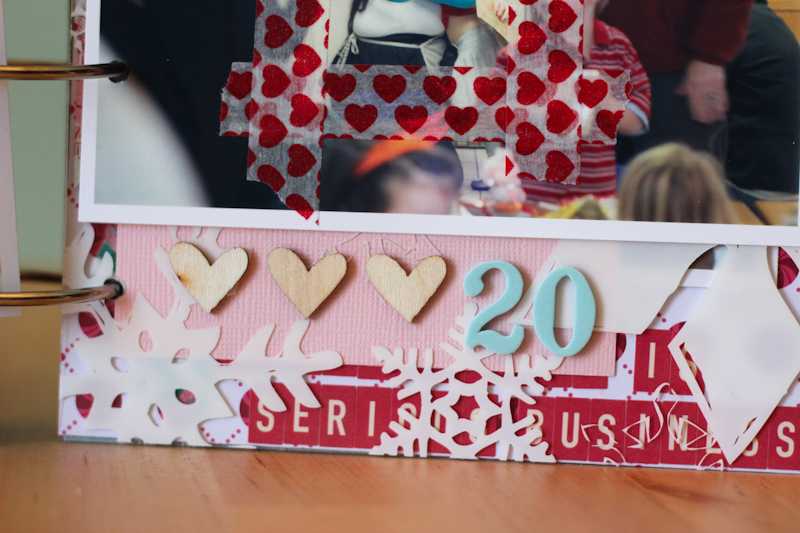
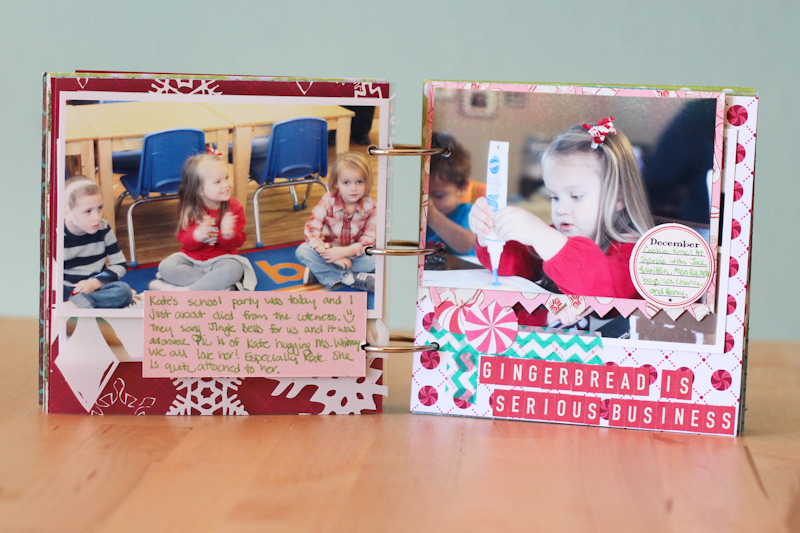
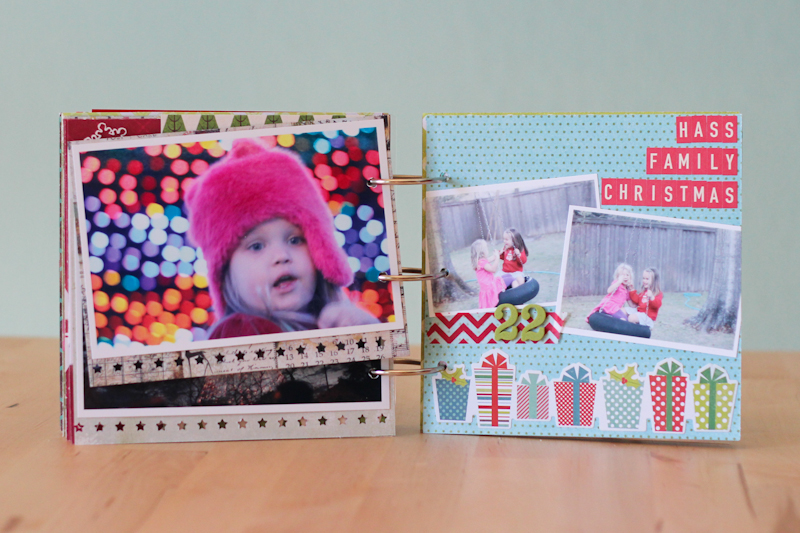
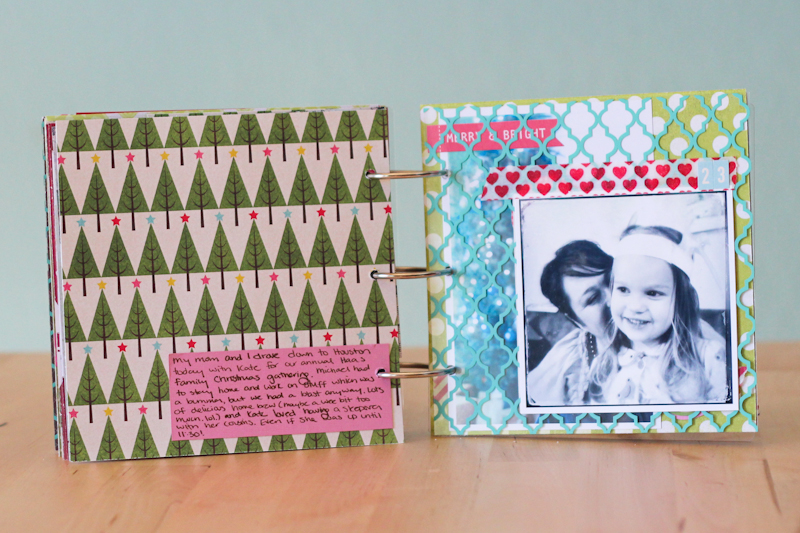
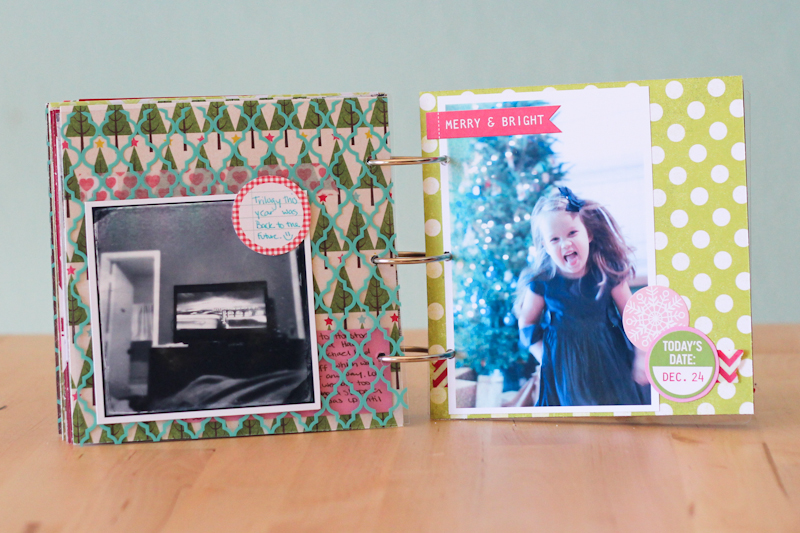
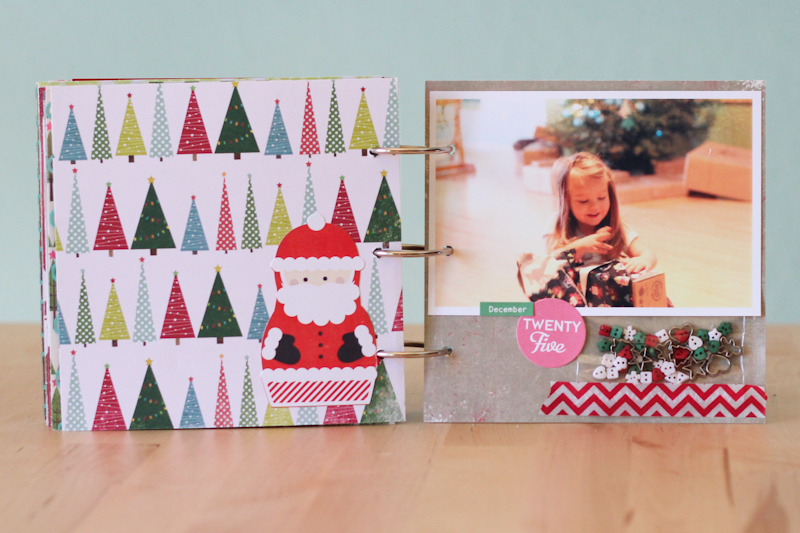
More December Daily

It’s like the project that won’t die.  ::sigh::  This is why I’ve always tried to keep up in years past.  I’m pushing through though because it’s so darn fun to look at the next year!

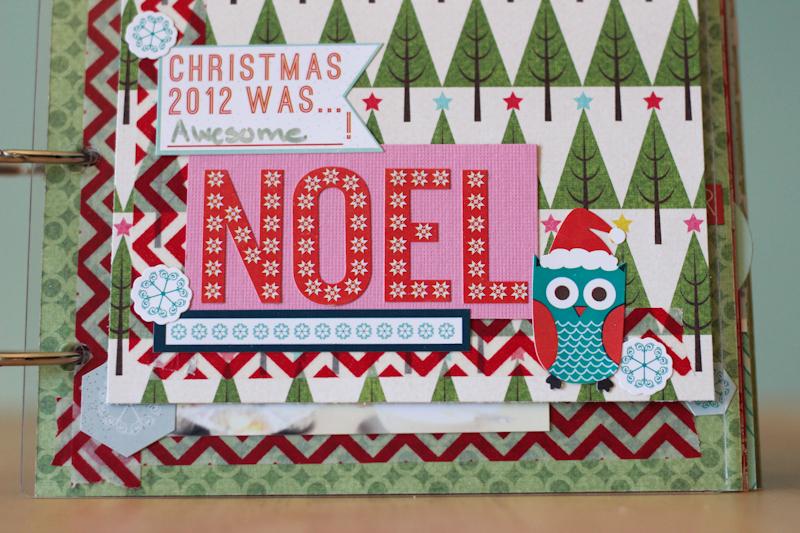
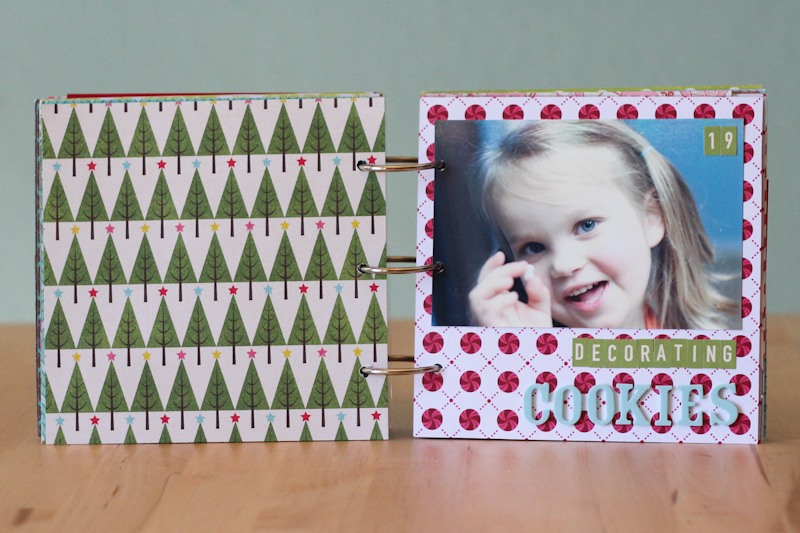
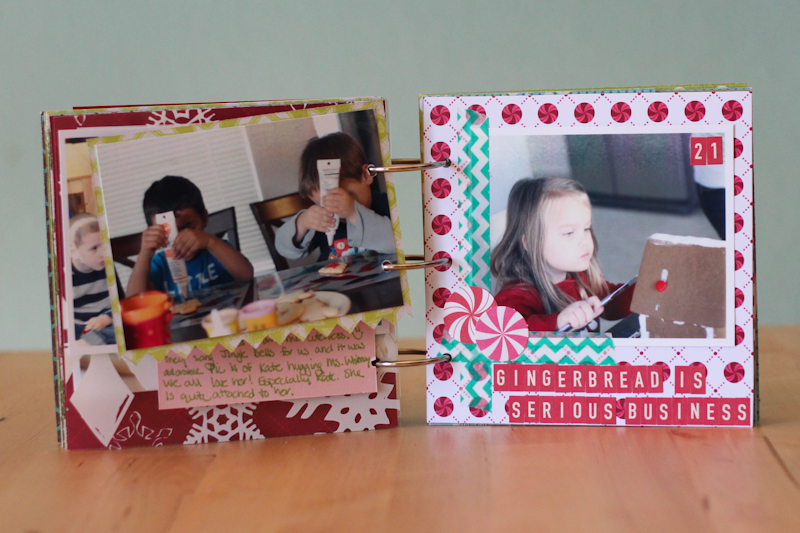
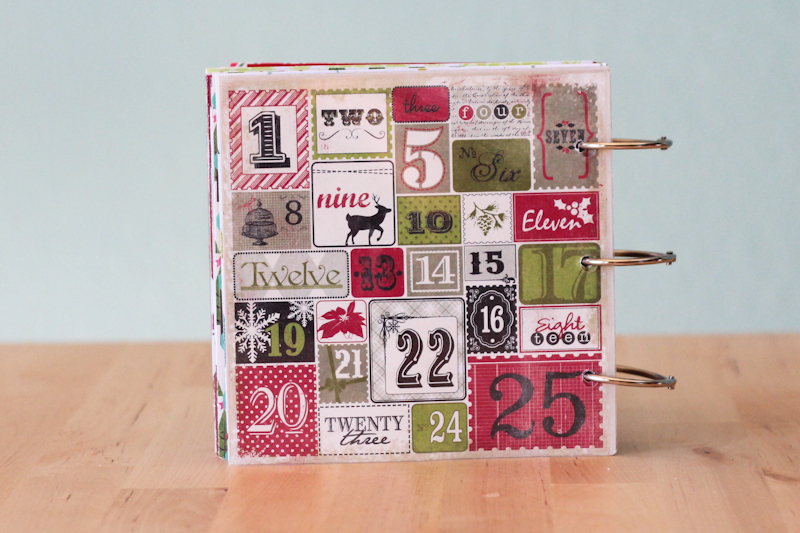
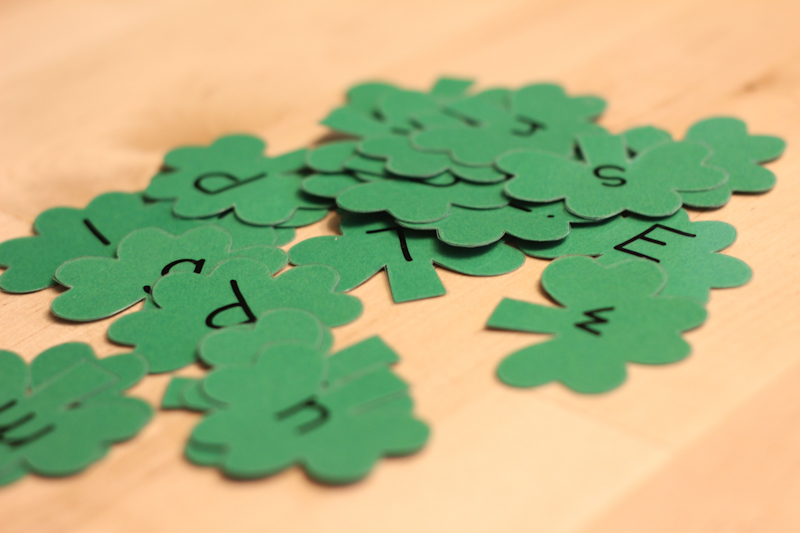
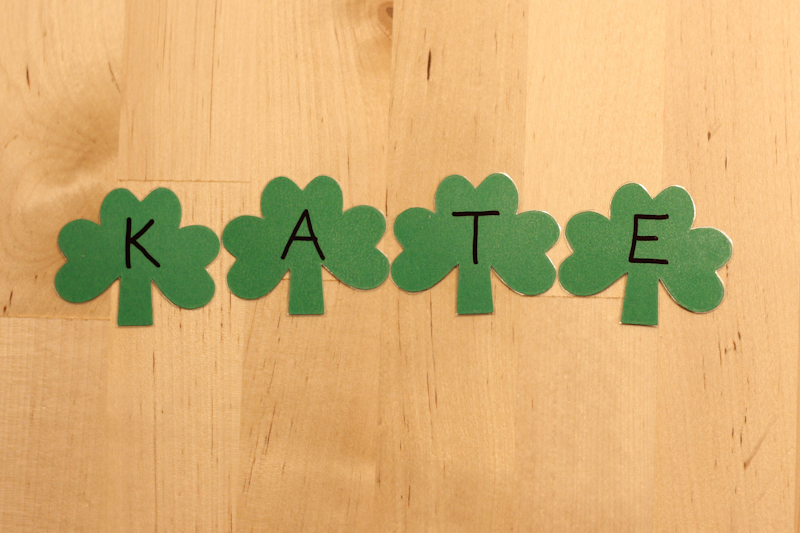
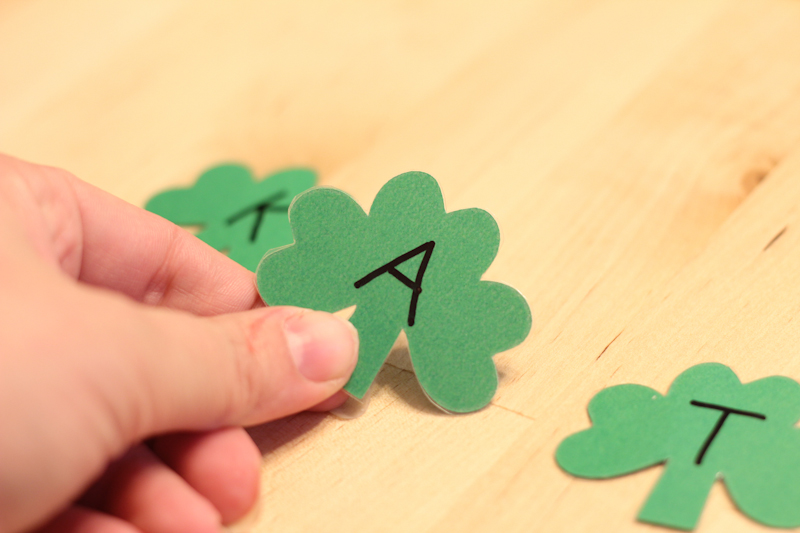
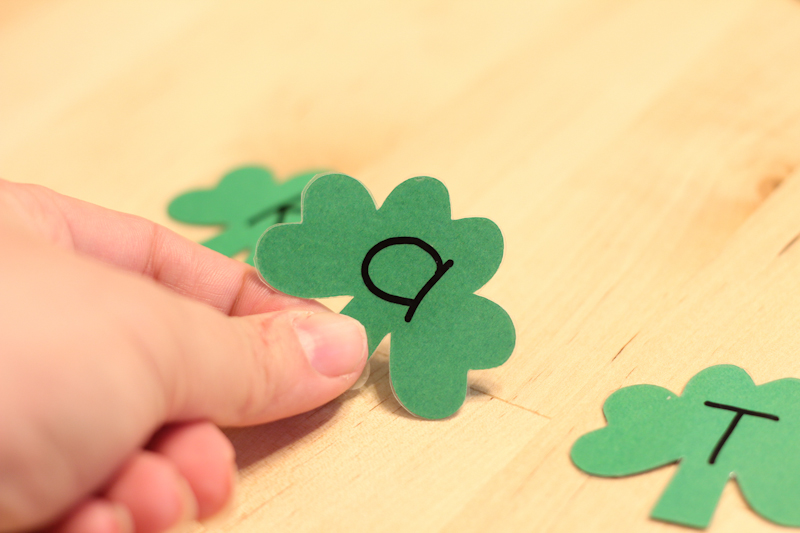
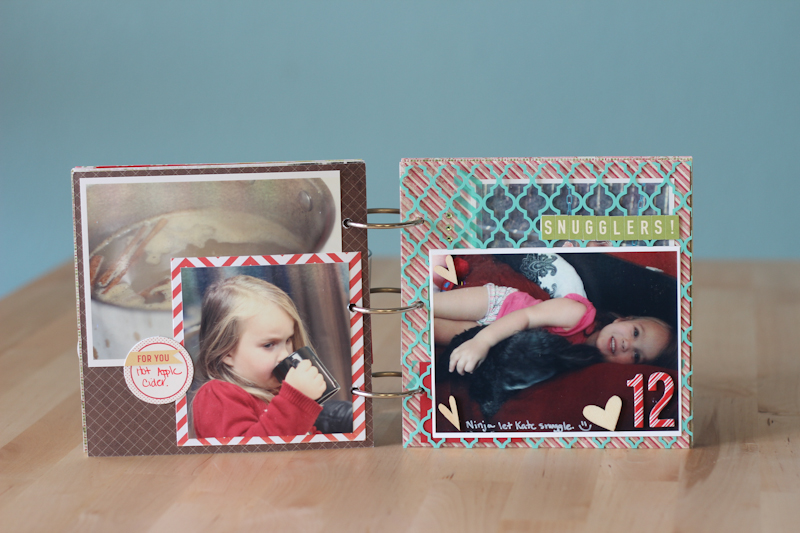
Day 11:  Kate *loved* making this page.  I think that when I’ve finished with all of my Christmas layouts/ December Daily this year, I’m going to go through and box up all of the stuff that I’m not in love with.  Then next year Kate can either make her own December Daily or Weekly or whatever.  I think she would get a huge kick out of that.  Maybe with a focus on writing instead of pictures?

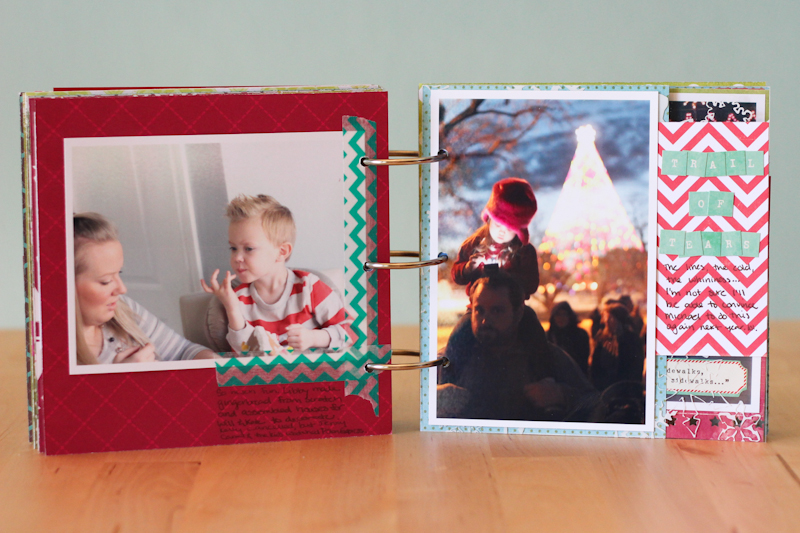
Day 12:  Poor Kate was sick so we snuggled all day.  Love the transparency (Hambly) and the wood veneers (Studio Calico).

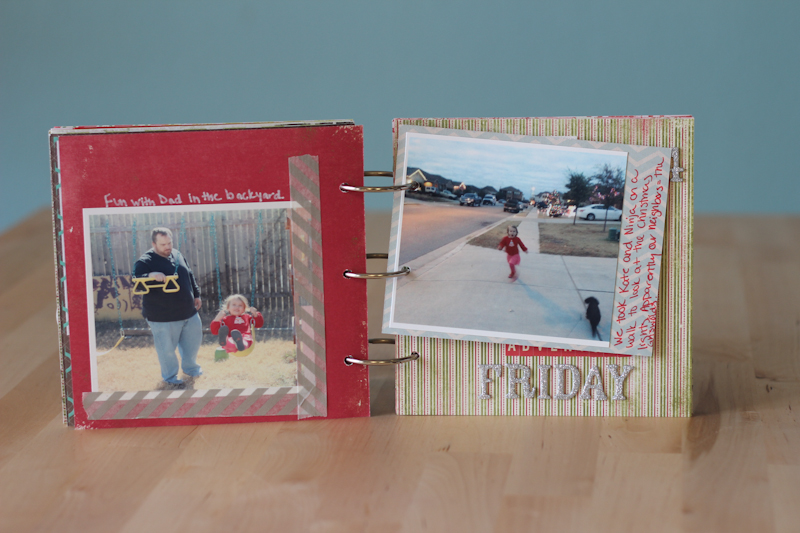
Day 13: Pretty simple, but I did spice it up a bit with some jewels.

Extra little page.

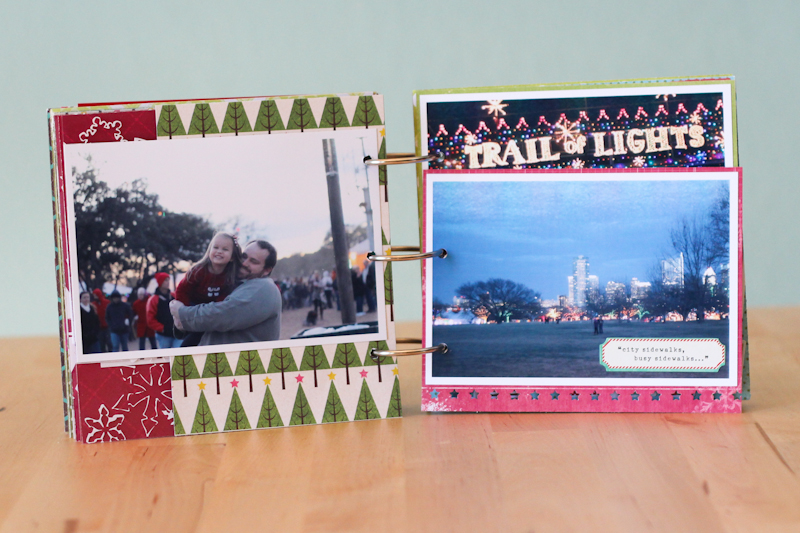
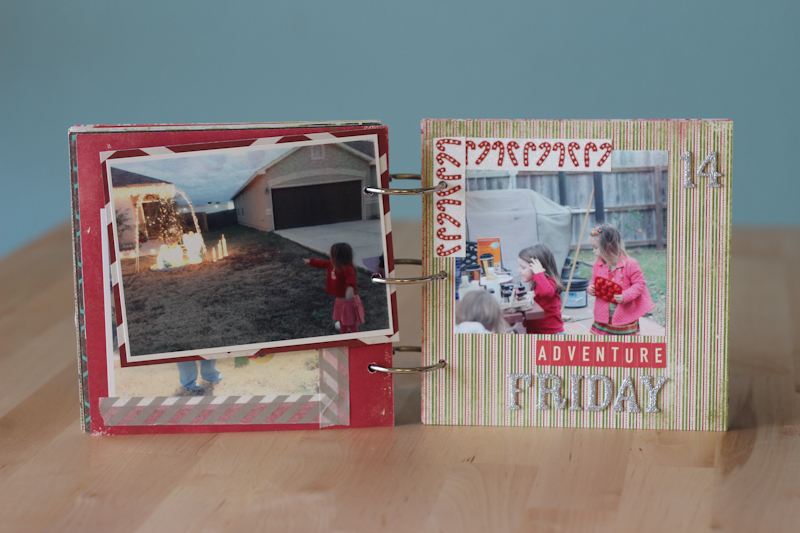
Day 14.  Not a great picture.  In my defense, we were having too much fun to mess around with the camera!

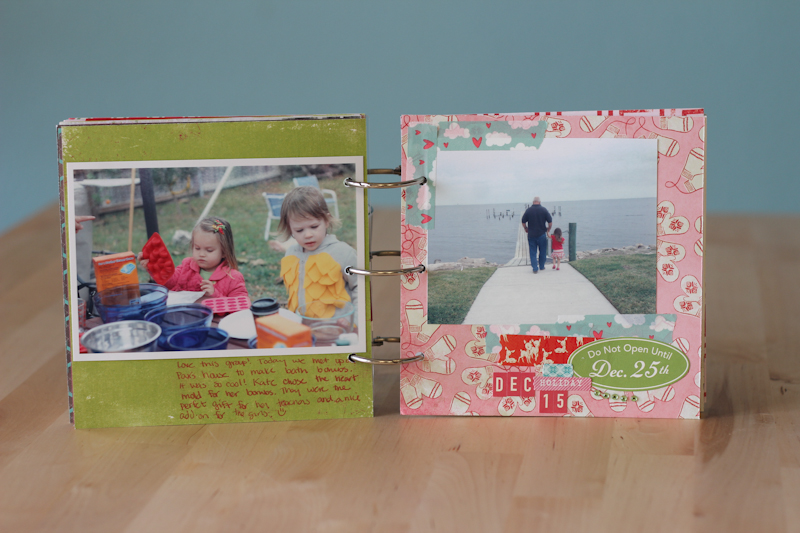
Day 15:  I was shooting for a little embellishment cluster with the stickers in the corner, but it didn’t quite come together.  Oh well.

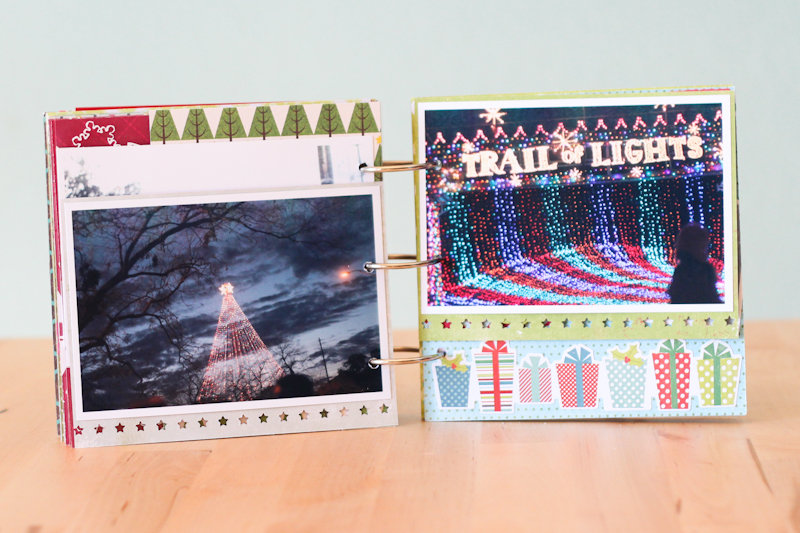
Day 16:  Santa!  (Still obsessed with those Thickers by the way.  Why didn’t I buy more than 1 set when I had the chance!!!)

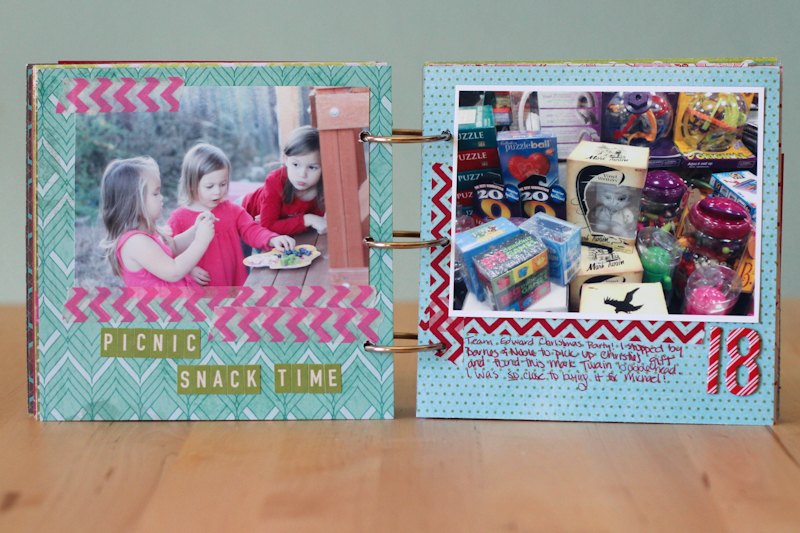
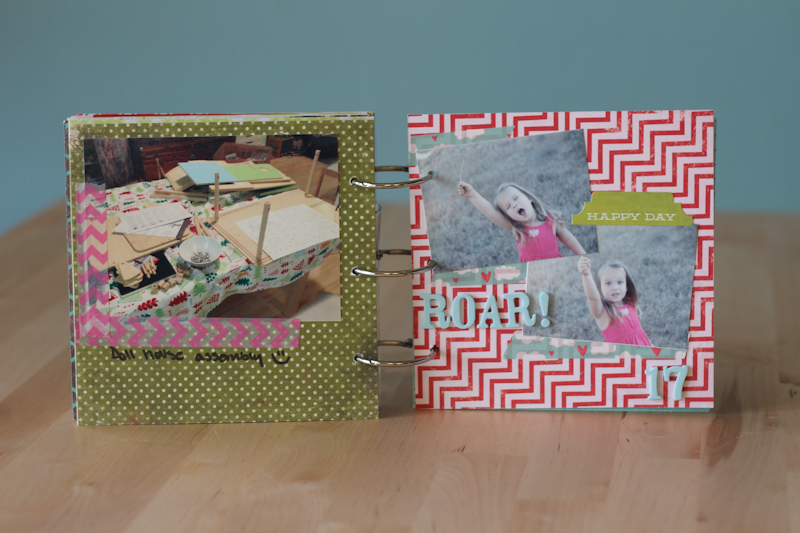
Day 17: Roar!  I should really pull these into photo shop and run a filter on them to give the background a bit of color.  Still cute though.  🙂

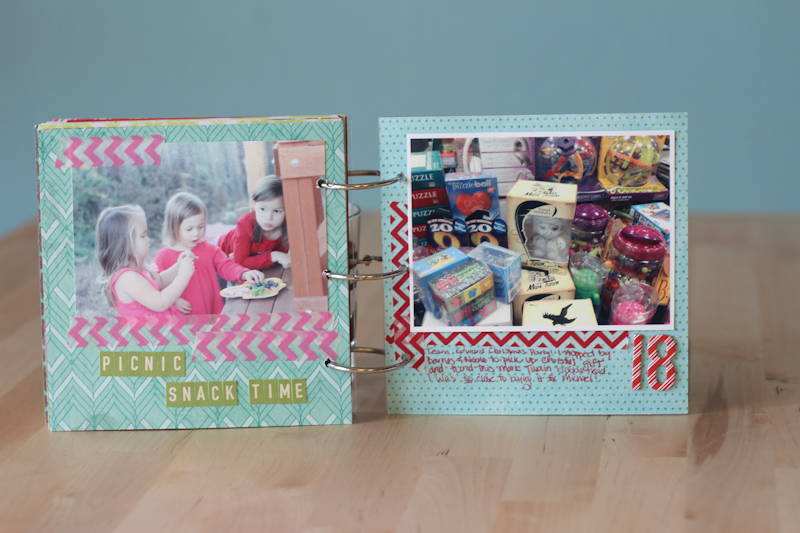
Here’s the back of day 17.  Picnic time.  🙂

Valentine’s Day Party and Goals Update

It’s party day!  (Which means that I’m writing this on Sunday while frantically cleaning my house so that my new friends don’t think I’m a slob.  lol.)  I’ll try to write a post with party pictures later this week, but I couldn’t resist a quick sneak peak.

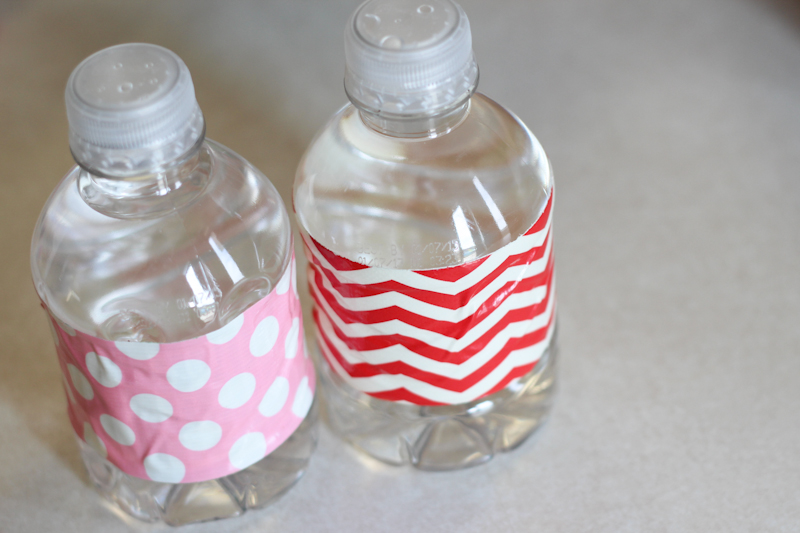
We never use plastic water bottles because I’m way too much of a hippy for that, but I do make exceptions for parties.  They’re just so darn convenient!  That and you can cover the labels with cute patterned duct tape.

I also thought it might be time to revisit the February goals since we’re now halfway through the month.  🙂

1.  Finish April and May layouts.  This one is dependent upon me actually getting my pictures back from the printers which would involve me ordering them…  See number 4.  April is done!  However, I’ve done basically nothing for May…  I need to get on that.

2.  Finish December Daily.  I’ve done 2 more days bringing the grand total to 20.  Only 5 to go.  It’s so close I can taste it!

3.  Sort and select phone pics for September, October, November, December and January Project Life.  I like to do the phone pics first and then see where I need a DSLR pic to fill in after.  The majority of my Project Life is phone photos.  Done!!!

4.  Order these dang pictures!  Done!!!

5.  Design and make Valentine’s for Kate.  Done!!!

6.  Finish up projects for Kate’s Valentine’s Day party.  I didn’t finish all of the Valentine’s Day projects I was hoping to, but the party ones are finished at least.

7.  Rebuild my blog buffer.  Well, I’m one ahead which is a start.  I need to get some more stuff done!

All in all, I’m feeling pretty good about where I stand.  I do need to get on the scrapping though.

Valentines!

I may have gone a bit overboard with Kate’s valentines this year.  I just couldn’t help myself!  Kate’s requests were to have hearts and butterflies so I thought about making these, but Kate’s school said not to send any candy and I thought that they would look silly with pencils.  Then I saw that one of my friends was making homemade playdoh and I decided to copy her.  🙂  I used the first recipe from this blog.

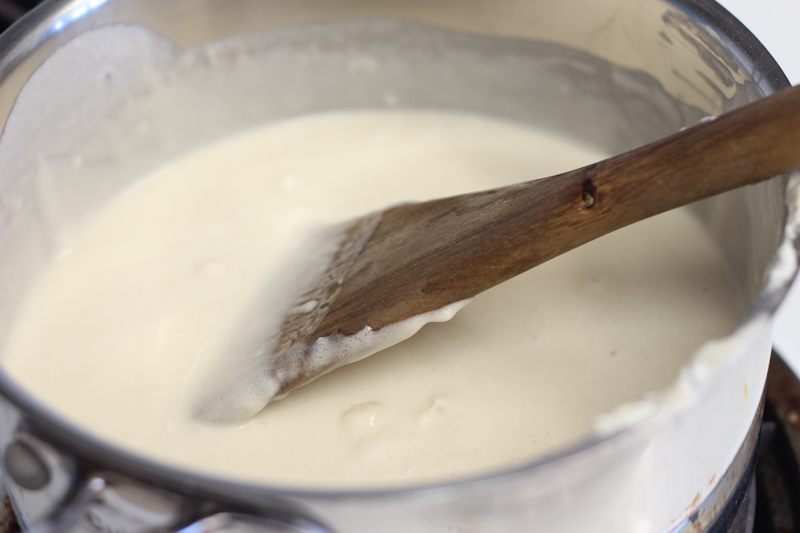
This recipe involves you cooking the playdoh on the stove top.  You basically stir it forever and then when you can’t stir it anymore it’s done.

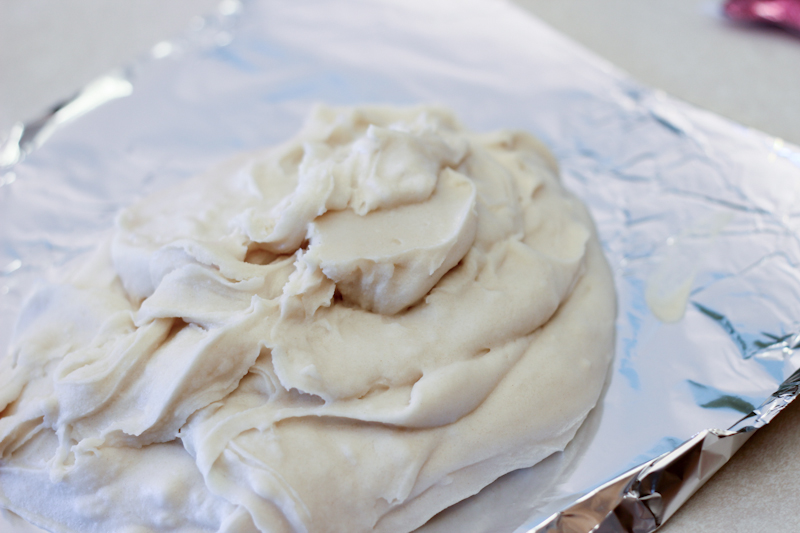
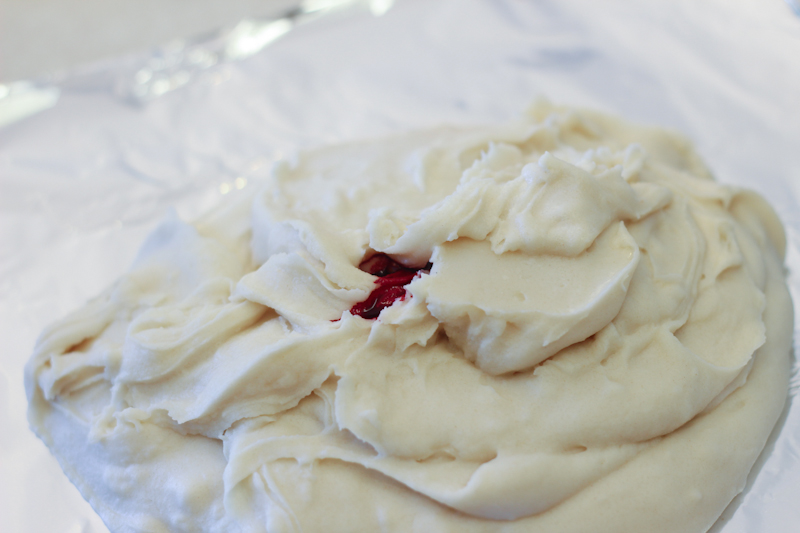
Don’t be fooled when it gets thick like mashed potatoes.  You’re looking for a concrete consistency.  The good news is that if you take it off too soon and it’s still sticky, you can put it back in the pot and cook it some more.  Let’s just say that I have first hand experience with this.

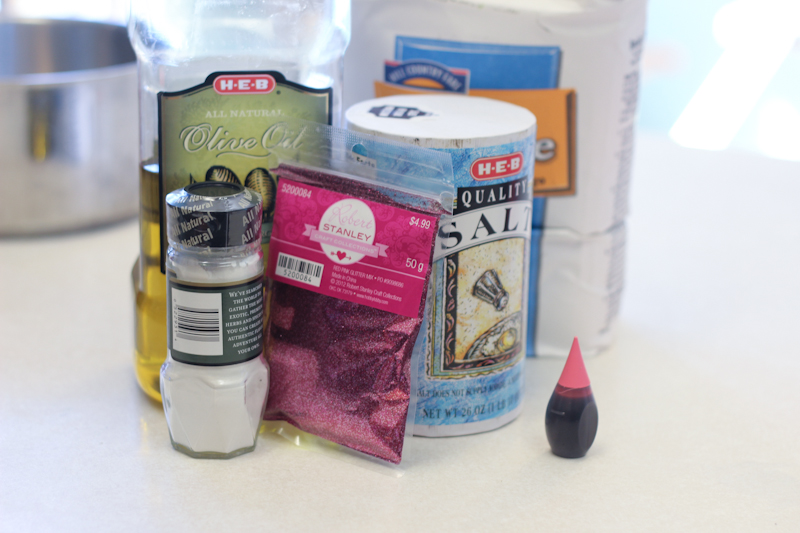
Once it’s not sticky anymore, add some food coloring.  I used about 10 drops of pink food coloring for a double batch of playdoh.

Kneading playdoh is oddly cathartic.

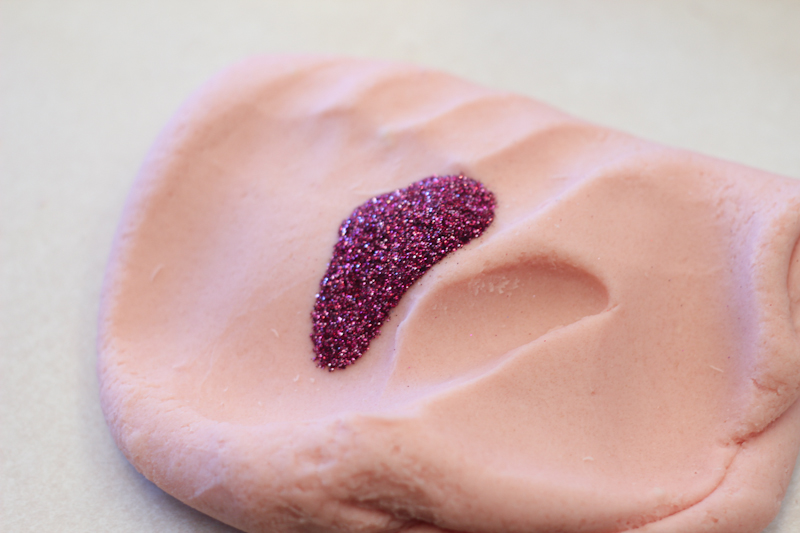
The pink was pretty snazzy, but I decided that some glittery would spice it up.  🙂

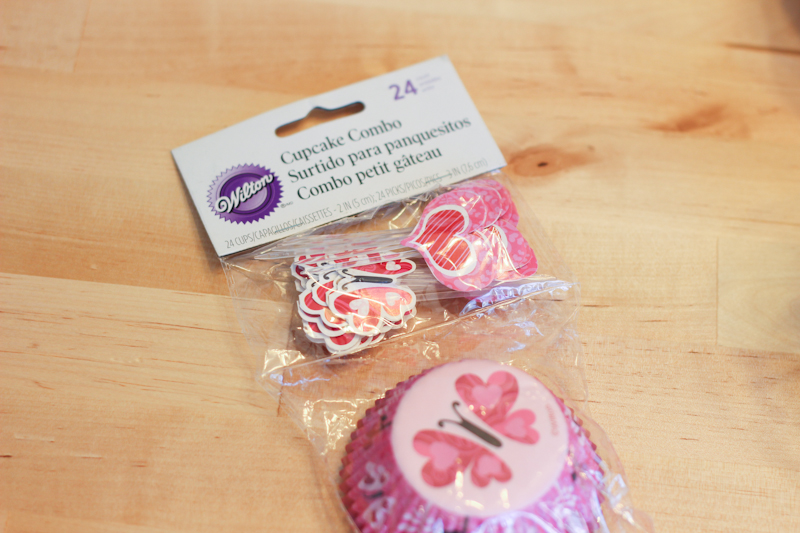
I thought that it would look cute in a cupcake liner in a treat bag.  I couldn’t believe it when I actually found cupcake liners with hearts and butterflies!

I rolled the playdoh into balls (8 balls per double batch) and put them in the cupcake liners.  Then I inserted the cute included topper.

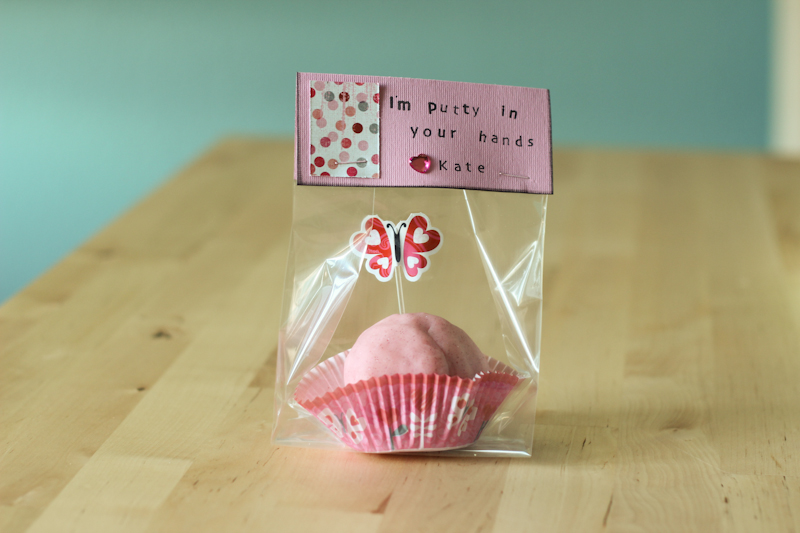
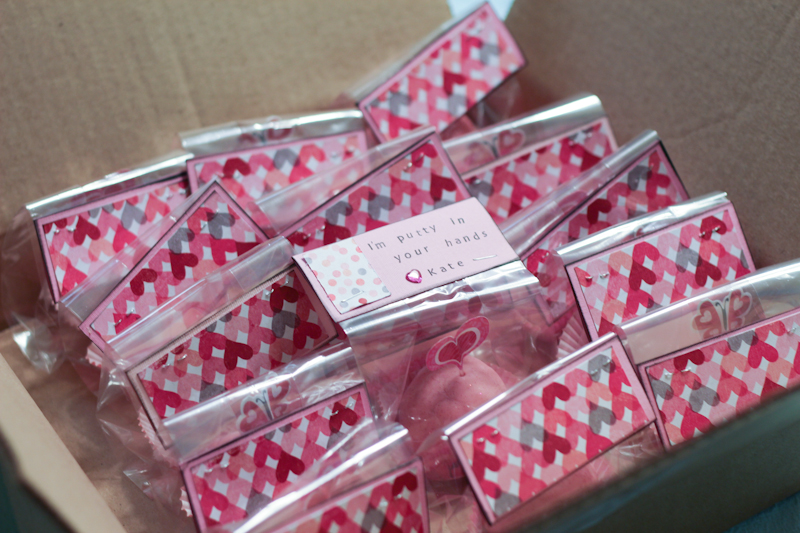
Perfect!  I popped them into clear treat bags and stapled some valentines on top.

Pretty simple.  Just some cardstock, stamps and patterned paper.  Oh, and a little gem.

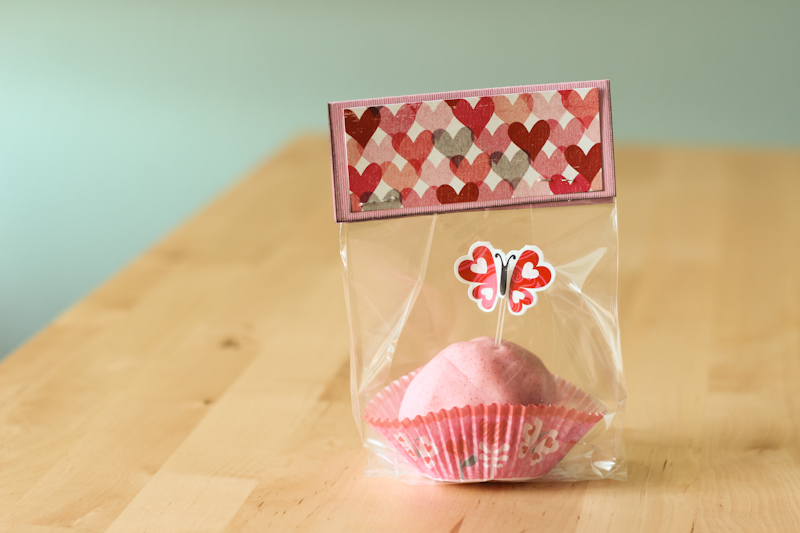
Here’s the back.

All packed up and ready to go to school!  Kate was super excited.  🙂


Persnickety Prints

I’ve tried a lot of photo developers and, I’ll be honest, I’ve never been that impressed.  The color always seems off, but not in any kind of consistent way that I could edit for.  I had heard of Persnickety Prints from a couple of different scrapbooking blogs and decided to give them a try.  Boy am I glad that I did!  The pricing was very competitive, ($.15 a print if you order at least 200), only $5 in shipping (there was even a free coupon when I ordered), and they got here super fast.  I ordered on a Sunday night and they were at my house on Thursday.  Wow!  And y’all, they came wrapped in tissue paper and washi tape.  Be still my heart!

20130212-203153.jpg

The best part though?  The quality was amazing!  The color was spot on.  Perfection.  They even have funky odd sizes, I got a 6×10 for a Project Life layout and it looked great.  I do believe that I’m a convert!

Marshmallow Pops

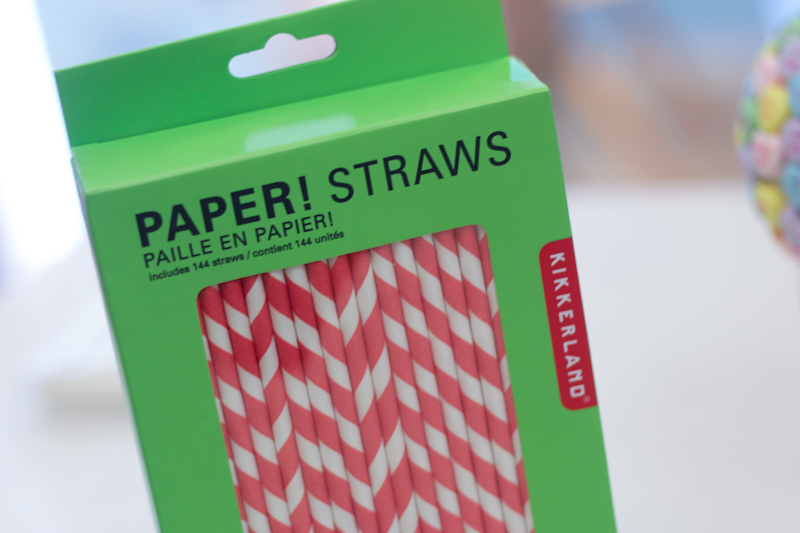
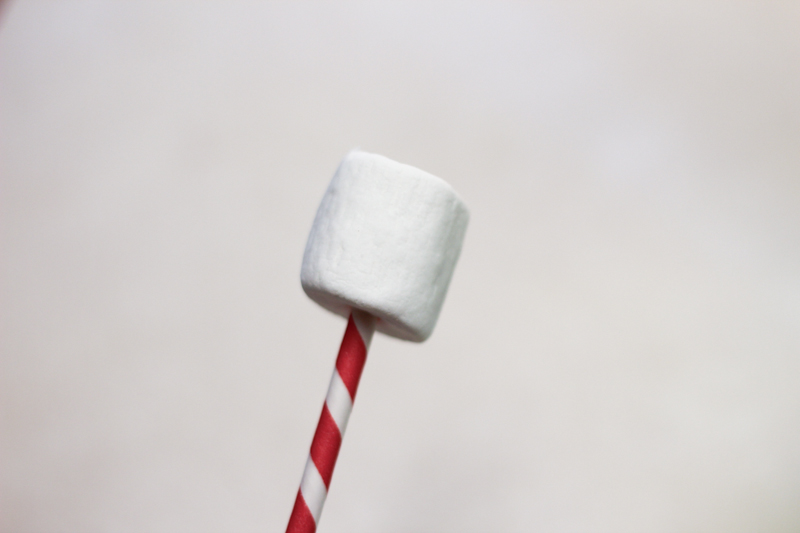
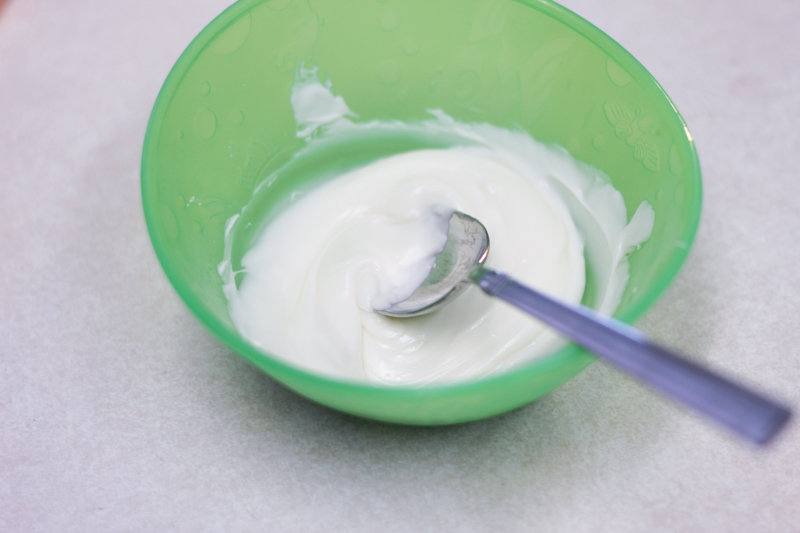
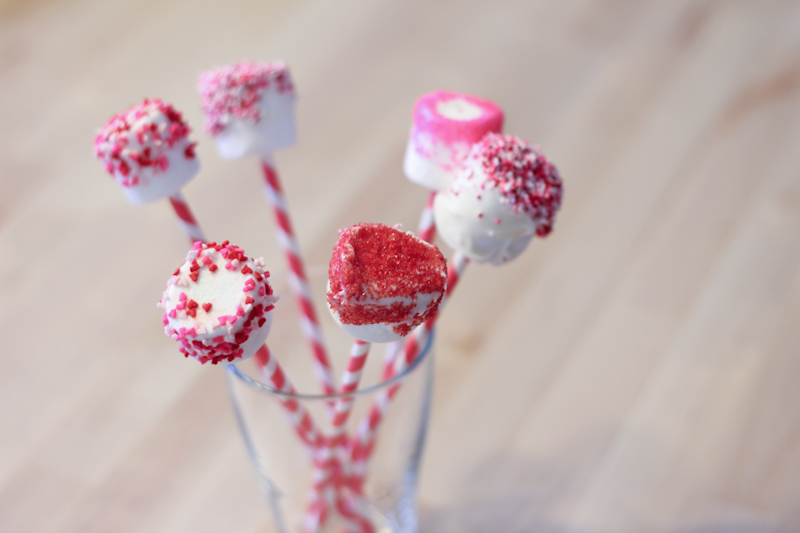
I saw these on Pinterest and knew that I had to make them for our Valentine’s Day party! Given my somewhat, shall we say, erratic success rate with Pinterest I figured we would be wise to do a trial run.  Or two.  🙂  You need straws or sticks, marshmallows, almond bark, and sprinkles.  I love these straws!  I initially wanted pink stripped straws, but they were $15.95 for 50 and these red ones were $7.98 for 144.  I’m not gonna lie, I was *still* super tempted to get the pink ones, but not even I could justify it.  🙂

The first time (when I took pictures) I just smushed the marshmallows onto the straws and dipped them in the chocolate.  Then I read the directions.  (When will I ever learn?  lol.)  It works better if you cut a slit in the marshmallows before you put on the straws and stick them in the freezer for a few minutes.  Trust me.

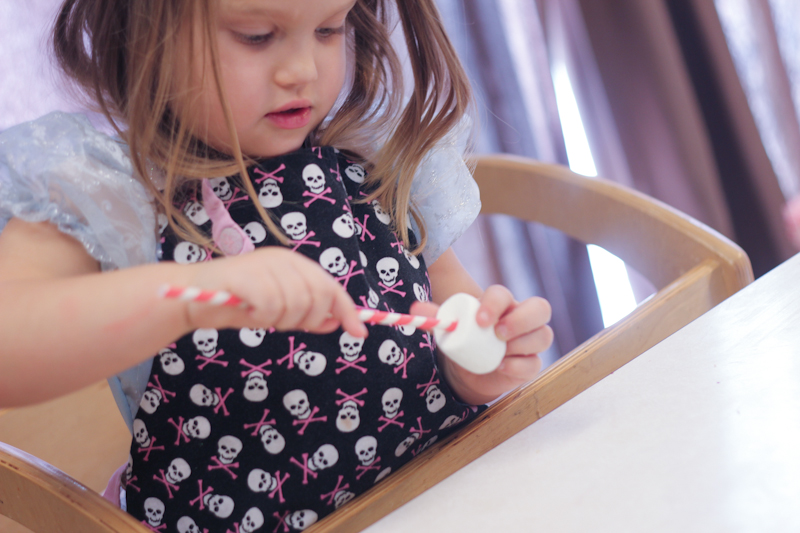
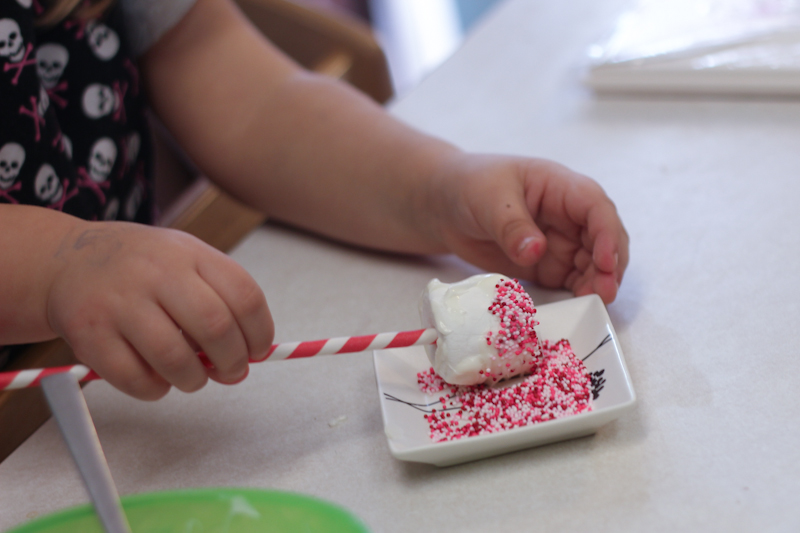
Kate was a great helper.  🙂

Another tip, the first time I melted the almond bark in the microwave.  It worked much better the second time in my jury rigged double boiler.

The advantage to melting it in the microwave was that Kate could help dip the chocolate.  I love involving her in the kitchen (most of the time.)

Then we just rolled them in my embarrassingly large sprinkle collection.

We also tried just dipping the marshmallows in water, but found that the sprinkles didn’t stick as well long term.

All in all, we had a blast!  I think they turned out super cute.  Plus, they’re egg free (one of Kate’s friends is allergic) and way easier than cake pops.


October Afternoon Witch Hazel

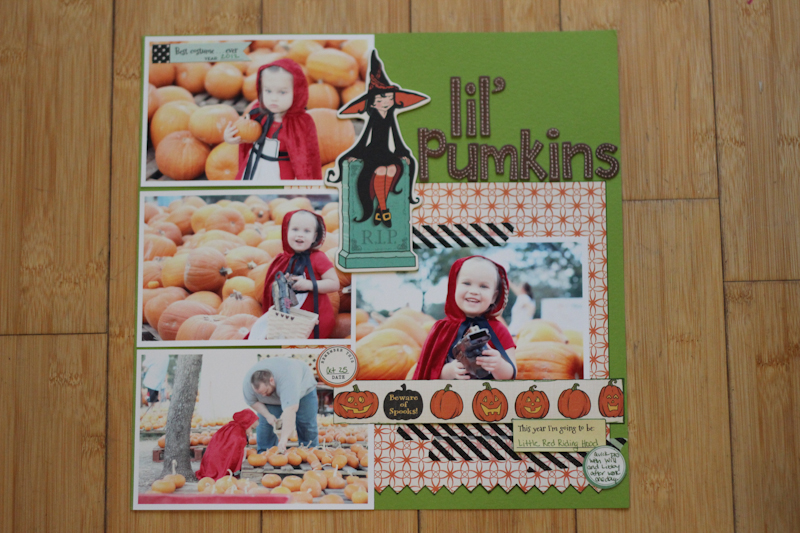
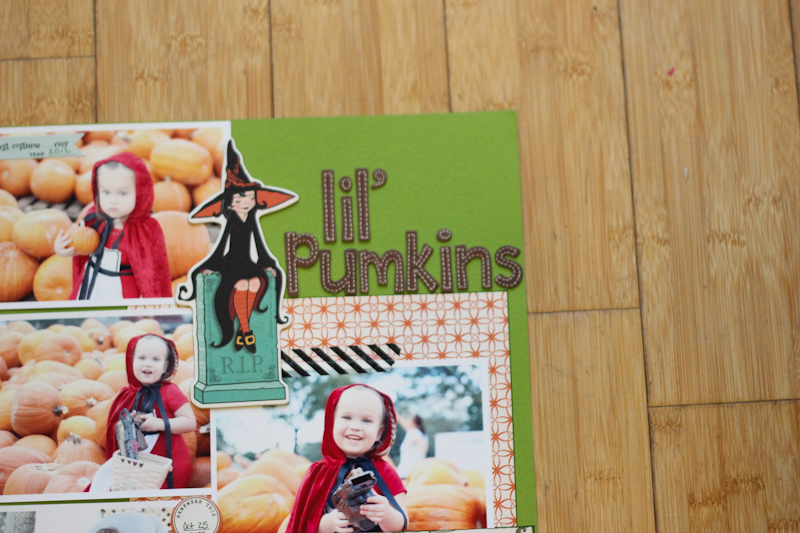
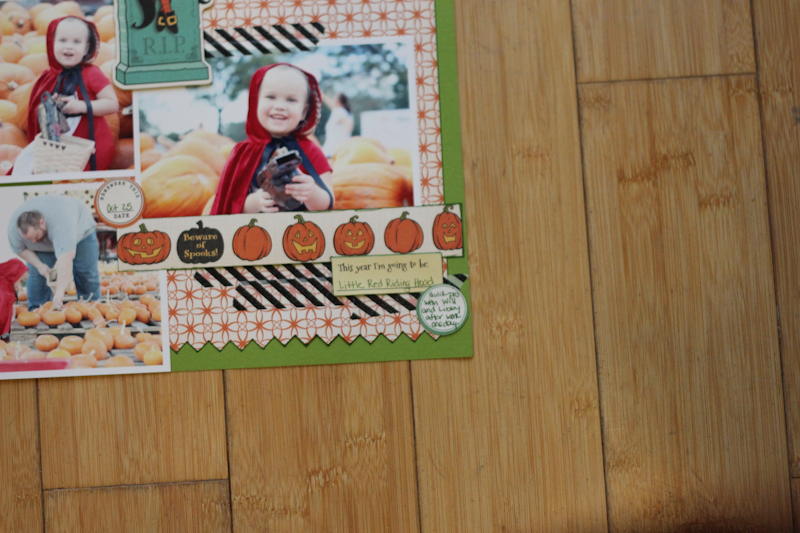
I love Halloween.  And I love this Halloween paper!  October Afternoon of course.  🙂

I’m also seriously in love with these Thickers.

And the knock-outs border punch.  And washi tape.  🙂

And Kate in a Little Red Riding Hood costume.  🙂

Guest Post: Syringe Crafts

I, Raptor Dad, recently had a surprise surgery that left me laying about for a couple of weeks. One of the side effects is that I still can’t lift Raptor or do strenuous activity. That means that a lot of the crazy playtime has had to been toned down. Raptor and I started doing projects together so that she wouldn’t feel neglected.

At Hobby Lobby we discovered a Beginner’s Hydraulics project kit that used syringes to make simple machines (cranes, scissor lifts, etc.). This was a huge success with Raptor even though it was five years ‘too’ old for her.  After we finished all the projects I realized that 1) Raptor was still curious about water flow and 2) she was really interested in the syringes themselves because she was still processing the fact that I was getting medicine every day via an IV line. As a result of my medical issues we had literally a hundred empty syringes, some of them had contained chemicals and were deemed off limits, but a vast majority had only had sterile saline (salt water). We rinsed these out and have been coming up with little projects for Raptor use them in. It gives her something to do with me and helps her “master” this object that was causing her some concern.
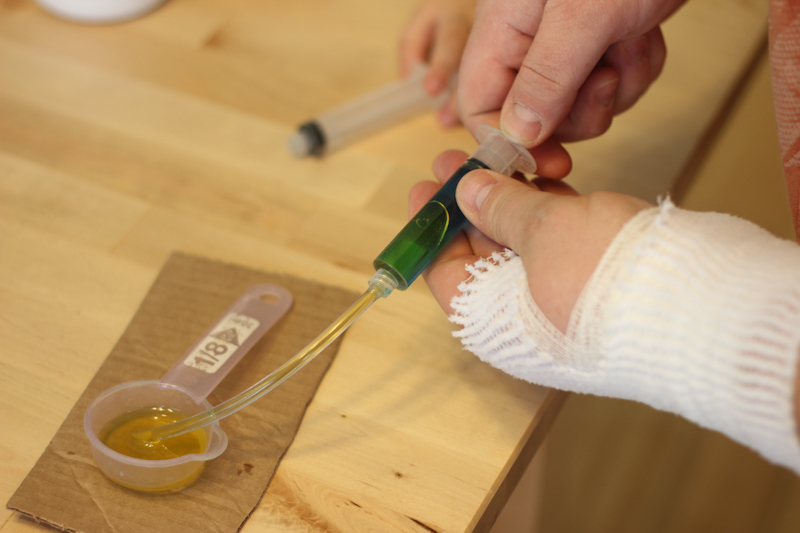
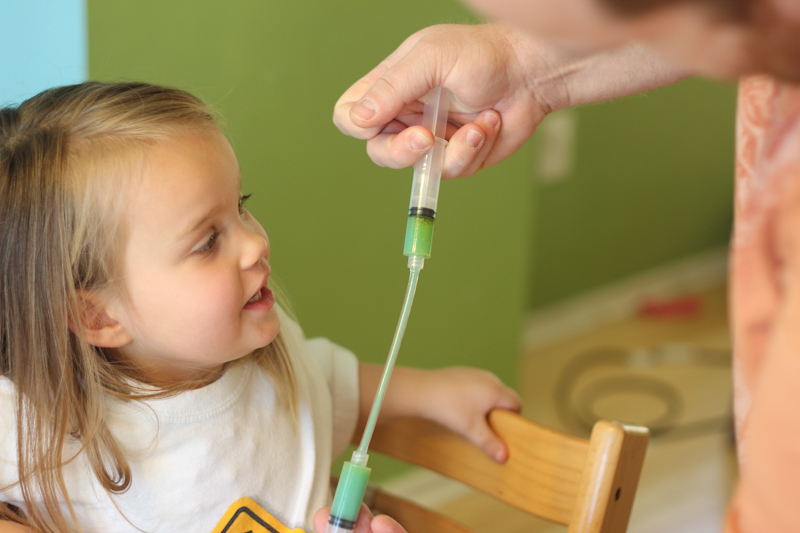
It started simple, using a syringe to transfer water from one cup to another. Next I found some surgical tubing (not from my surgery, it’s available at Home Depot) and connected two syringes together and filled one with water.  Raptor could now push on one hand and feel the water push the stopper out in her other hand. The equal and opposite reaction fascinated her. She doesn’t have to understand the underlying science for it to be making an impression and fuel her curiosity. 🙂
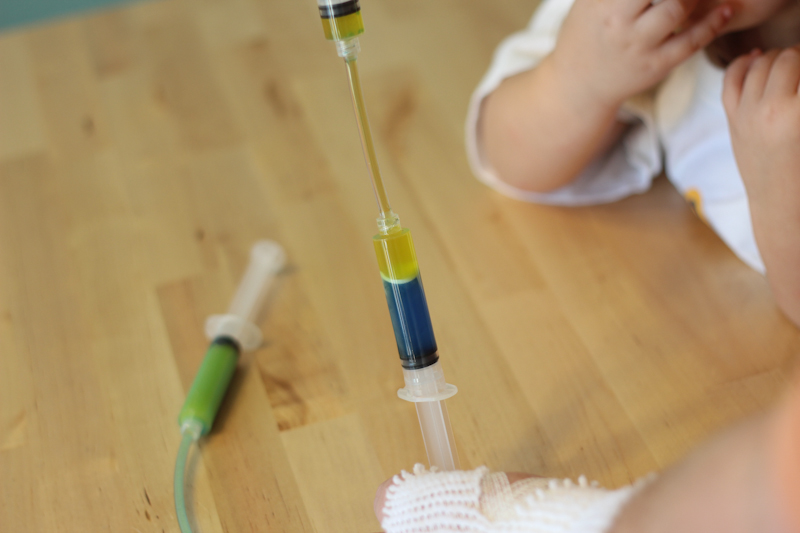
The most recent phase is a lesson in color mixing and material density, but again for her it’s just good fun. We half filled one syringe with blue water and a second syringe with some very yellow virgin olive oil. Once connected Raptor could mix forcefully to make a green emulsion that would slowly settle back out to blue water and yellow oil. It has been a huge hit in Casa de Raptor! Here’s some tips on making your own if you want to.

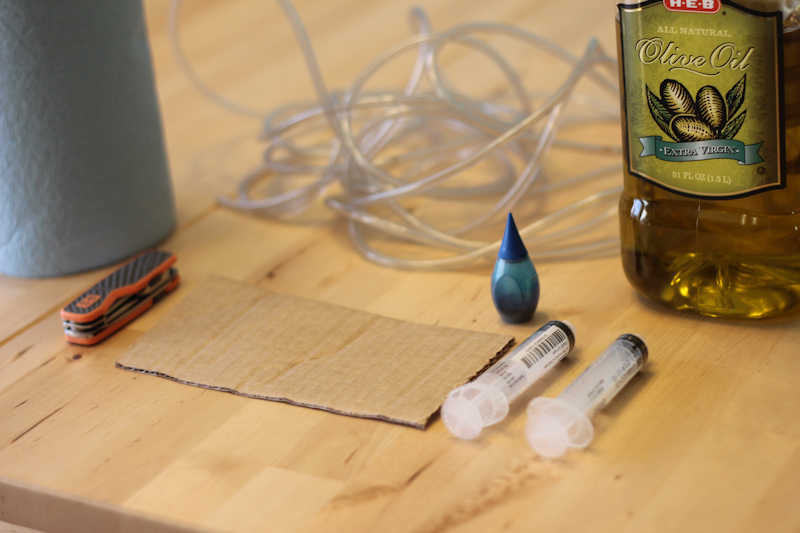
1.  Collect the following: food coloring (blue recommended since oils are usually yellow), oil with a strong coloration, 2 syringes (no needles…come in baby medicine usually), plastic tubing (Home Depot), water, enthusiastic child helper

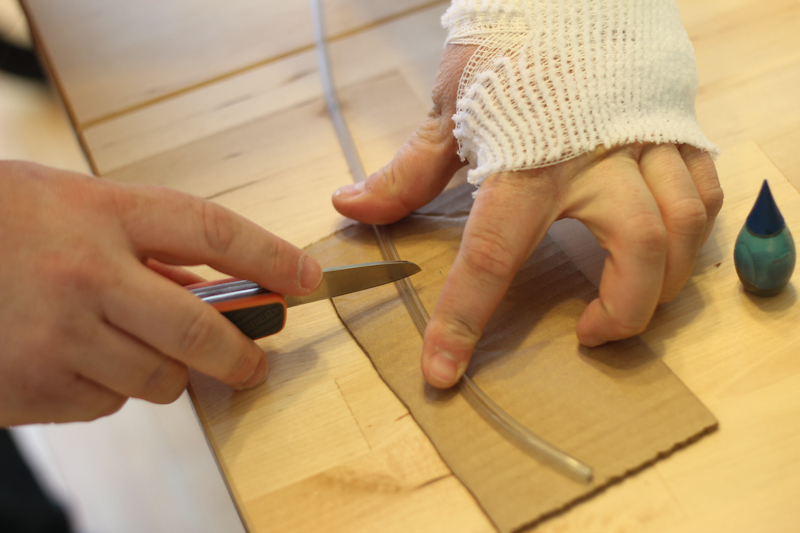
2.  Cut tube to desired length.
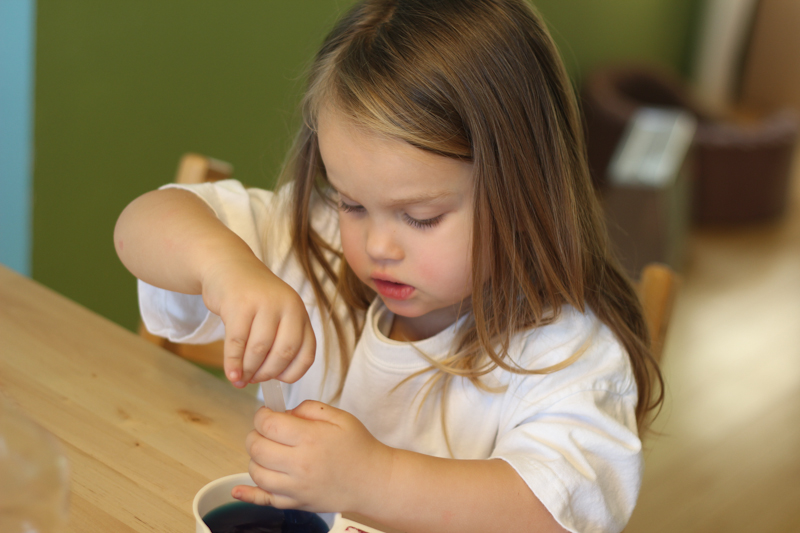
3.  Dye water.
4.  Draw up water into first syringe, push tube onto end and squeeze until the line is full of blue water (air bubbles will get trapped otherwise and ruin the look of your experiment) and the syringe is only about half full.
   
5.  Draw up oil into second syringe. Only half fill!
6.  Connect the second syringe via the tubing.

7.  Squeeze and watch your kid smile. Squeeze back and forth vigorously to make a frothy color mixed emulsion. The more you do this the longer it will take for the colors to separate.

And that’s about all you need. Hope you enjoy as much as Raptor did!

October Afternoon Midway

It’s no secret that I *love* pretty much everything that October Afternoon makes and their Midway collection is no exception.  ::cough cough::  add me to your design team ::cough cough::  It was perfect to scrap a trip we took to the zoo last April.

I usually use a 6 inch piece of patterned paper on each edge and trim the pictures down a bit, but I could already tell that I was going to run out of this paper so I cut thin stripes that went just under the edge of the paper.  Worked out great if you ask me.  🙂

I love all of the stickers!

I was going for a three-clusters-of-embellishment thing a la Shimelle (my hero) and this is my second cluster.

Third cluster and title using more awesome stickers.  Love!  I’ve got to find a way to get my hands on more of this paper.

In other news, I just ordered 374 pictures!  I can’t wait to get them in!

Love Letters and Goals

Remember the JOY letters I made for Christmas? I made another set for Valentine’s Day using last year’s Echo Park paper.

20130201-112651.jpg

I love how they turned out!  I think I’m going to try to make several more sets and then rotate them out with the seasons.  Next up?  RaptorDad has suggested LUCKY for March. Sounds good to me!  I’m also planning on BOO for October.  Other suggestions?

Now for a goals update.  My goals for January were:

1.  Finish March and April layouts in Kate’s scrapbook.  I finished March and made some progress on April, but I didn’t finish.

2.  Finish December Daily.  I got a few more pages done, but I still have a ways to go.  I’ve finished though Day 18.

3.  Sort and order pictures for May and June.  I haven’t placed the order (yet) but I have sorted, edited, and curated pictures from May, June, July, and part of August.  I’m actually pretty impressed with myself for this.  I hate sorting through pictures.

4.  Sort and order Project Life pics for April, May, and June.  Again, not ordered, but I have them all sorted and ready to order for April, May, June, July and part of August.  Incidentally, those months are totally done aside from slipping 1 or 2 photos a week into the page protectors one I get them ordered.  Wow.  🙂

5.  Project Life journaling for November.  Done and then some.  I’ve finished November, December and January.  Dare I say it?  The journaling is caught up!

6.  Start making dinner at least once a week.  I’ve actually taken over almost all of the cooking duties since Michael can’t lift over 8 pounds with his PICC line.  To be fair, most of these are frozen meals that my friends have sent over (bless them!) but I’m checking this off anyway.

Given the craziness that has been our life for the past few weeks, I’m pretty impressed that I’ve accomplished any of this.  🙂  Now for my February goals.

1.  Finish April and May layouts.  This one is dependent upon me actually getting my pictures back from the printers which would involve me ordering them…  See number 4.

2.  Finish December Daily.

3.  Sort and select phone pics for September, October, November, December and January Project Life.  I like to do the phone pics first and then see where I need a DSLR pic to fill in after.  The majority of my Project Life is phone photos.

4.  Order these dang pictures!

5.  Design and make Valentine’s for Kate.

6.  Finish up projects for Kate’s Valentine’s Day party.

7.  Rebuild my blog buffer.

Project Life

Becky Higgins came out with the new Project Life core kits and I fell in love. LOVE! I knew that I was going to have to have it when it came out in May. The problem with this is that I am woefully behind on my Project Life and I can’t justify buying another one when I don’t have a single week totally done.

Here’s what I had done at the start of the month. I was missing 3 months of journaling and I had the hipstamatic pictures printed for April, May, June, July, and half of August. (Remember, my book runs April to April.)

20130127-191200.jpg

I’m happy to say that I am now totally caught up with the journaling. 🙂 I also went through and cut out all of the pictures, taped them down, and identified the blank spots where I needed a DSLR picture. I’ve sorted through my DSLR pics from April- July and picked the ones to be printed, generally 1 a week. I decided to go ahead and edit all of the pictures as I was going and pick the ones to print for Kate’s scrapbook at the same time so as you can imagine its been quite the process. I can’t wait to get a huge stack of pictures to play with!