Raised Garden Bed Tutorial

I’ve decided to kill some more plants this year!  I’ve started a garden and have high hopes this year.  We have terrible soil and little to no drainage (our backyard resembles a swamp the 3 days a year we get rain) so RaptorDad suggested raised beds when I insisted that this was going to be the year that I conquered gardening.  We’re going with something called lasagna gardening which I gather means we’re putting down various layers of stuff.

garden-2

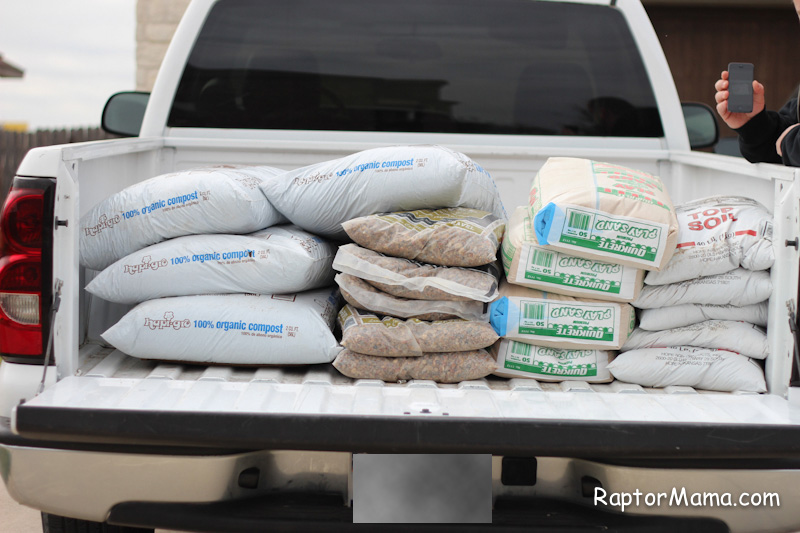
I went to Lowe’s armed with a rather daunting shopping list, but they were quite nice and loaded everything up for me.  My biggest issue?  Why does it have to cost *more* to buy dirt without added fertilizer?  I didn’t need certified organic potting soil (at 3 times the price) but I couldn’t find any other potting soil without added chemicals.  Luckily, RaptorDad actually has some gardening know how and after a few panicky texts he gave me a list so that we could make our own.  And yes, next time I’ll drive the hour down to the hippy nursery.  I’ve learned my lesson.  😉

garden-3

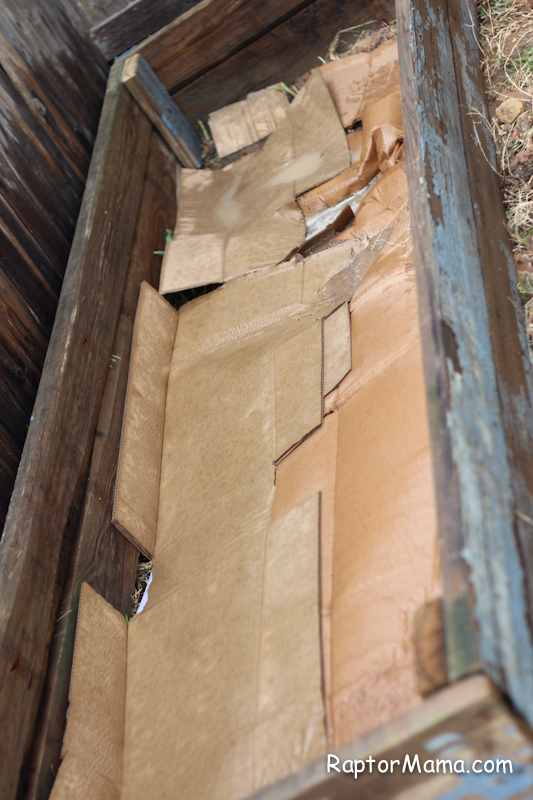
Our yard gets zero shade since, in addition to killing small vegetables, I also have a habit of killing trees.  ::sigh::  Our next house will definitely include established trees.  I know that lots of sun is good for plants, but there’s a limit to what they can take when it’s 107* outside.  With this in mind, RaptorDad built me a rectangle out of reclaimed wood (thanks craigslist!) in our side yard so that it would get some shade from the house and the fence.  Fingers crossed!  I removed all of the stickers and tape from some cardboard boxes we had laying around (we order way too many things from Amazon, but we’ve been sucked in by free 2 day shipping) and put them down as the first layer.  We then wet them thoroughly.

garden-4

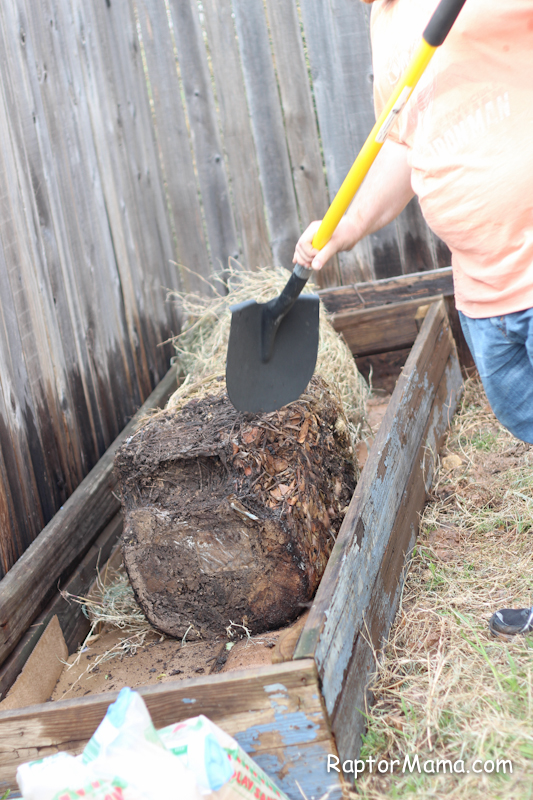
The next layer was some dried out grass clipping and our failed compost.  We recently started composting again and I’m really hoping we can keep up with it.  I’d like to add more raised beds every year and dirt is surprisingly expensive!  Not to mention we’re trying to reduce the amount of trash that we produce.

garden-5

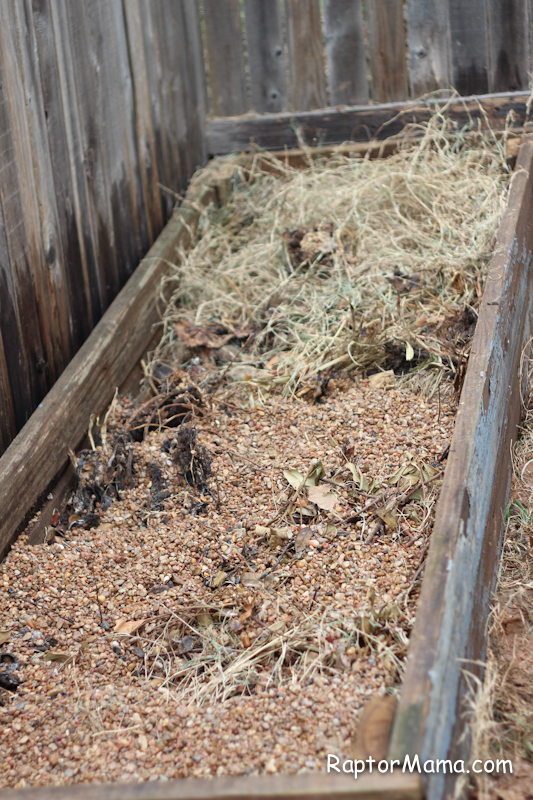
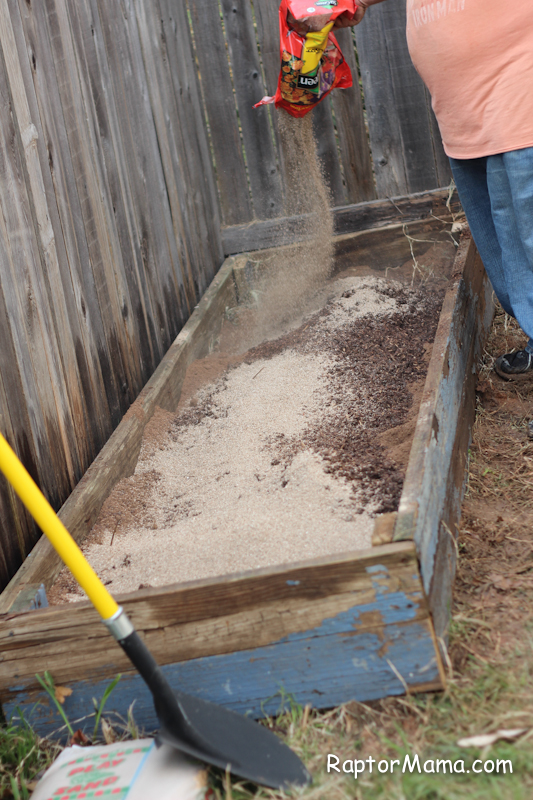
After that came a couple of bags of pea gravel and some play sand.  Apparently this will help with drainage.

garden-6 
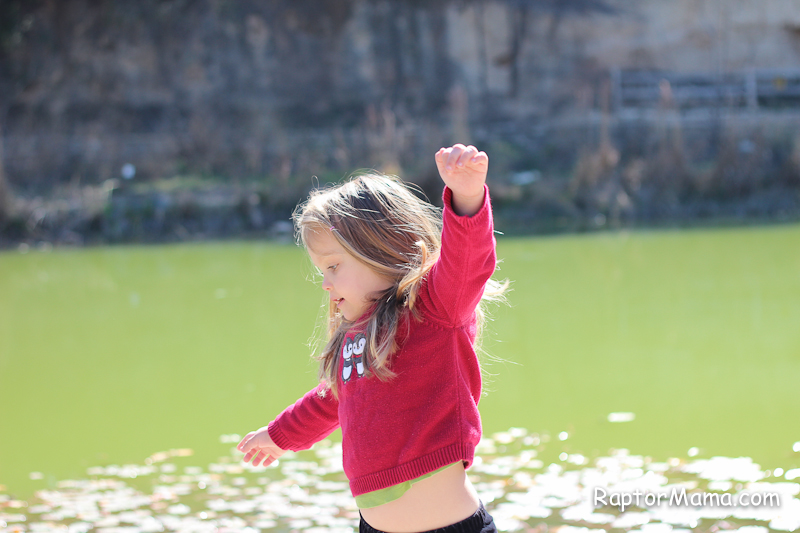
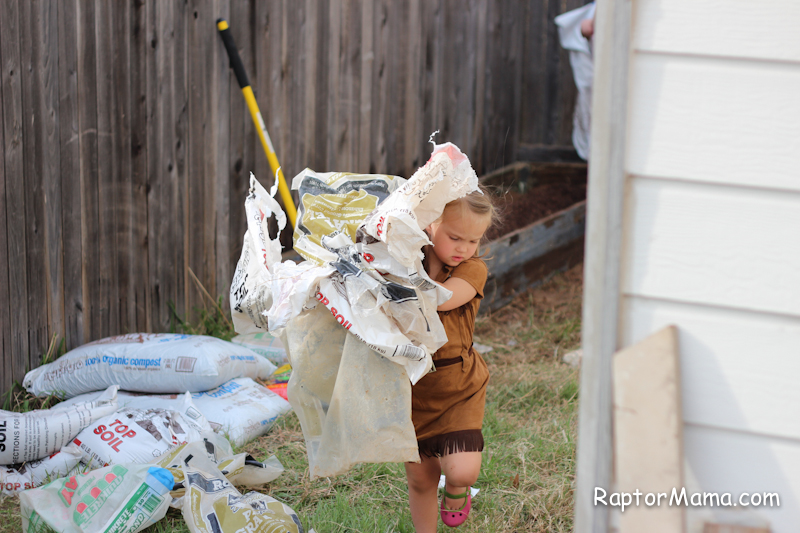
Obligatory adorable picture of Kate.  She is so excited to help with the garden.  She was a little perturbed that we had to wait for actual veggies though.  She’s into instant gratification just like her mom.

garden-7

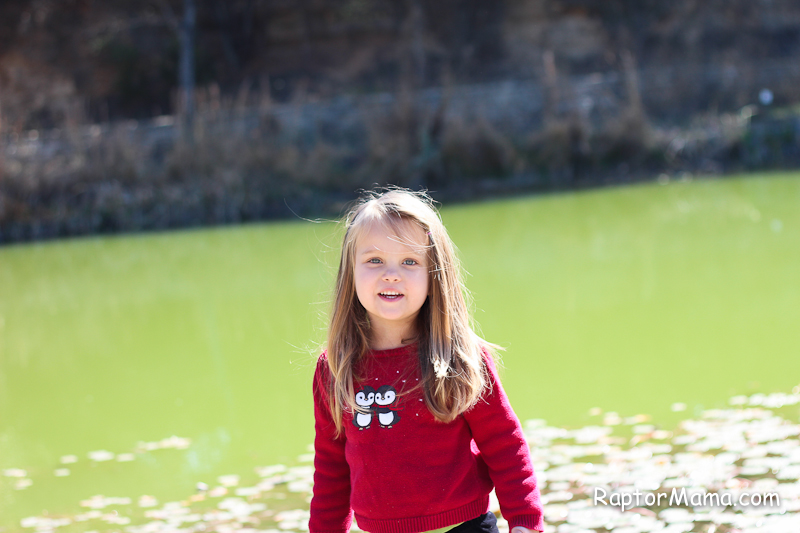
Our next layer was top soil, compost, and vermiculite.  We mixed all of those together to get what I assume is essentially potting soil.

garden-9


Then plants!  So far I’ve planted 1 orange tomato, one squash, 1 green bean, and 1 okra.  Everyone says that the things to grow are tomatoes and peppers, but I figured we’d be better off growing things we would actually eat and there’s no way in the world Kate is eating jalapeños.  I’m not sure how that happened since I’m pretty sure that her amniotic fluid was at least 50% salsa, but there you have it.

Incidentally, I’m writing this blog post on Thursday and we planted the garden on Wednesday.  So I’ve already kept the plants alive 1 whole day!  That may not sound like much, but it’s better than last year so I’m putting it in the win column.  Any other suggestions for things to plant?  Or is it better to just put in several of each kind of plant?    I’d like some variety, but I also don’t want to end up with 1 green bean.  Who am I kidding.  I would be *thrilled* to get one green bean, but you get my point.


St. Patrick’s Day Teacher Gift

Kate’s preschool teachers are amazing.  We totally love them so I like to send in little treats every once in a while.  This was a Pinterst find, of course.  🙂  It even included the printable!

garden

Excuse the blurry picture.  My allergies have laid me low.  I initially intended to cut out the circle like the example and maybe add some more cute paper layers, but honestly I was doing good to get it done at all.  It was well received even in its simpler form.  🙂

Update to come

I’m a bit behind today, but I have a cool idea that I’ll hopefully finish and get up today.  It all depends on how nap time goes.  🙂  Now that spring break os over things shold get back to normal around here shortly.

Field Trip!

Kate and I took a little field trip down to the Zilker Science and Nature Center last week. I totally love this place.

IMG_5208

We had a blast down by their little lake.  The light was gorgeous.  🙂

IMG_5211

And Kate was being quite cooperative.  🙂

IMG_5237

She loved looking at the rescue animals.

IMG_5285


Isn’t this microscope the coolest?

IMG_5283


She was so excited to be able to do the slides all by herself.  🙂

IMG_5287


This one’s a bit blurry, but she was so proud of herself that I just had to include it.

IMG_5291


Inspector Kate!


More October Afternoon

I’m on a scrapping roll!

IMG_5114

Can I just say that I love October Afternoon?  Because I do.  🙂  This page was super simple to put together.  It’s basically 2 pieces of patterned paper on some cardstock with a bit of washi tape, a few wood veneers, some letter stickers and a journaling sticker.  Oh, and a wee bit of ink.


October Afternoon Midway Layering Page

IMG_5527

I’m so excited about this page.  I think it might just be my favorite page ever.

IMG_5530

The title is a bit of an inside joke.  Kate is a huge ham and she loves to have her picture taken.  Once I asked her to run toward me and she’s seriously latched onto that.  Now anytime she sees my camera she wants to give me a “running picture.”  🙂

IMG_5532

I tried to channel my inner Shimelle (you know, my scrapbooking idol) with the layering. Supplies: Papers are October Afternoon, the Midway Collection; Thickers are Amy Tangerine; Wood Veneers are Studio Calico.


Photo Flip Scrapbook Page

IMG_5106I thought that this page turned out really cute.

IMG_5111

I even got super fancy with the title and pulled out my DIY Thickers and some Doodlebug Flocking.

Imagine my frustration when I found 2 more photos that were supposed to be included about 10 minutes after I finished.  Grr…  I certainly wasn’t redoing the whole page so I decided to add a little flip up section.

IMG_5125


It’s a super simple technique.  I taped 2 photos back to back and then set them directly on top of another photo.  I attached it with a wee bit of washi tape along the top to make a hinge.

IMG_5121

I reinforced it with another bit of washi on the backside.  Clear as mud?

IMG_5127

Here it is with the flap down.  I’ll cut a corresponding flap into the page protector so that you can see all of the pictures without removing the page.  I have a tendency to print *way* too many pictures and this is a great way to get them all into Kate’s book.  Let me know if you try it!


Shamrock Clothespin Math Activity

I probably need to peruse Pinterest for some new math activities as Kate has mastered these, but I’m hoping that the addition of some clothespins will help keep her amused.  Plus, the clothespins are good for developing fine motor skills.

I started with some laminated shamrocks which I added dots to with a sharpie, 1-10.

Than I painted 10 clothespins green and wrote the numerals 1-10 on them with a sharpie.

The idea is that she can either put either set in order or she can match the 2 sets up and clip the clothespin to the shamrock.

Love it!

Shamrock Evens and Odds

Kate has been asking about another counting activity ever since we lost her Valentine’s Day one shortly after I finished it.

I bought some felt stickers at Joanne’s and wrote the numbers on them in sharpie.

I found these coins at Joanne’s too to use as counters.  Once I got home, I realized that I had bought 2 packages of gold and one of green instead of 3 packages of gold.  ::sigh::  I was super annoyed at first, but the I realized that I could use it to introduce the concept of odd and even.  Not sure if she’s got it yet, but hey, exposure is everything right?  🙂

St Patrick’s Day Mod Podge Letters and Goals

Remember the JOY letters?  And the LOVE letters?  I’ve been putting them on a shelf in our built-ins and they’ve been so cute that I decided to make a set for every month! 🙂

RaptorDad suggested LUCKY for March, but they were out of Ys at Joanne’s so I went with LUCK.  I used the Lime Twist line from My Minds Eye.  I love this line.  In fact, I bought it when it was new and used every last scrap.  Imagine how happy I was when I found a huge collection of it at Archivers last week!

I was initially looking for some shamrock paper for this project, but I couldn’t find anything that I *loved.* Then I realized  DUH!  I can just use green paper.  RaptorDad suggested orange paint which ended up being perfect.  It made the green pop and it’s the colors of the Irish flag!  Perfection.

The last time I made these, people asked me what I did about the wrinkles in the paper and I was perplexed because I didn’t really have a problem with wrinkles.  Not the case this time.  The collection pack of these papers was quite thin and I think that’s why I ended up with wrinkles.  Bottom line, if you want to avoid wrinkles use a thicker weight paper.  I think that a brayer would have helped too, but let’s be honest, I only have so much preschool time available to craft and I’m not wasting it looking for/ buying a brayer.  In the end I decided that it looked fine wrinkles and all.

Cute!

Now, for the goals update.  I did pretty good this month!

1.  Finish April and May layouts.  This one is dependent upon me actually getting my pictures back from the printers which would involve me ordering them…  See number 4.  Done!  Barely, but it’s done.  I thought it was a lost cause, but Kate had school Thursday and I finished the last 4 layouts just in the nick of time.  🙂

2.  Finish December Daily.  Also done!  I finished this up on Tuesday during preschool.  I’ve been so productive this week.  🙂

3.  Sort and select phone pics for September, October, November, December and January Project Life.  I like to do the phone pics first and then see where I need a DSLR pic to fill in after.  The majority of my Project Life is phone photos.  This was quite the undertaking, but it’s done.  Who hoo!

4.  Order these dang pictures!  Done and done.  Can I just say that I <3 Persnickety Prints?  Because I totally do.  🙂

5.  Design and make Valentine’s for Kate.  They were super cute if I do say so myself.

6.  Finish up projects for Kate’s Valentine’s Day party.  I could always have done more, but I’m pretty happy with what I did do.

7.  Rebuild my blog buffer.  Not sure if I can check this one off or not.  I was hoping to have a 2 week buffer and instead I have a 2 entry buffer.  Meh, it’s better than nothing.  I’ll keep this one on for next month though.

March Goals:

1.  Scrapbook June and July.  Eeeppp!  That’s a lot of pages.

2.  Organize/edit/select DSLR photos and phone photos from RaptotDad’s phone for Project Life for October, November, and December.

3.  Organize/edit/select photos for Kate’s scrapbook for October, November, December.

4.  Meal plan for March.