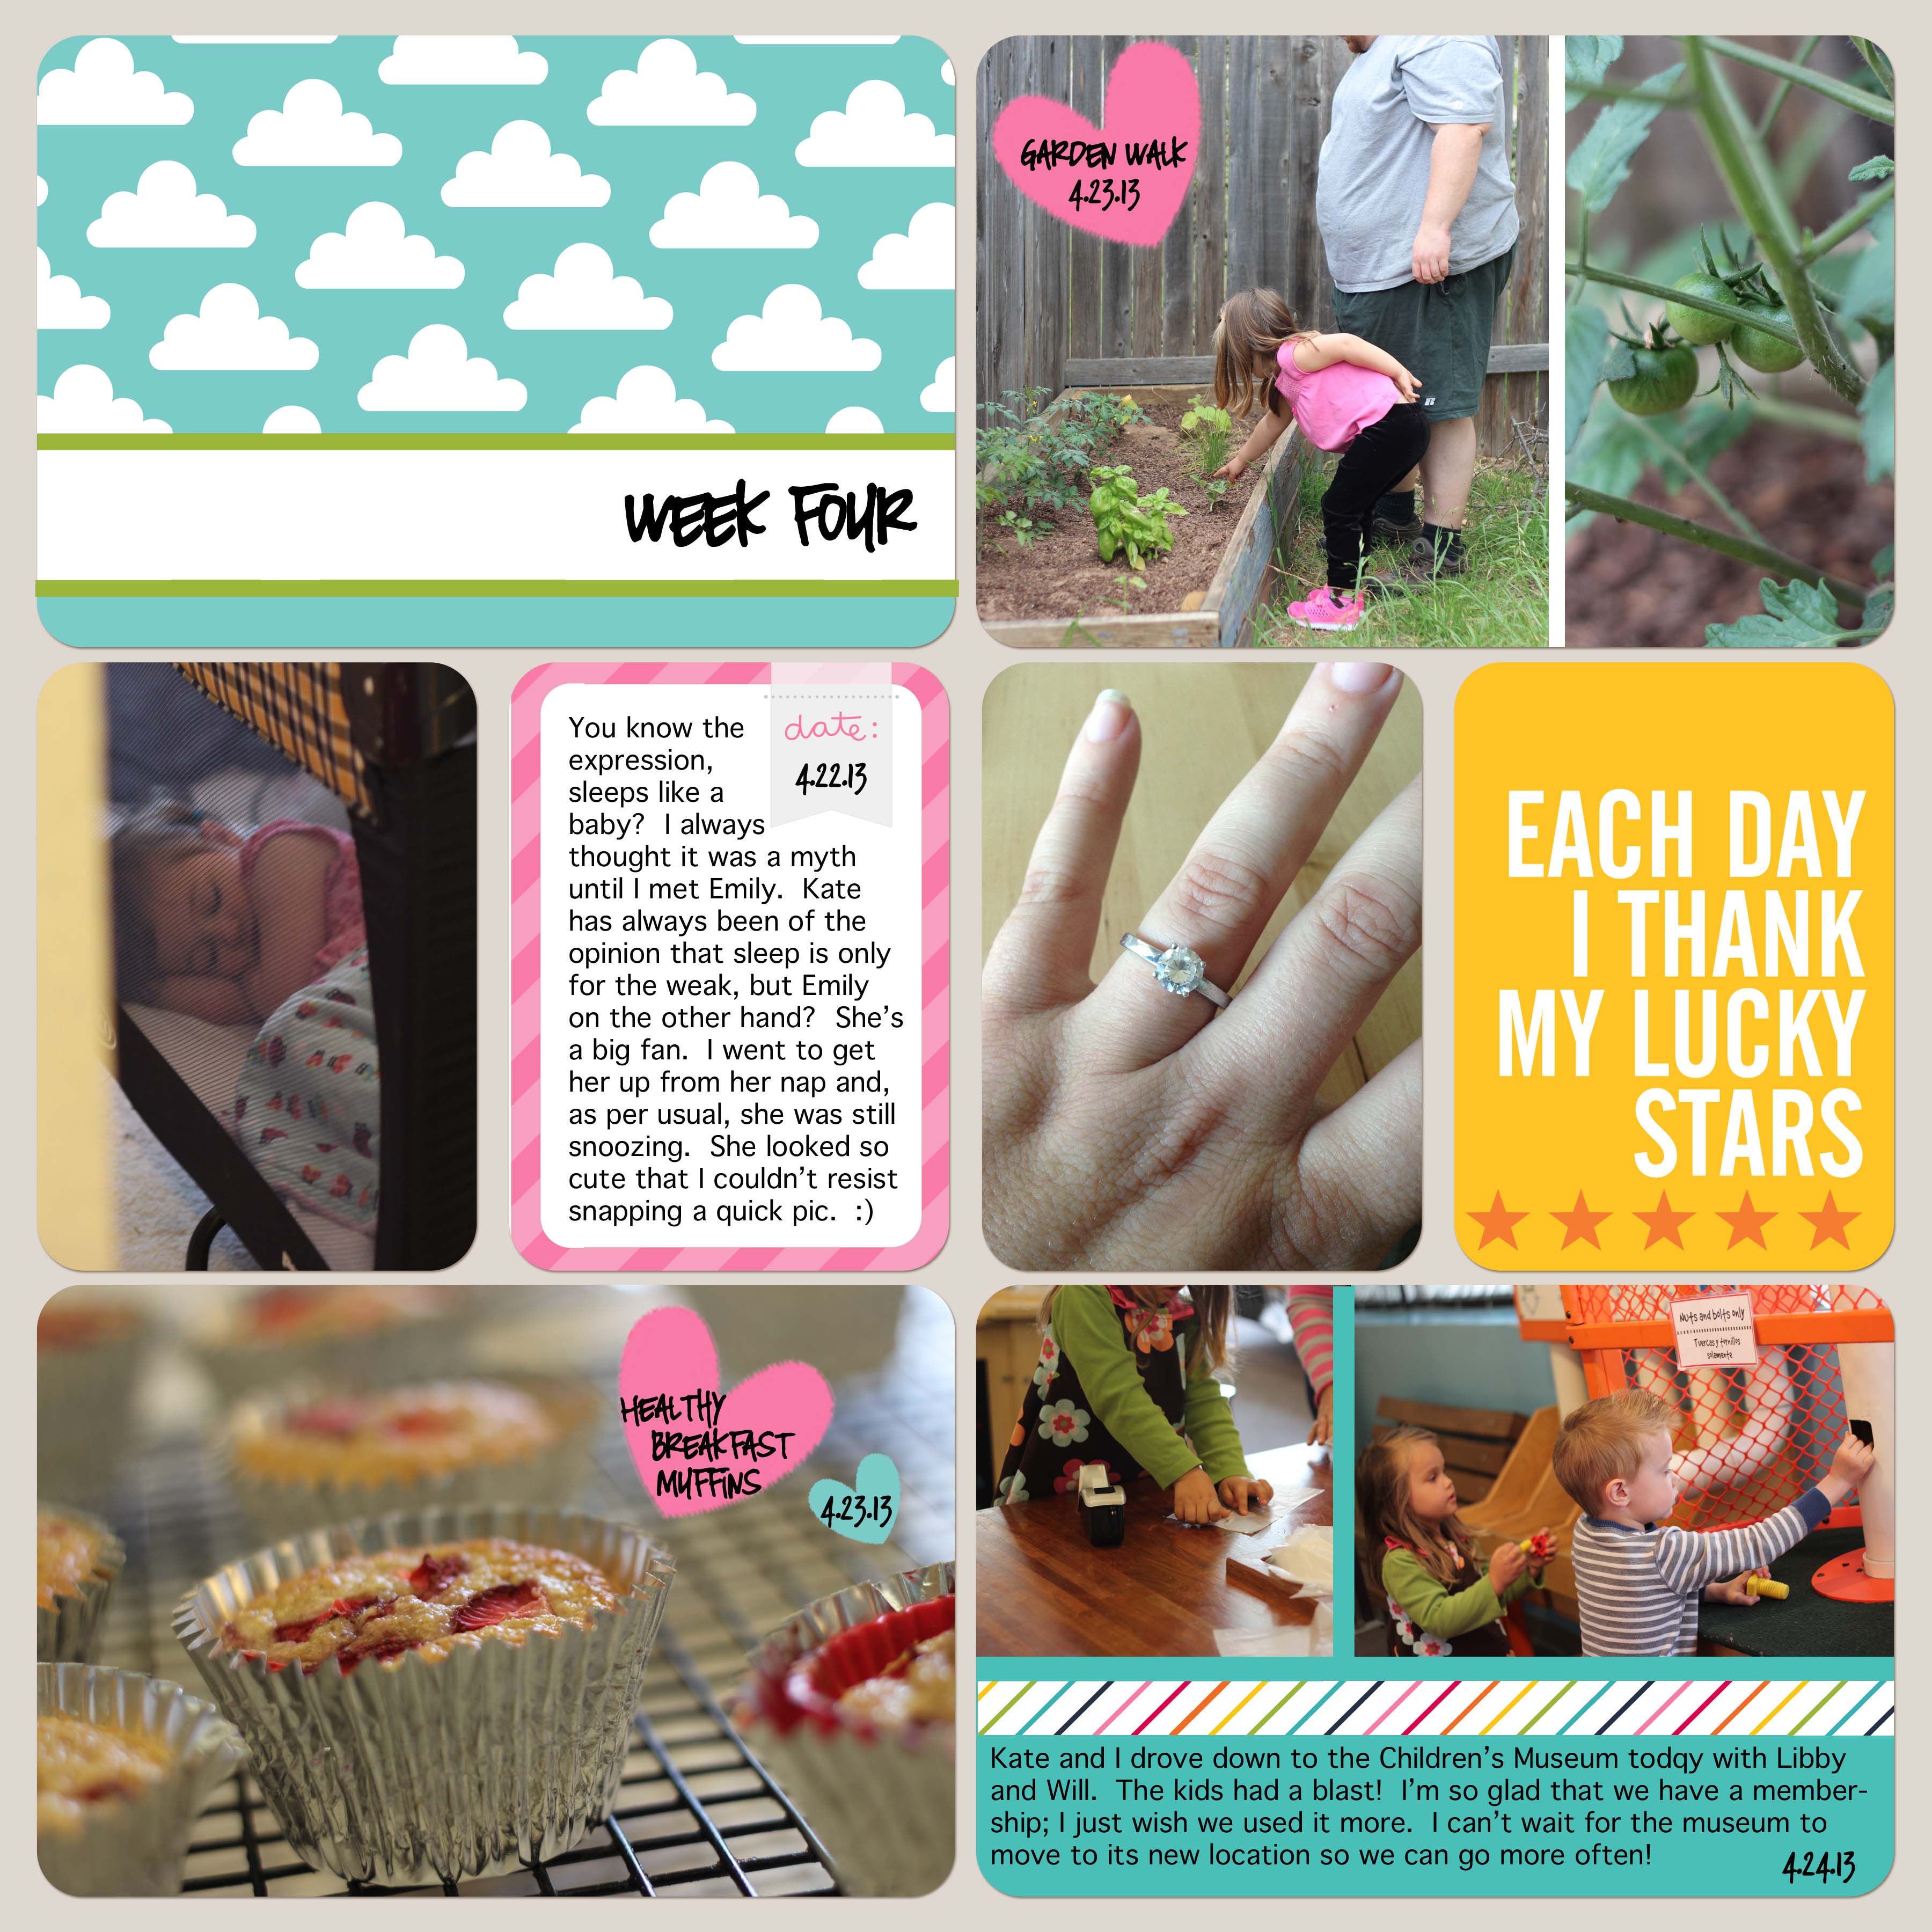
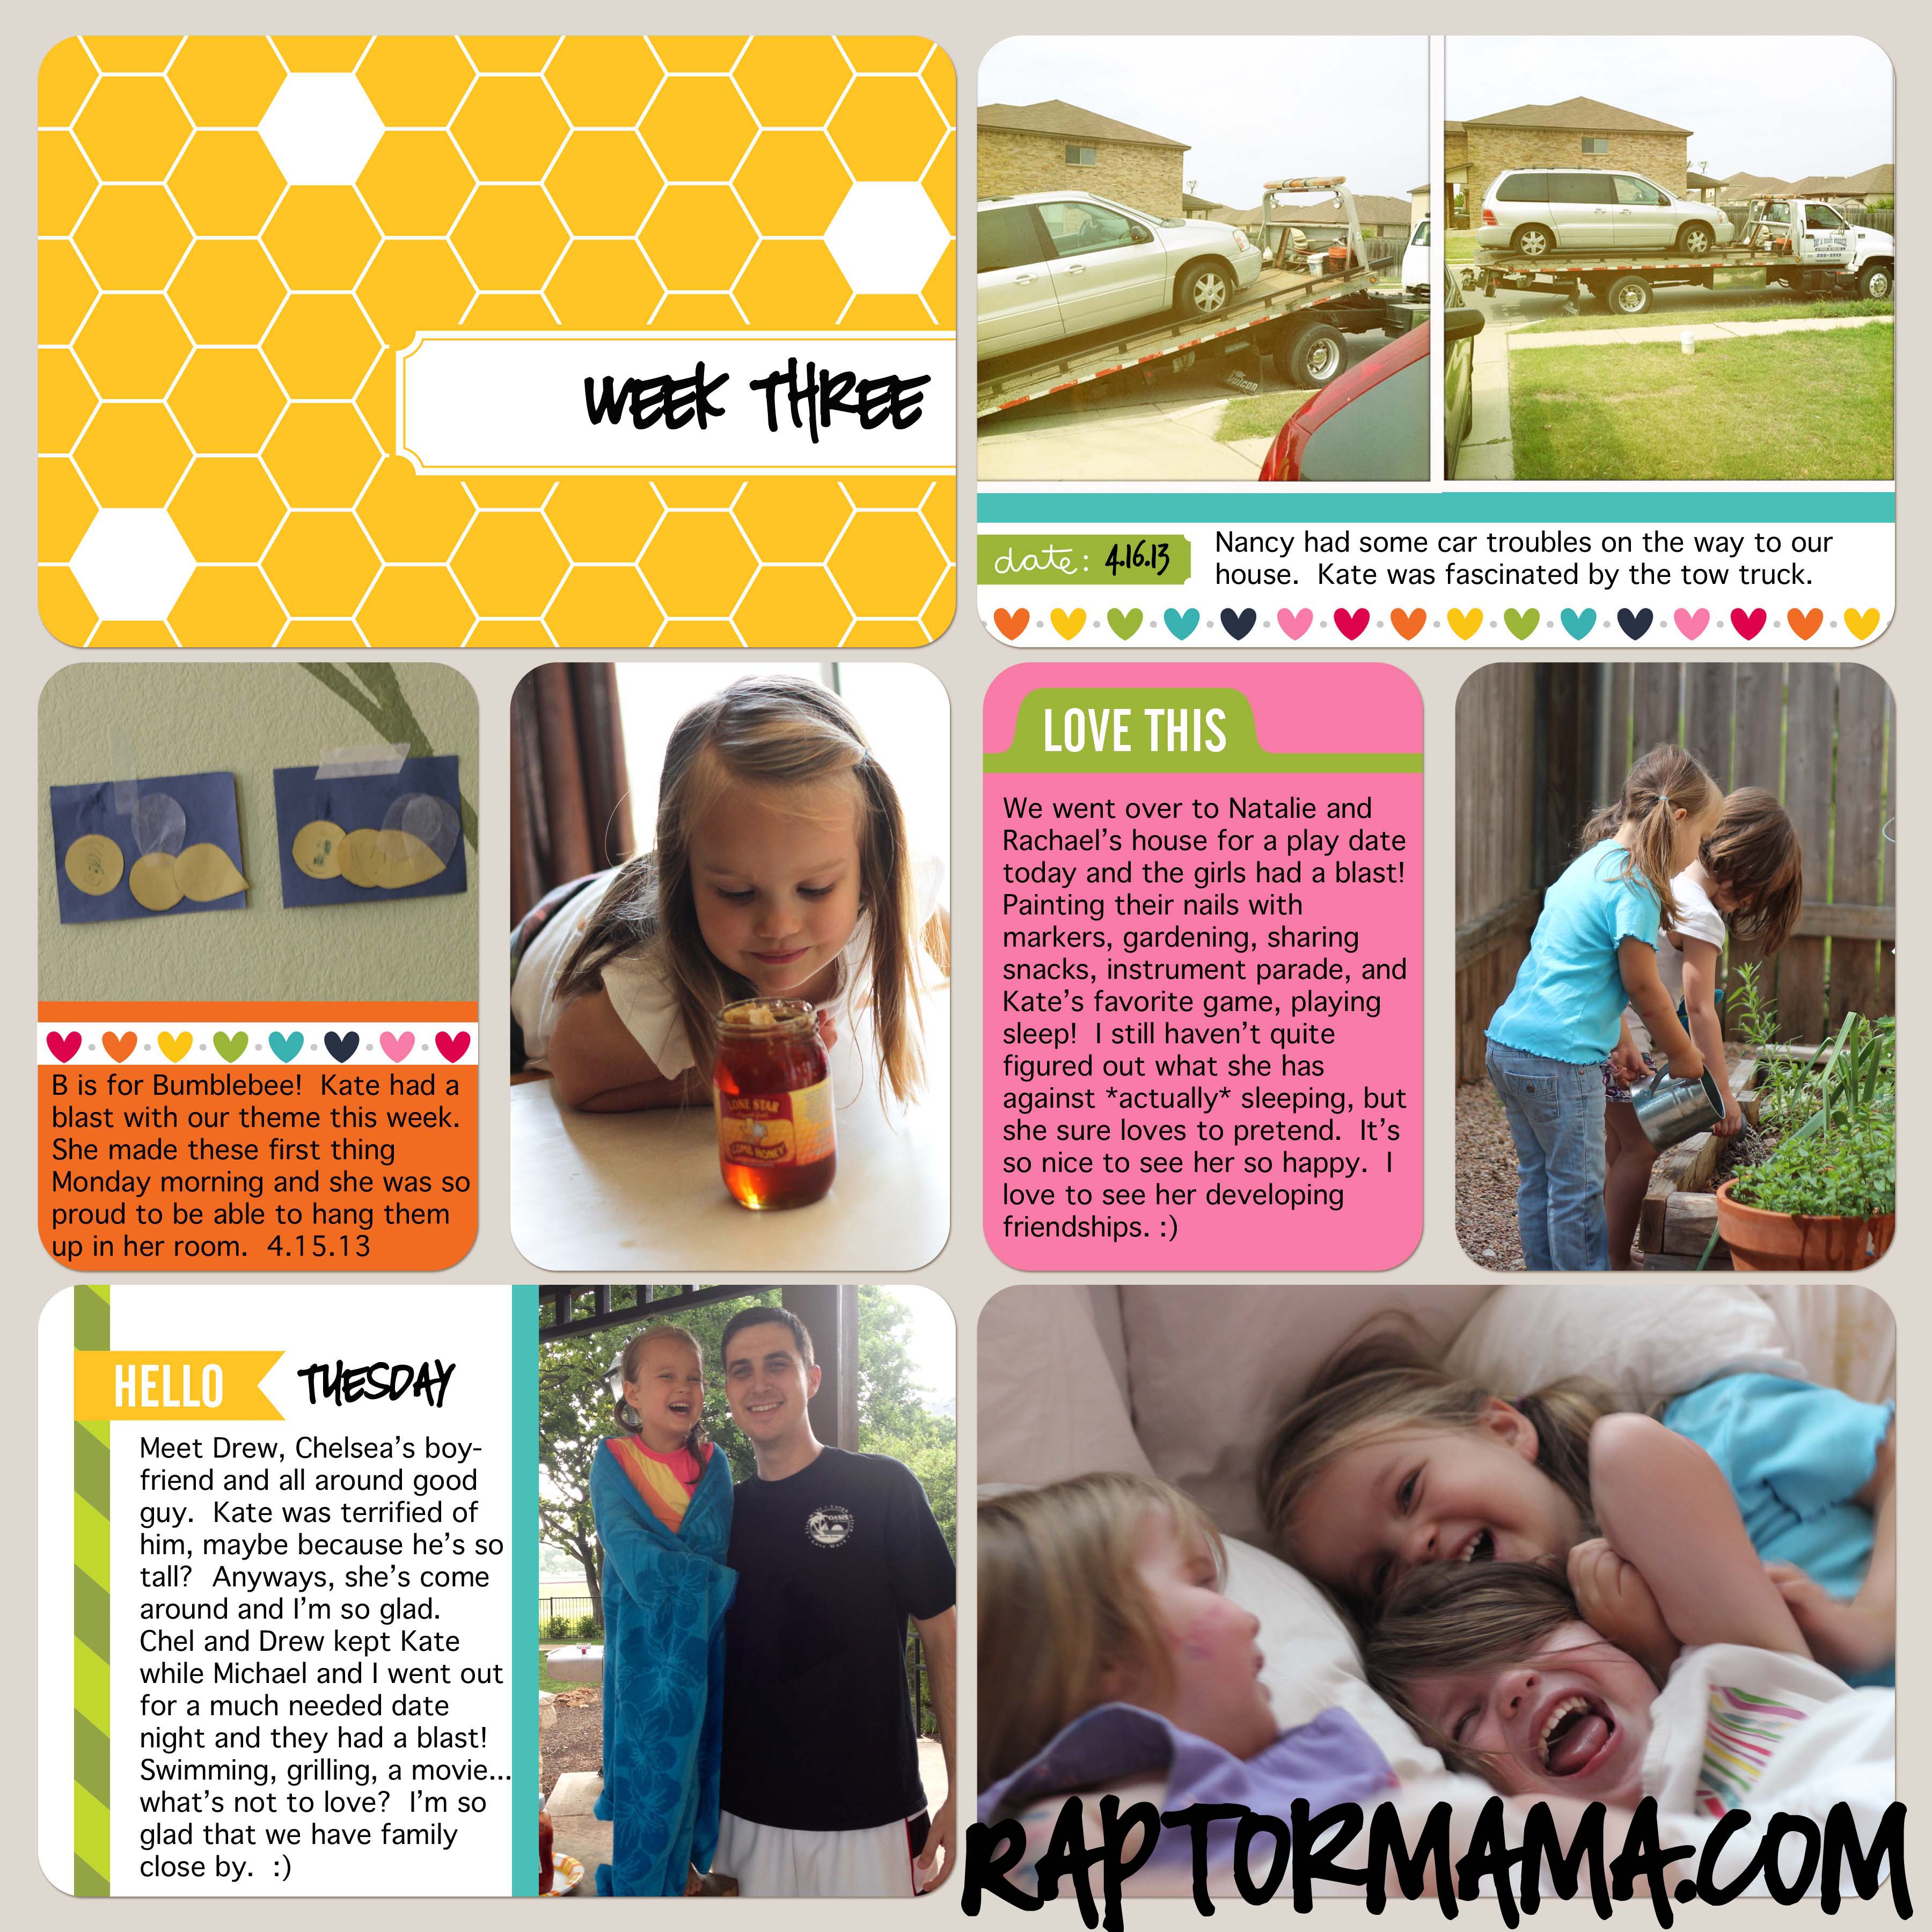
I’m a bit behind this week, but I finished! Here’s week 4.


Crafting and kids.
I’m a bit behind this week, but I finished! Here’s week 4.
Don’t you love it when you find *exactly* what you’re looking for, but even better? Me too. I’m not one to recreate the wheel so when I found an awesome *free* dinosaur unit I snapped it up. Seriously, check out this blog. My only problem was narrowing down what to print. 🙂 I had intended to just use these as worksheets since that’s what Kate’s been begging for, but when I went to pick them up they were all in color. Now I’m not one to waste color prints so I laminated most of them. 🙂
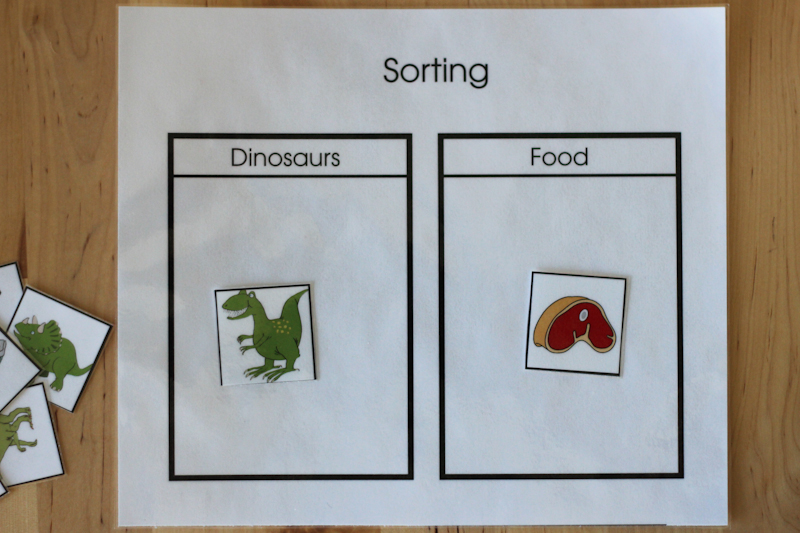 First up is sorting.
 Then some simple puzzles.
 A more complicated puzzle that has numbers across the bottom to make it easier.
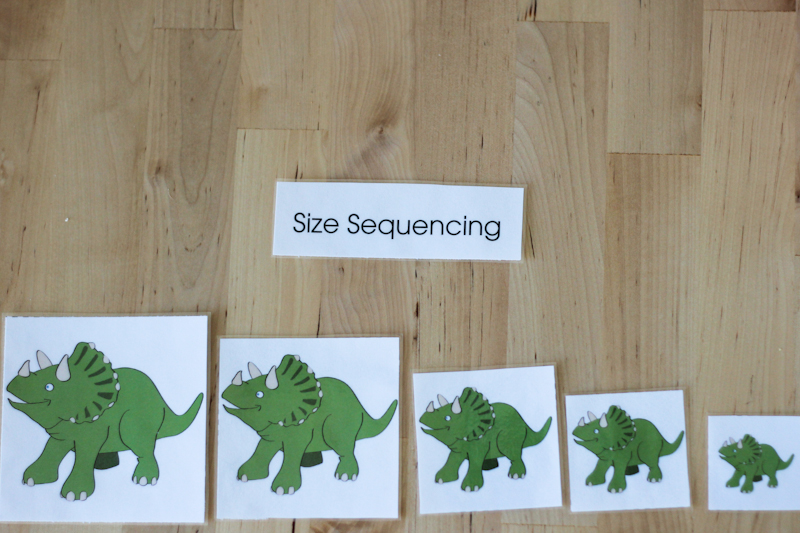 Sequencing by size.
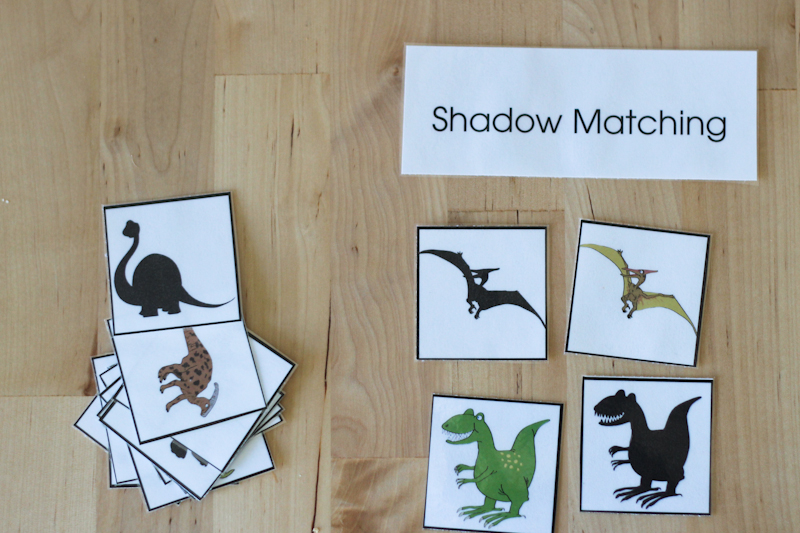 And one of my favorites, shadow matching.
I also bought a tube of cheap plastic dinosaurs. I’m planning on freezing them into a block of ice so we can “excavate” them, maybe with some salt and warm water. I predict this will be a pretty big hit.
I actually did pretty well with my April goals, especially considering that they were pretty ambitious. I have a few more layouts to finish for April and a bit for photo editing for last year’s Project Life, but aside from that I finished all of them! This month, I’m setting a different kind of goal. A challenge as it were. I’m participating in a Faux LOAD (LayOut A Day) which means, you guessed it, a finished scrapbook layout every day! I’m hoping to actually do this to where I finish a layout every single day, but for the purposes of this blog, I’m considering 31 layouts in the month of May to be a success. Is it possible? Honestly, I’m not sure, but I’m typing this on the 1st and I just finished a layout!
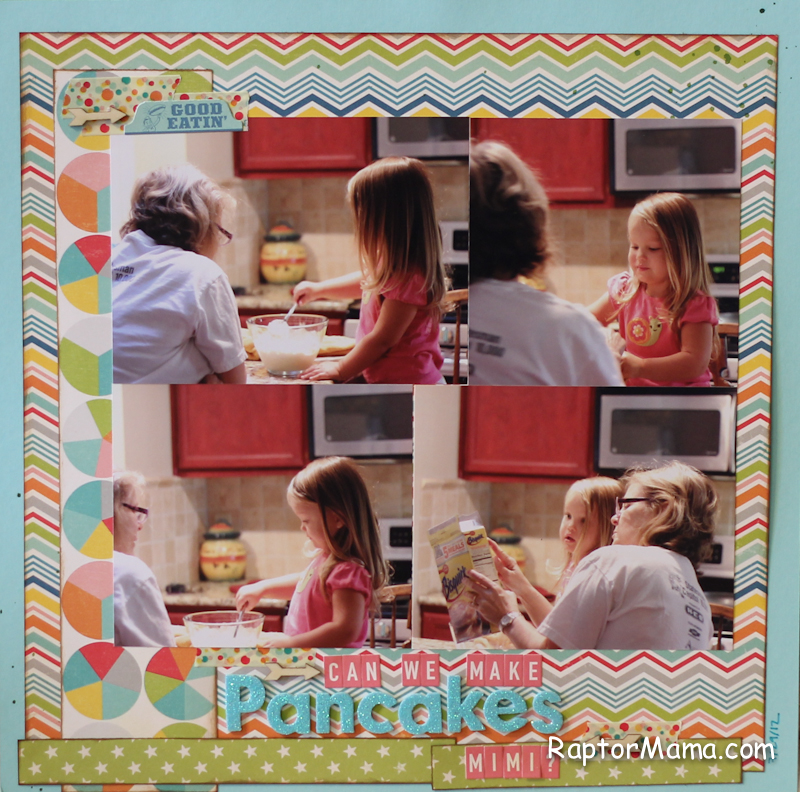
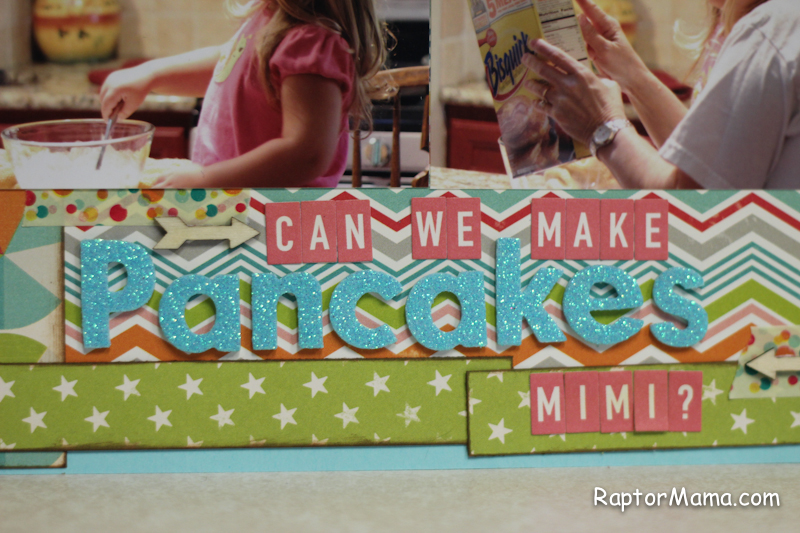
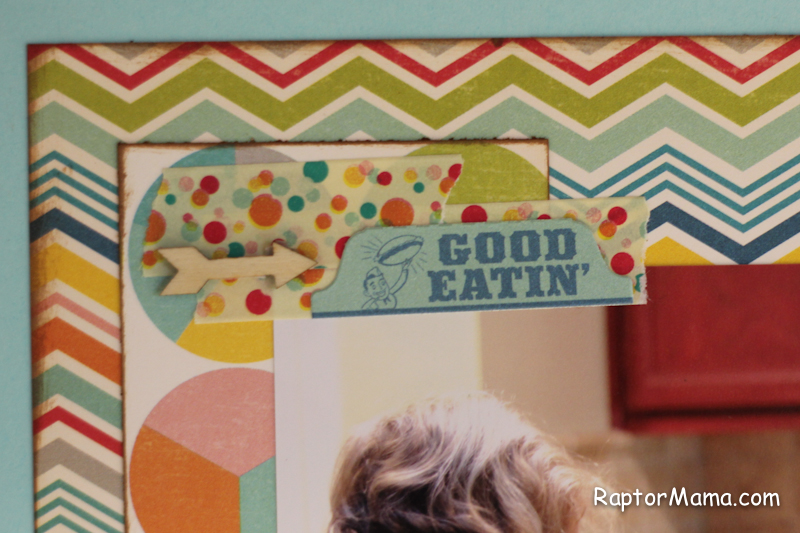
 I had an unusually hard time putting this layout together, but I’m happy with the end results. I must have taken it apart 12 times though. lol.
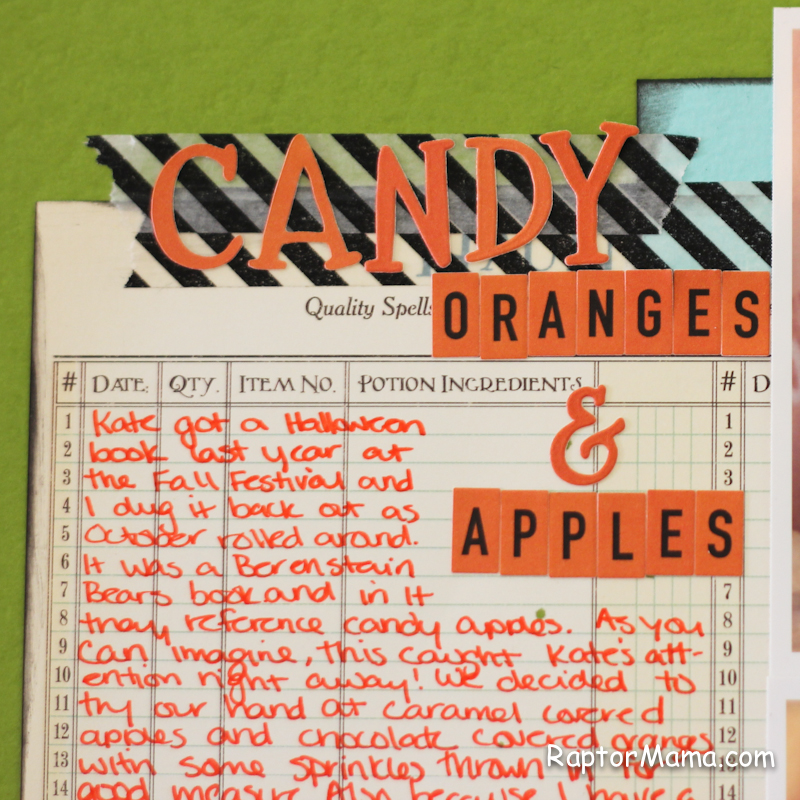 Supplies are October Afternoon (of course) from the Witch Hazel collection.
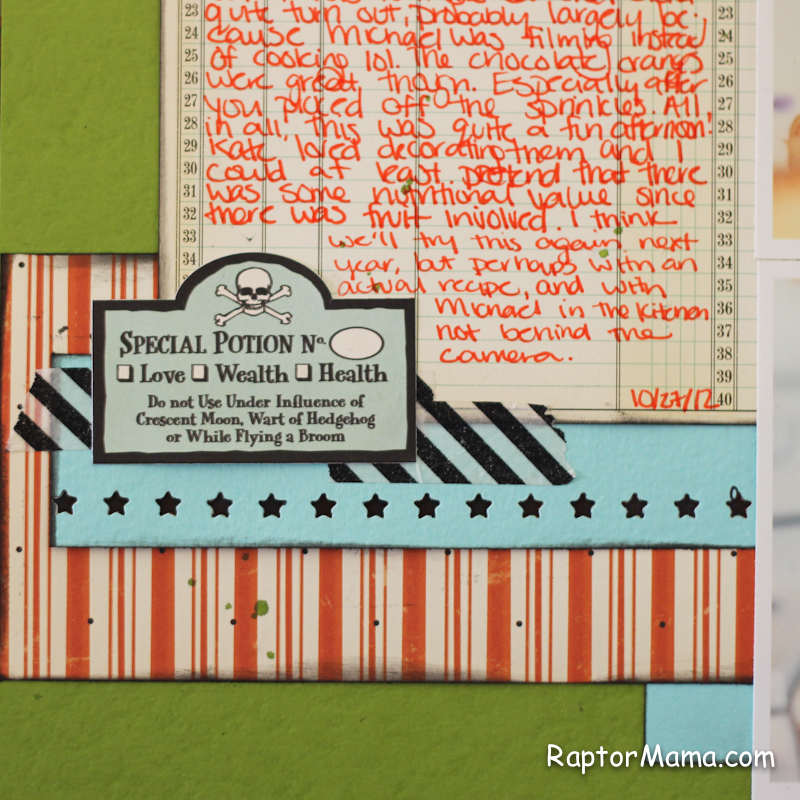 I included way more writing than usual and I think I like it. Might be the start of a new trend. I really need to get some more pictures ordered soon or I’m going to run out of stuff to scrap!
I feel like I should have at least a few more goals for the month… Hmm… How about
2. Dinosaur, Elephant, and Frog Letter a Week units prepped and blogged
3. Photos ordered
4. 4 new Digital Project Life layouts
5. Make a Summer Bucket list with the girls
A fun layout with some simple layers. I’ve wanted to love misting for a while now, but I could never get my glimmer mists to behave like I wanted. Finally I decided to check out some Mister Hueys. ::swoon:: Y’all, I’m in love. Why have I waited so long?!? I was pretty conservative with the mists, I just flicked a bit on with the wand and covered most of it up, but I plan to carve out some time to play with these this week. You know, when I’m at home and not trying to avoid spraying mists all over the carpet of the local scrapbook store.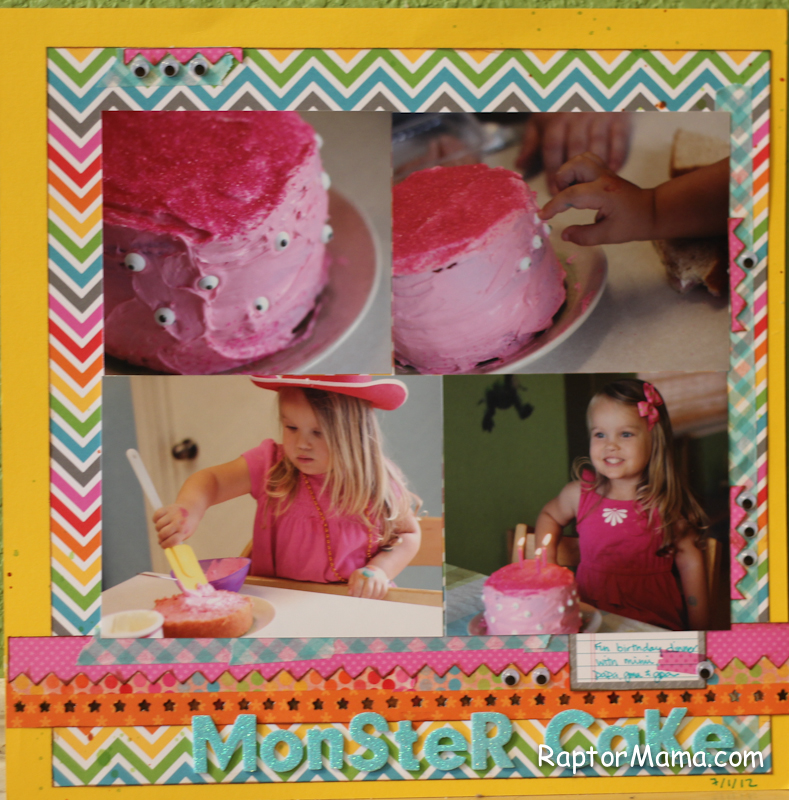
Then I layered up some more scraps like I did here and added some new washi tape. What? Of course I bought more. I have a problem. 🙂 I have my eye on this one, but it keeps being sold out.
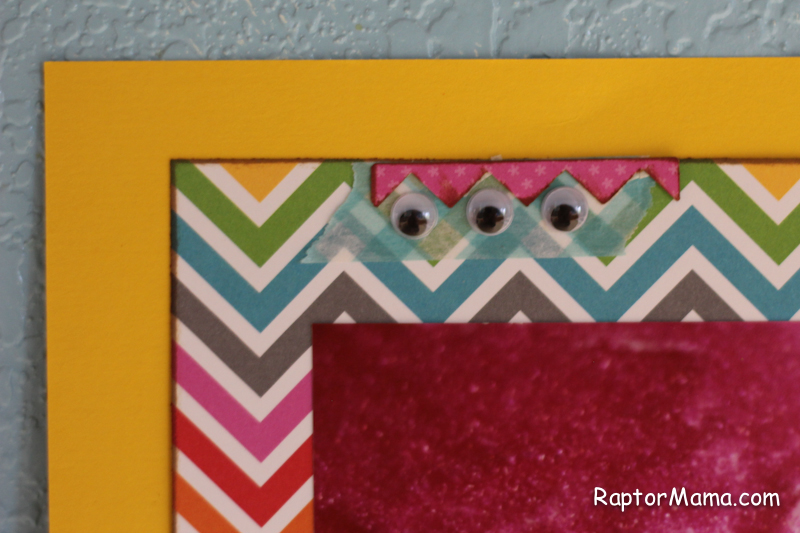
I was all ready to put this one away and then girls decided that it *had* to have googly eyes. I quite agree.
 I repeated the eyes in a few spots which I think turned out super cute. Oh and these thickers? I may have bought 2 more packages. I’m a bit concerned it won’t be enough.
Kate and I had such a busy week that we didn’t get to finish all of our C is for Caterpillar activities. No worries, we decided to spend another week finishing them up. 🙂 I’ve spent the week editing photos like mad trying to finish up all of my April goals, but I’m not sure it’s going to happen. Fingers crossed! I’m hoping to make quite a large photo order in the next day or two so I have lots of fun pictures to play with for the faux LOAD (layout a day) I’m participating in during May.
While I’m working on all of that, here’s a fun new layout.
Ah, October Afternoon. I realize that Doodlebug has been getting all of my love lately, but you’ll always be my favorite. I inked up some paper and layered it a bit.
 Then I added some washi tape, wood veneer arrows, and my favorite Thickers and letter stickers.
 A bit more washi, another arrow, and a sticker and I’m calling this one done. 🙂
There’s a bit less “embellishing” this week, but I’m still happy with the layout overall.
I’ve decided that I really like that calendar card. In fact, I think I’m going to use it every week. 🙂
 I had a lot of fun with this layout. I am seriously addicted to the Doodlebug rainbow line. I haven’t done any traditional scrapping in 2 weeks while I’ve been learning the ins and outs of Photoshop so it was great to meet up with my friends for a crop. I’ve been cutting one inch stripes off of my patterned paper before adhering it to the cardstock for a while now and this layout was a great was to use up some of the scraps. I punched a few with my Knockouts border punches to give them some variety and outlined then with a marker to help them stand out. I usually like to ink the edges of stuff, but I have a hard time getting it to look right when the edges aren’t straight. Then I added a doodlebug sticker, some washi tape, a few wood veneer hearts, some thickers, and some letter stickers. I was about to put it away when I found this little tag on my desk. I have no idea who the manufacturer is; I got it when I was on the design team for my local store a million years ago.
I’m loving doing Project Life digitally, but I could never give up traditional scrapping all together. 🙂
Bees were such a huge hit last week and I’m even more excited about our caterpillar activities. I’m loving this project! It has really cut back on the tantrums and such around here.
I sent out a bunch of printables since Raptor’s favorite thing about the last 2 weeks has been the worksheets. I found a great caterpillar book template and some fun math sheets on Pinterest. I also have some letter tracing sheets. I made 5 trays this week.
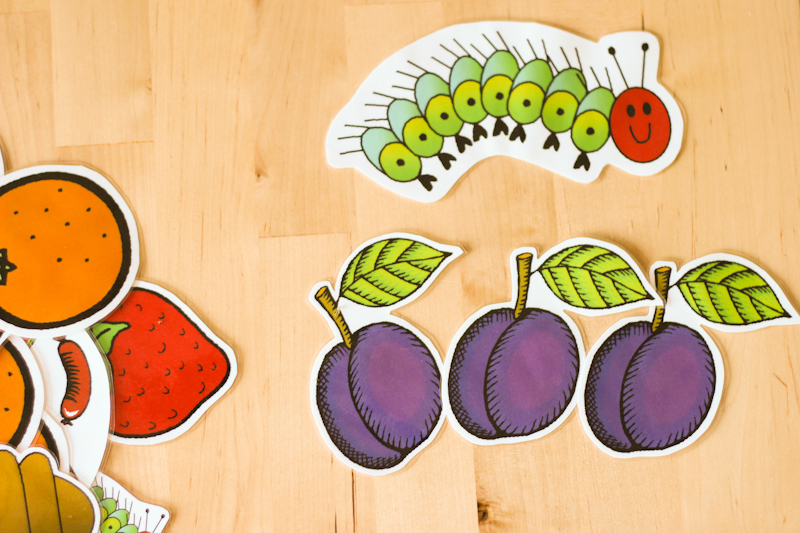
I printed these The Very Hungry Caterpillar Sequencing Cards in color, cut them out and laminated them. I’m going to put them in a tray with the book and let Raptor tell the story. I figure we’ll start with me reading it to her and her putting it in order and progressing toward it being an independent activity.
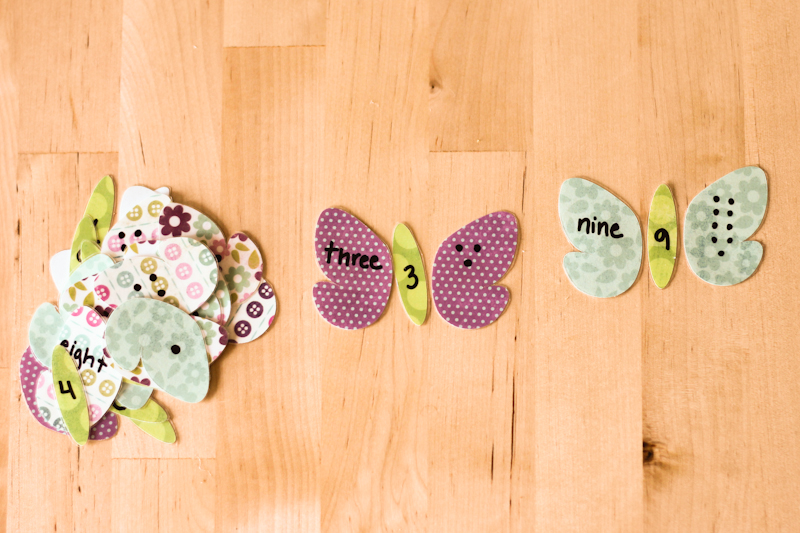
I’m not sure if she’s quite ready to do this one by herself, just from a reading perspective, but I figure that it will be a fun one to do together. (And yes I realize that I’m cheating a bit by having butterflies. I’m fine with that. 🙂 ) I cut these pieces out on my cricut using a modified version of this and laminated them. The body has the numeral, the left wing has the word, and the right wing has the corresponding number of dots. In an effort to make it easier, I used 4 different sheets of patterned paper.
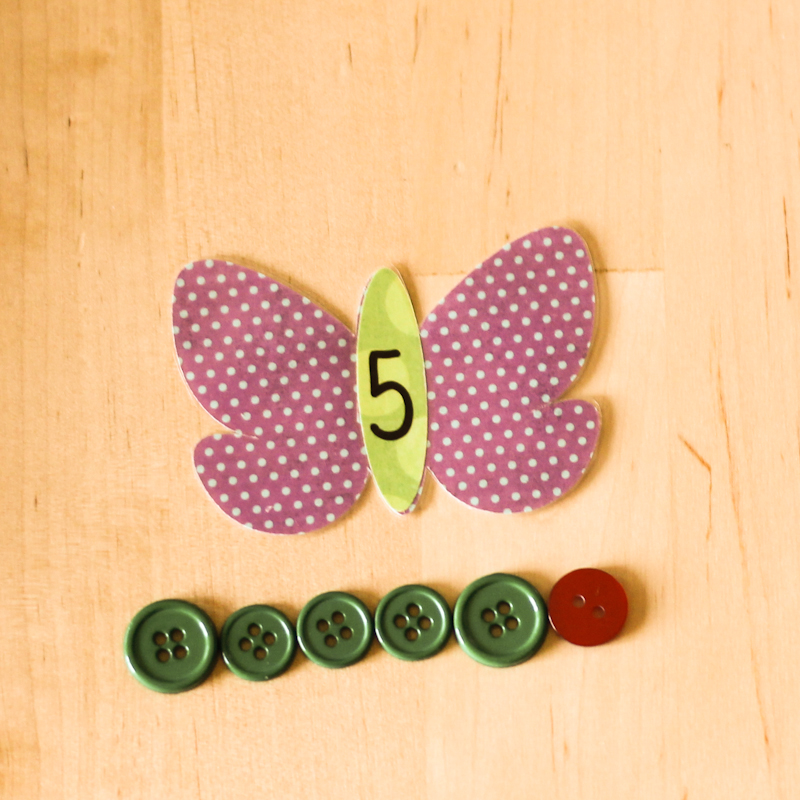 For these, Raptor will lay out the correct number of buttons to make the green body plus the red head.
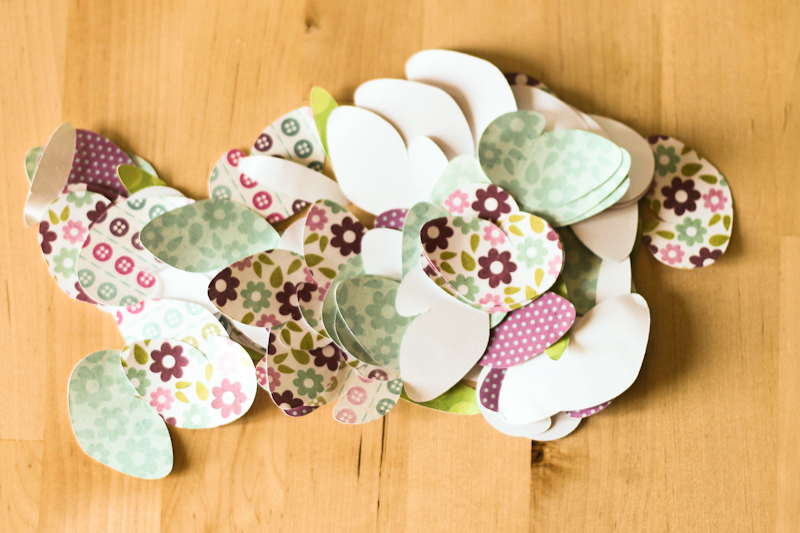 I had a bunch of leftover wings and bodies that I plan to put in a tray with some background paper and a glue stick. I imagine this will end up being her favorite activity.
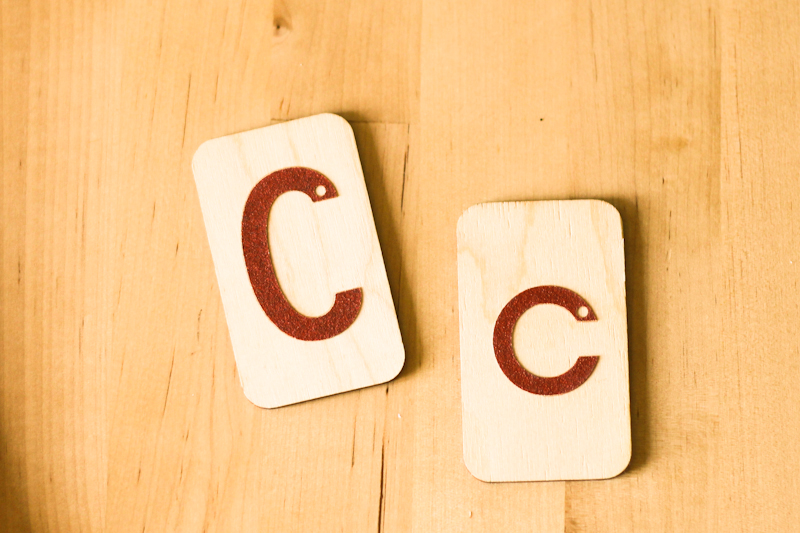 I’m also going to put out her sandpaper Cs. Raptor got these for her first birthday and they are amazing. They are very high quality and I highly recommend them.
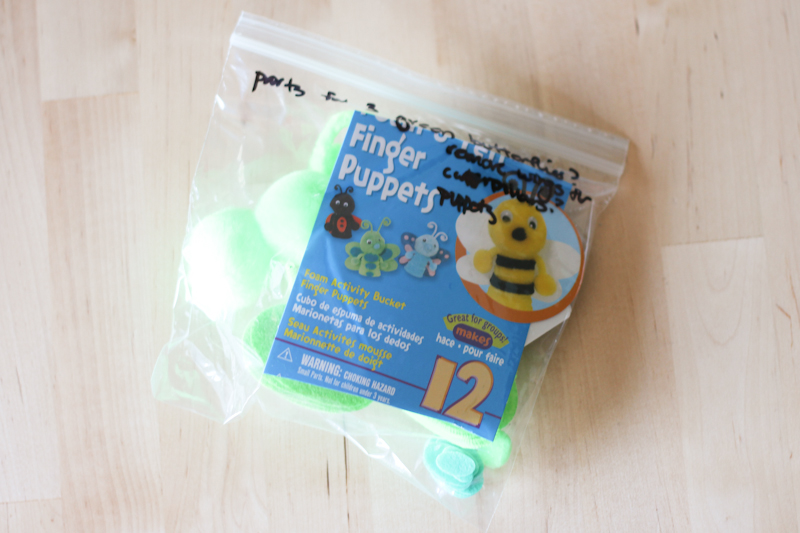 For crafts, I think we’re going to make these finger puppets. She’s enjoyed playing with the bee ones, but they had to be assembled with hot glue so not exactly the kid friendly activity I was hoping for.
We’re also going to make caterpillars out of Cs, glue down red and green pom poms to make caterpillars, make caterpillars out of egg cartons, and do some kind of a tissue paper collage. It should be a fun week!
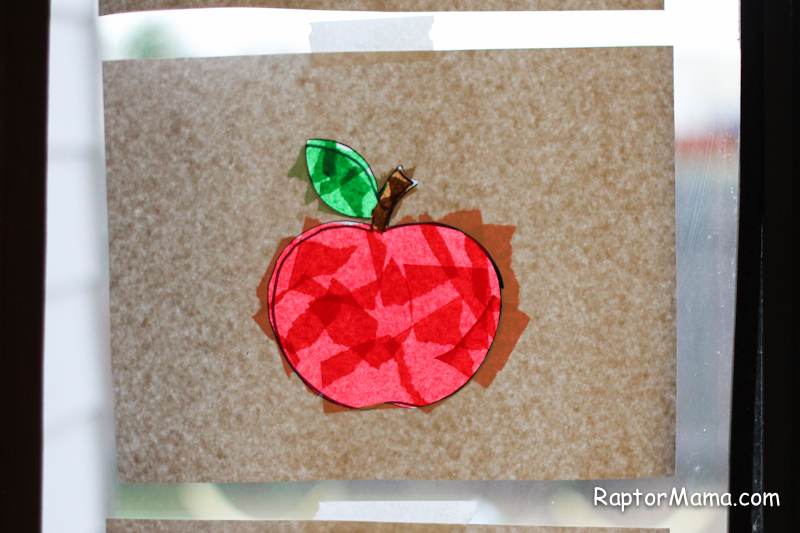
As we’re wrapping up A is for Apple, I thought that this craft deserved its own post! By far our biggest hit of the week was the contact paper “stained glass” apple craft.
 It also has the benefit of being super duper easy.
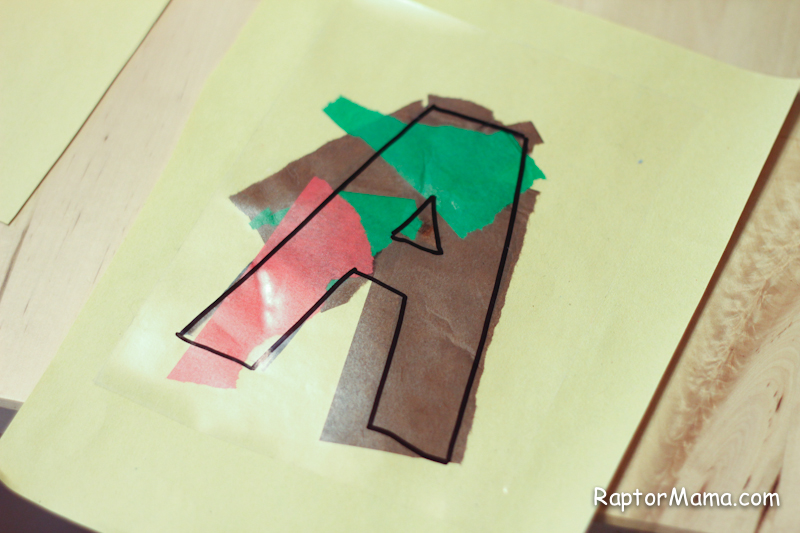
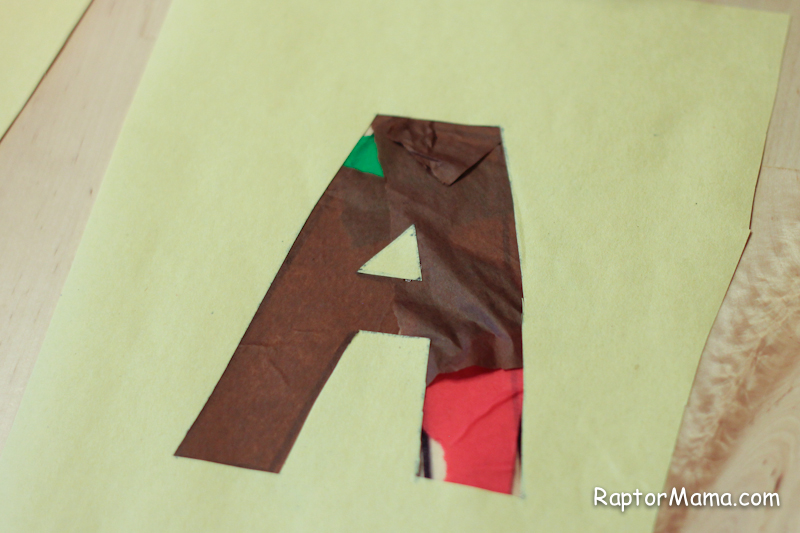
Basically, you draw the shape (in this case an A) on a piece of construction paper and carefully cut it out from the center so that you are left with the negative space intact. Then use that as a stencil to draw the same shape onto a piece of clear contact paper. Give your child some tissue paper (I did red, green, and brown for the apple) and let them go to town! It’s like collage without having to deal with glue or mod podge. Win! Kate loved it so much that we made letter As with the leftover tissue paper.
Once you’re done, you stick it to the back side of your construction paper and it frames it.
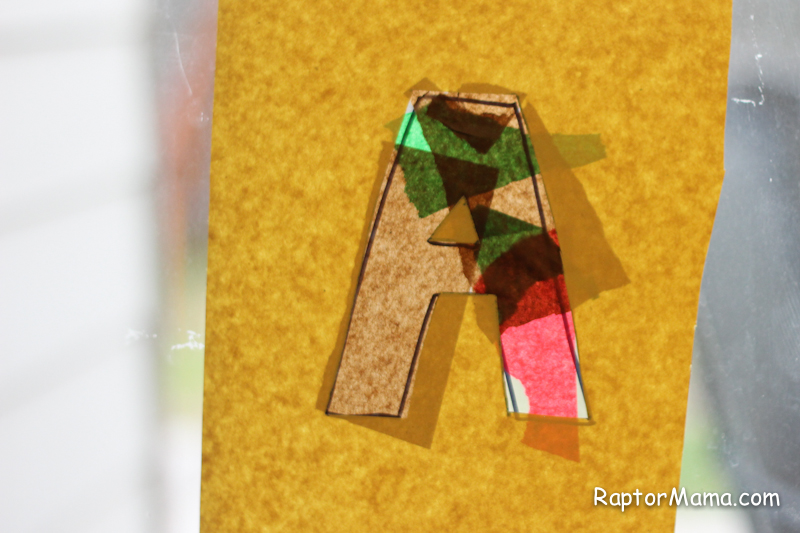
We taped ours up on the sliding glass door and they look so pretty with the light coming through. Almost like a faux stained glass.
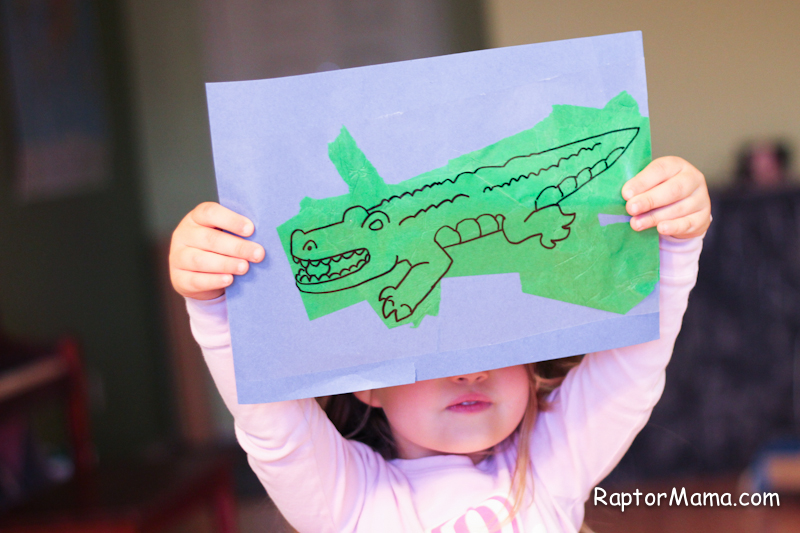
Here’s another one viewed from the back side. A is for Alligator y’all.
These were such a hit that we’re making Bumblebees this week.
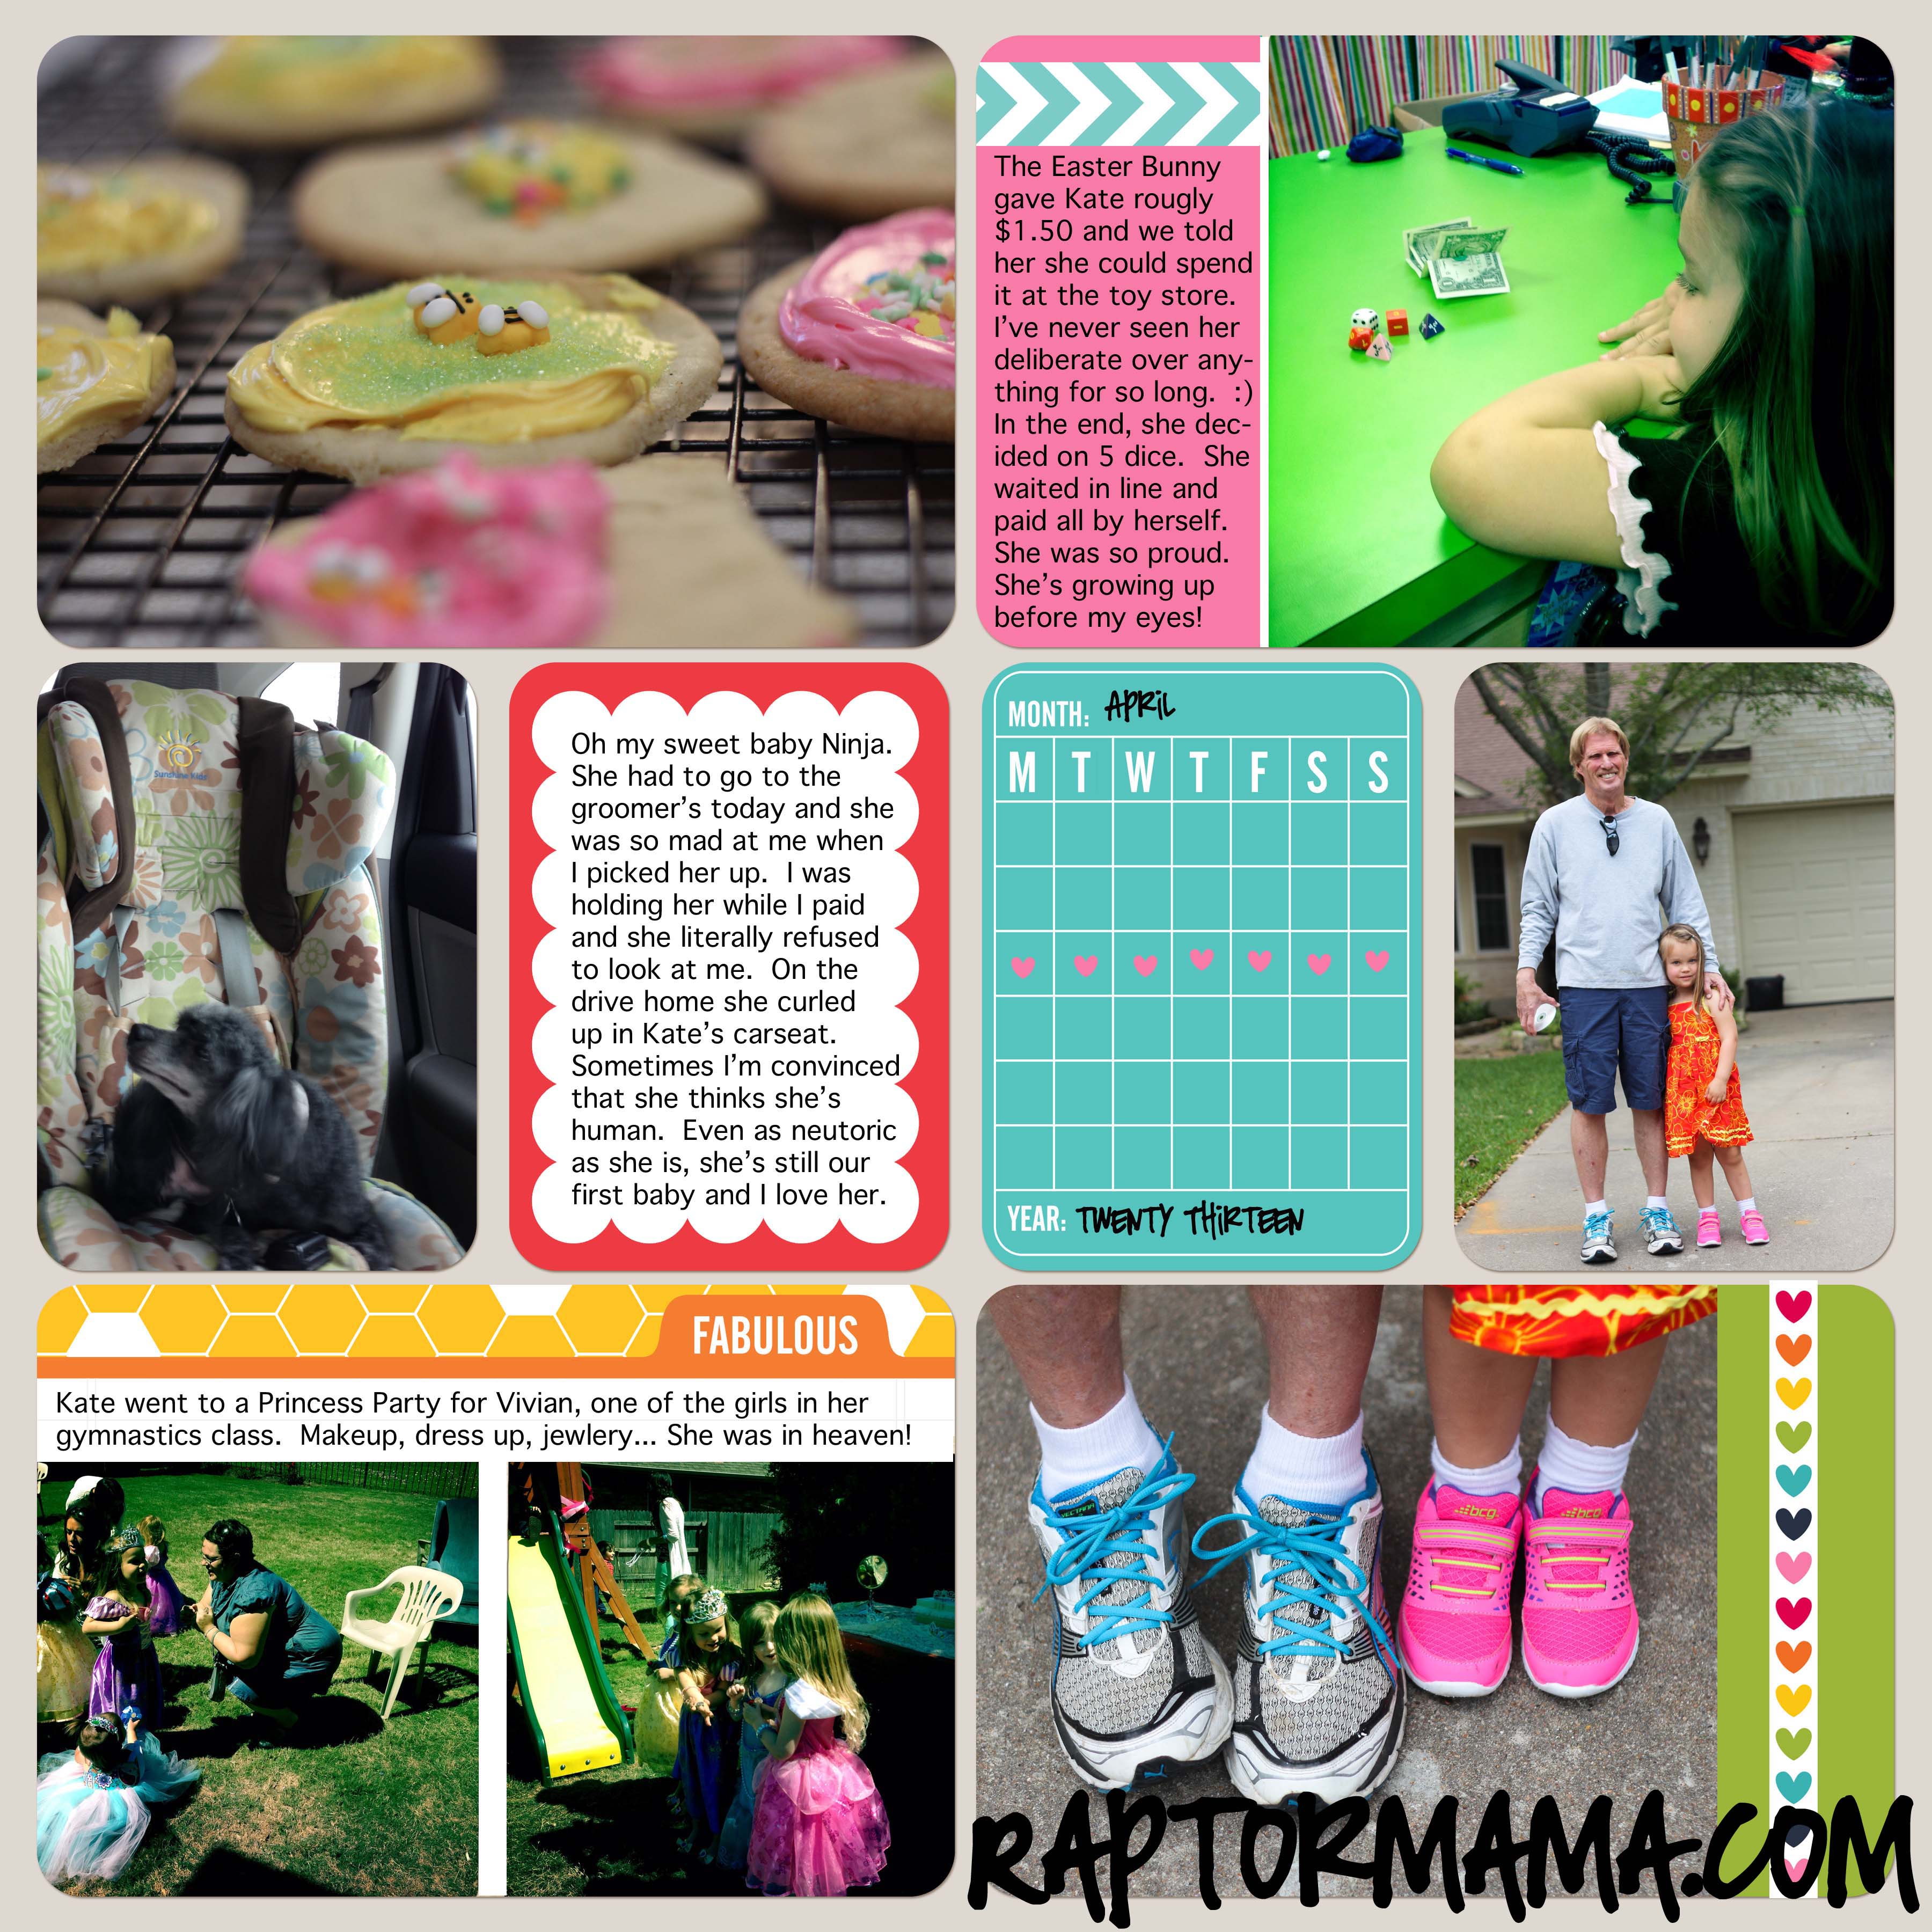
Can I say again how much I love this project?!? Because I do! I just finished up last week’s spread- on schedule and everything!
 And the Honey Edition was released! Be still my heart! (Too many exclamations? I’ll try to tone it down. 🙂 )
 As predicted, the free cards I linked to last week worked perfectly with the Honey Edition.