Almost done! Just finished Week 38. Then all I have left is Week 39, the front half page and the end half page. 🙂
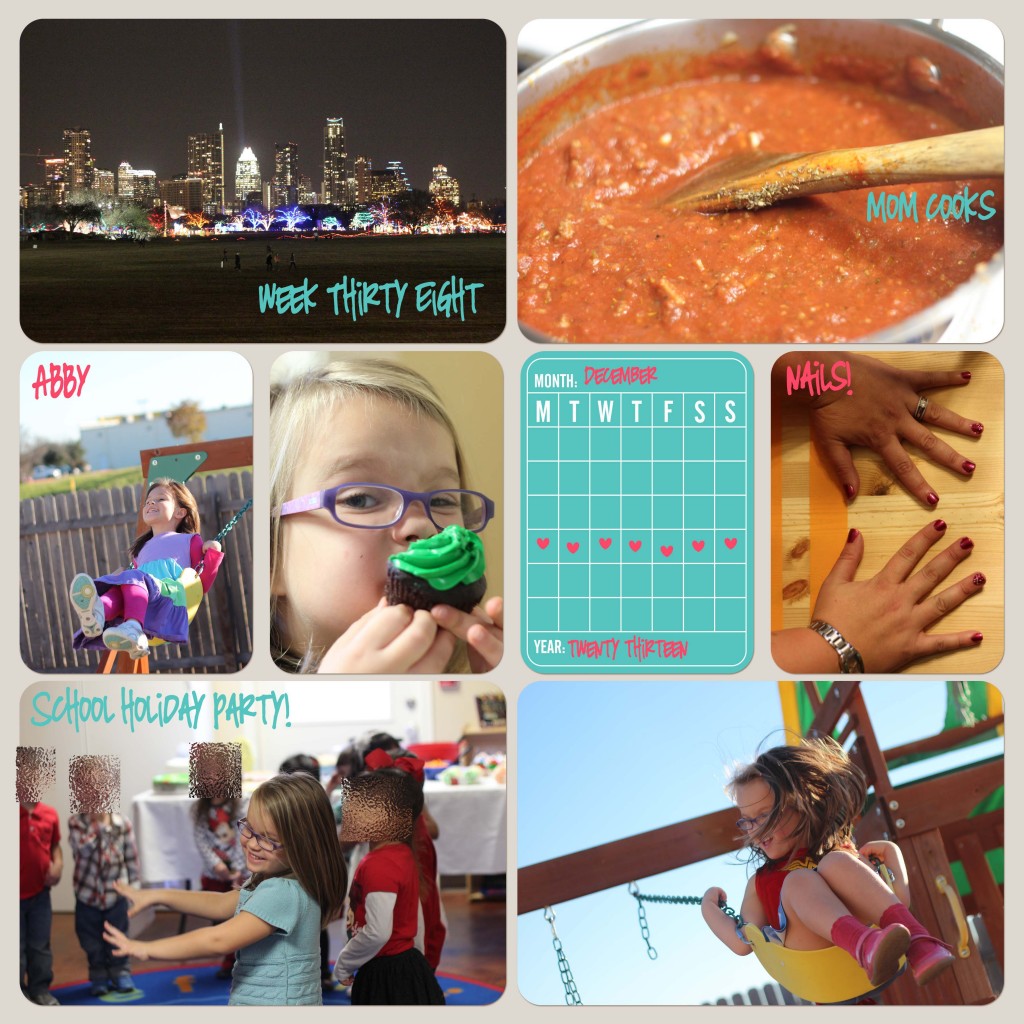 I used a photo for the title card and I really like how it turned out. I also did most of the journaling on the photos.
Fun times!
Crafting and kids.
All right sports fans, it’s summertime! That means that Raptor is out of school for the next couple of months and I need to amuse her. What does this mean for you guys? Mainly that I’m planning on bringing back the Letter a Week fun! First I thought I’d recap some of our previous letters. (Click on the links for the full posts with more activities.)
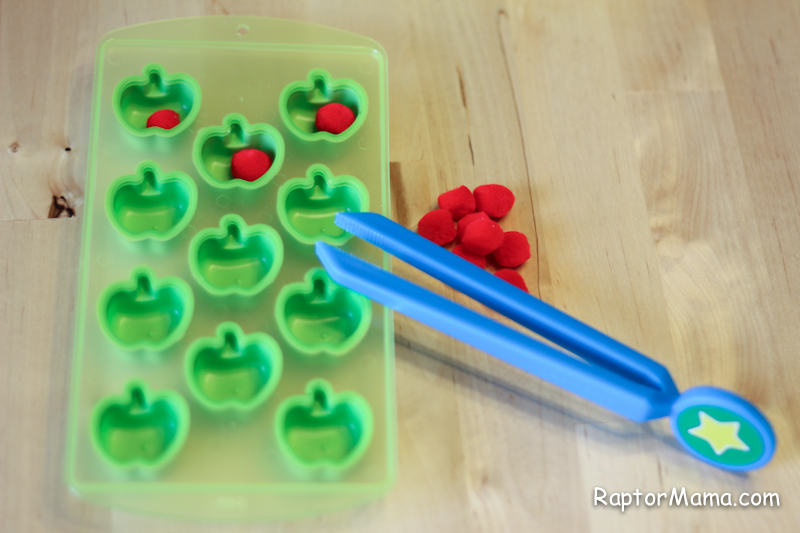
We did A is for Apples which included some new lacing cards and this transfer work.
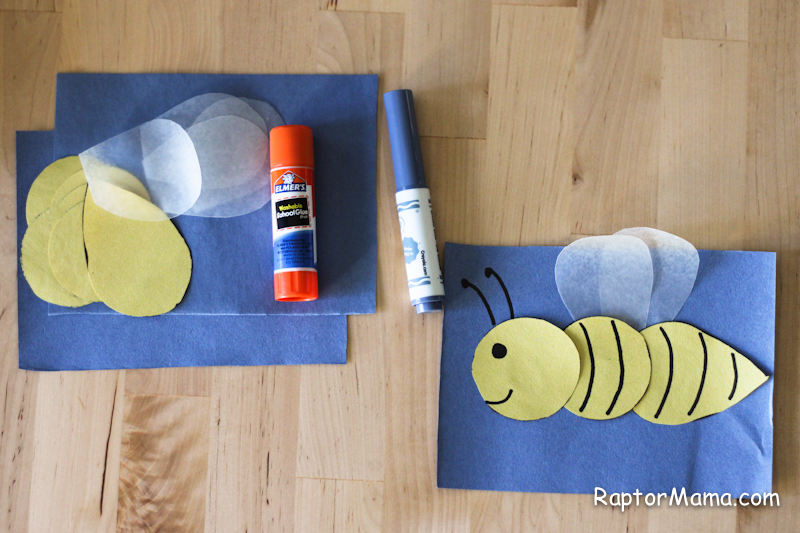
 Next up was B is for Bumblebee in which we explored a honey comb and did lots of bee crafts.
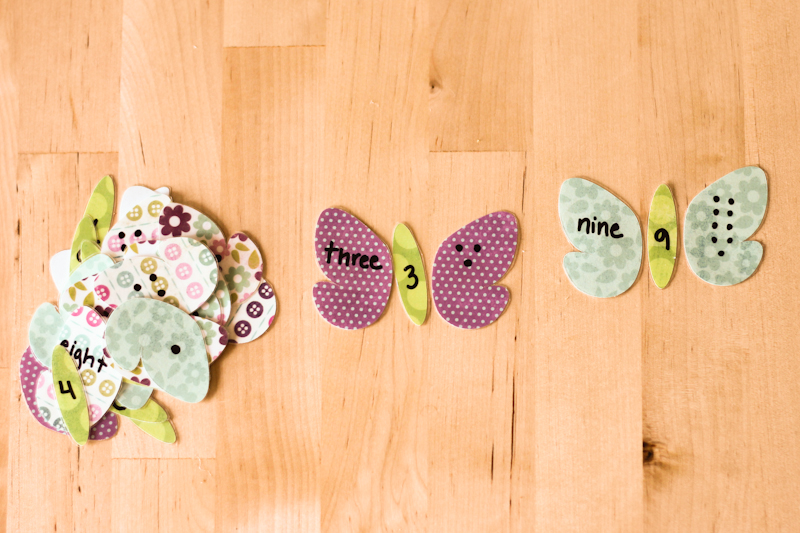
 C is for Caterpillar though we also played with some butterflies. (Hey, caterpillars turn into butterflies, it totally works.) We did a lot of fun The Very Hungry Caterpillar activities and made these cool number butterflies.
 D is for Dinosaur! Raptor was begging for worksheets so I found some neat ones online. We also did some sorting and classification activities.
E is for Elephant! This one was tricky because everything I found was elephants and peanuts. Since E is allergic to peanuts, I didn’t want to present them as a plaything. We went with umbrellas instead. 🙂
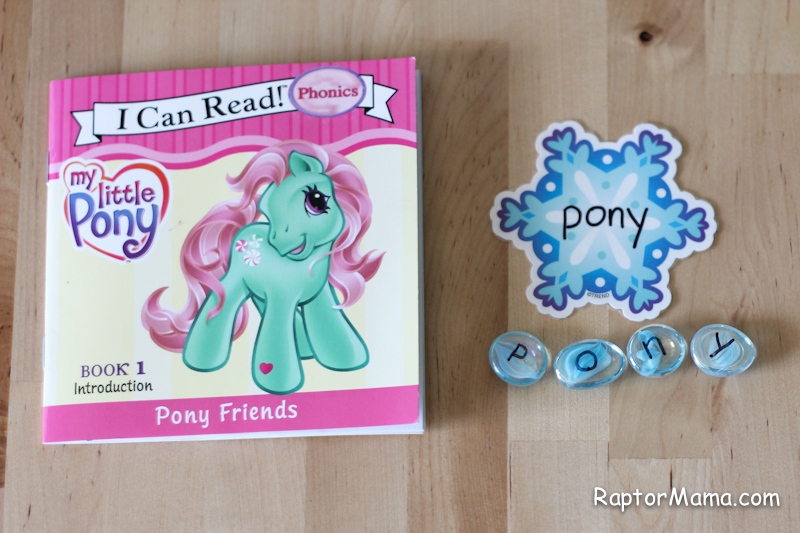
F is for frogs. I found these awesome multicolored frogs at the teacher store. We did some color theory and some basic phonics work. Plus math! Raptor loves math.
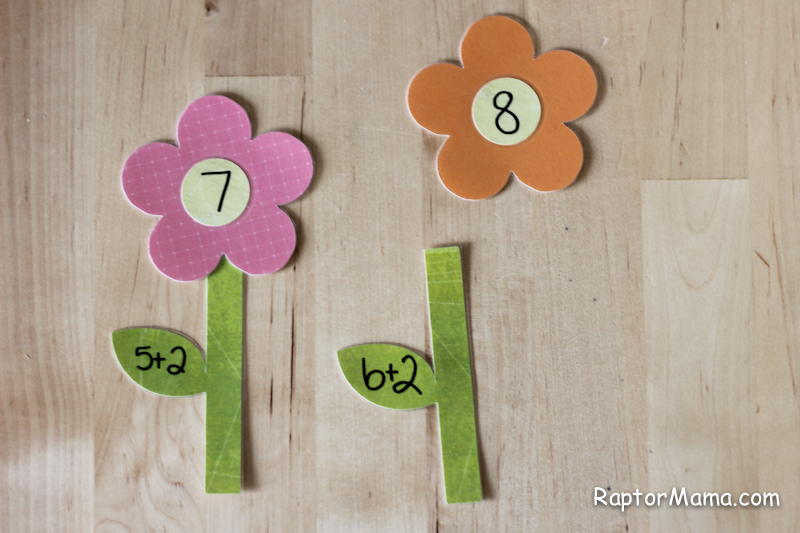
G is for Garden. More math and more crafts.
 H is for Heart! I’m a big fan of repurposing stuff so I busted out all of our Valentine’s Day stuff. The girls loved it.
I is for Ice! It’s so hot here in the summer and we had lots of fun playing with the ice outside. Among the activities were some dinosaur ice excavations and more phonics work.
 You’ve probably noticed by now that these aren’t actually letter activities. Raptor and I just like to play with a theme. I’m almost done with an awesome J is for Jungle unit, just in time since this is Raptor’s first week of summer vacation! Hopefully I’ll get it up next week. 🙂
Y’all, my baby sister is getting married! I am so so excited for her. She had an engagement party a few weeks ago and asked me if I could make her some wine charms. After checking out her pinterest boards, I came across these. I have to be honest, I love my cricut, but it’s old and I can’t see it cutting out anything that detailed. I drew up a simpler shape in SCAL which I liked even more. Here’s the end result.
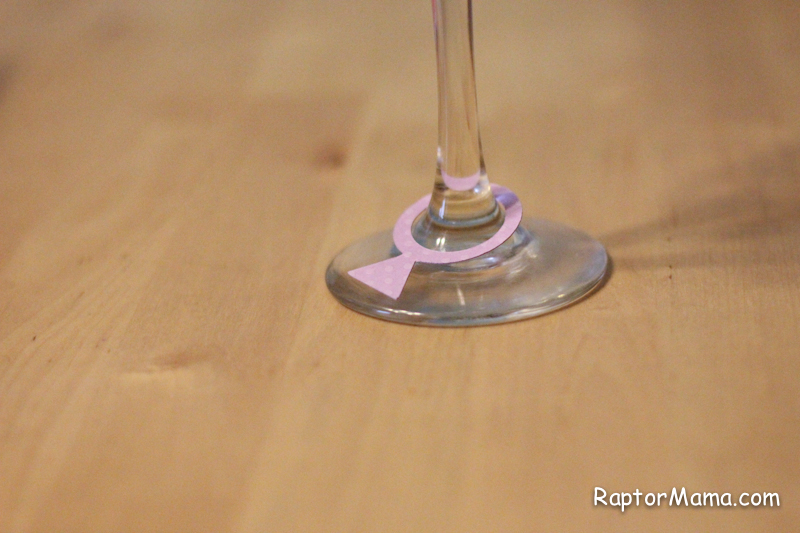 I cut a slit on one side to get the ring on the glass.
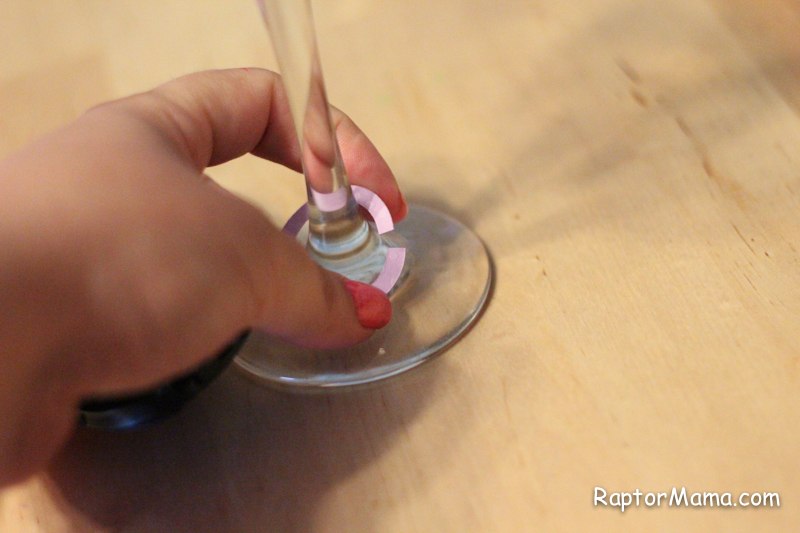 We just put them out in a little dish along with a mini-sharpie. They were a huge hit!
Here’s week 37! That means there’s only 2 more weeks in my 2013 Project Life! Maybe I’ll buckle down and finish them this week. Outlook not good. 😉
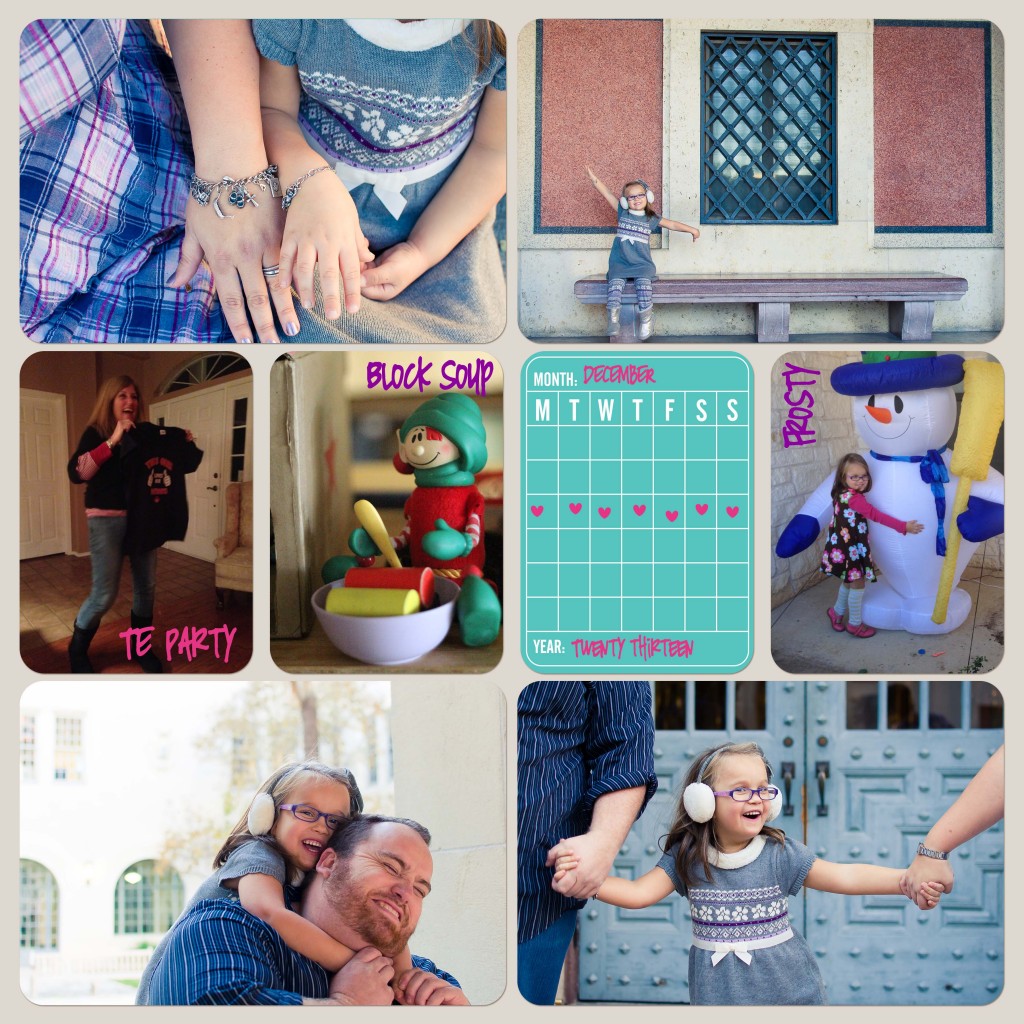 Oh, and the actual good pics (the 4 4x6s on the right hand page) are our some of our professional pics from this year from the lovely Kelly at Happy Soul Photography.
So… It’s been a while, huh. What can I say, Raptor and I have been having too much fun soaking up the awesome weather to do much crafting. We have a short window before it’s too hot to even contemplate going outside so we’re making the most of it. 🙂
I did take some time today to work on my (woefully behind) 2013 project life. Here’s Week 36 (which is the second week of December in my book.)
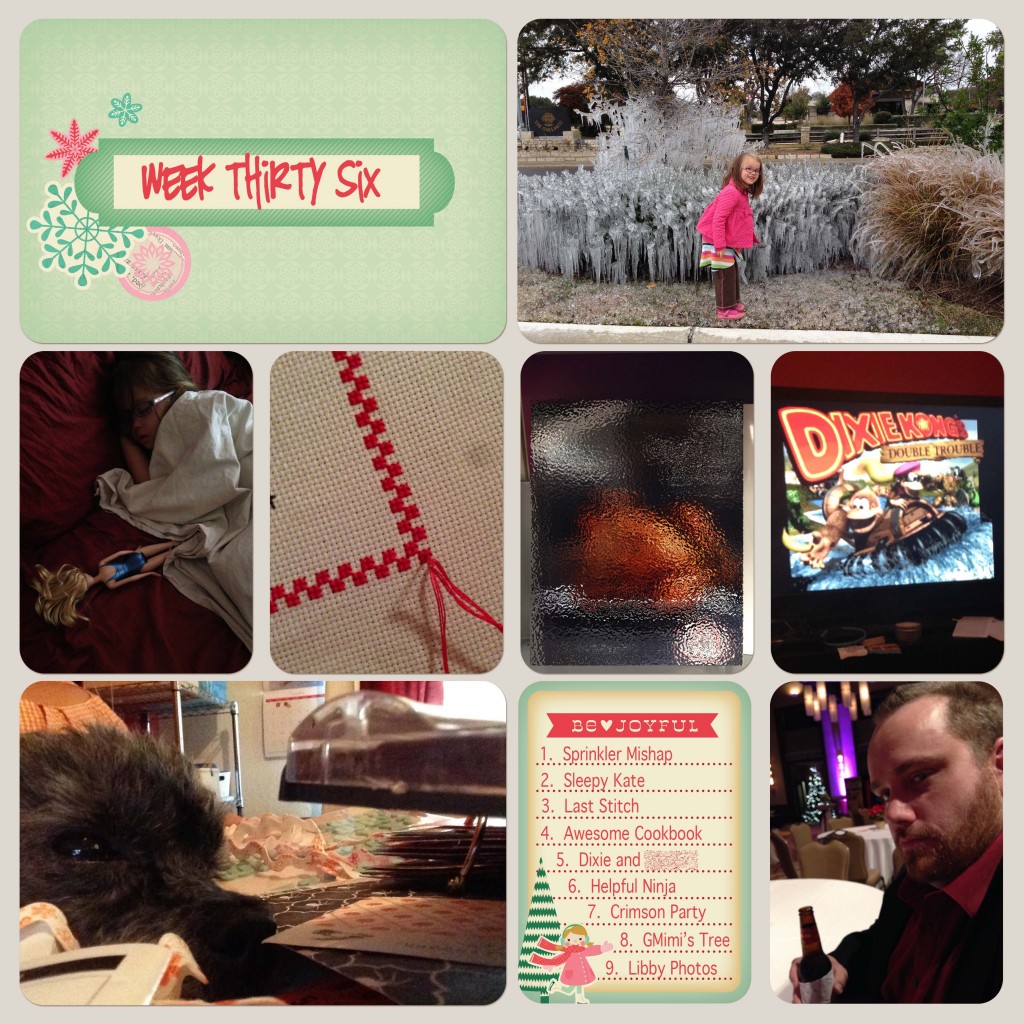 I didn’t even bother to do much journaling since all of this stuff is in December Daily already.
My friend (you can check her out over at Happy Soul Photography) invited Raptor and I to go see the largest bluebonnet field *ever* in the history of the world. Y’all, it took us an hour and a half to get there, but it was soooooooo worth it!
 We loaded up the kids in my car, put on the Frozen soundtrack and we were good to go.
 Y’all, it was amazing! I have never seen even a fraction of the number of bluebonnets that we saw. We had a picnic and then let the kids run around while we took pictures.
 It wasn’t possible to take a bad picture. 🙂
 Though Raptor lost interest after a while.
 So cute! The kids had a blast, especially since they basically got to run free as there were no cars or roads to worry about. Just bluebonnets as far as the eye could see. We saw a few other people out there taking pictures, but there was so much space that it was no problem keeping out of each others shots.
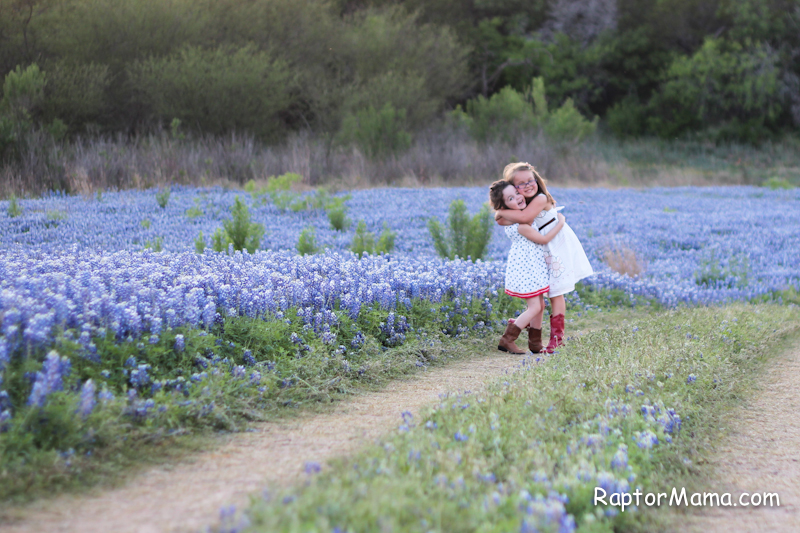 The girls and their boots. Love it. Totally unplanned and totally awesome.
If you follow me on Twitter, you know that I’ve been working on creating my own planner. I want to love my iPhone’s calendar, I really do, but we had to break up after I updated the OS and it stopped working. I figured if I was getting a planner anyway, I wanted to create a template for Project Life planner pages. I was hand drawing them each week and it was driving me crazy.
After searching on Pinterest for a while, I came across an awesome planner where you printed the pages yourself. Score! Since the files were sent to me as PDFs, I was able to create some customized pages that had the same style as the already created “standard” planner pages. I bought them on Etsy from a delightful seller who has planner pages all ready to print in a variety of sizes. Couldn’t have been easier. And yes, her work might look familiar since I’ve used some of her Project Life freebies in the past. Check out her blog.
I was tempted to get a filofax to use as the binder, but those puppies are expensive! Not to mention, the pages are a strange size and I doubted my ability to print 2 to a page. Since I’m cheap, I went with the 8.5×5.5 size. This allows the pages to be printed landscape and then cut in half. Since I really wanted them to be printed in color I was trying to limit the number of pages I was printing. I ended up getting this binder in green at Office Max (Office Depot? One of the two. I’m sure it’s at both.) Then I made a cover using some paper from The Pier, some Thickers, a few Prima Flowers and some gems. Easy peasy. It slid right into the clear pocket on the front.
 Here’s the inside of the binder. I wasn’t sure about this pocket at first, but then I realized it’s the perfect size for my markers! Perfect. And check out the super awesome calendar page! I laminated it so it would be a bit sturdier. I hate it when the first page in a planner gets all beat up.
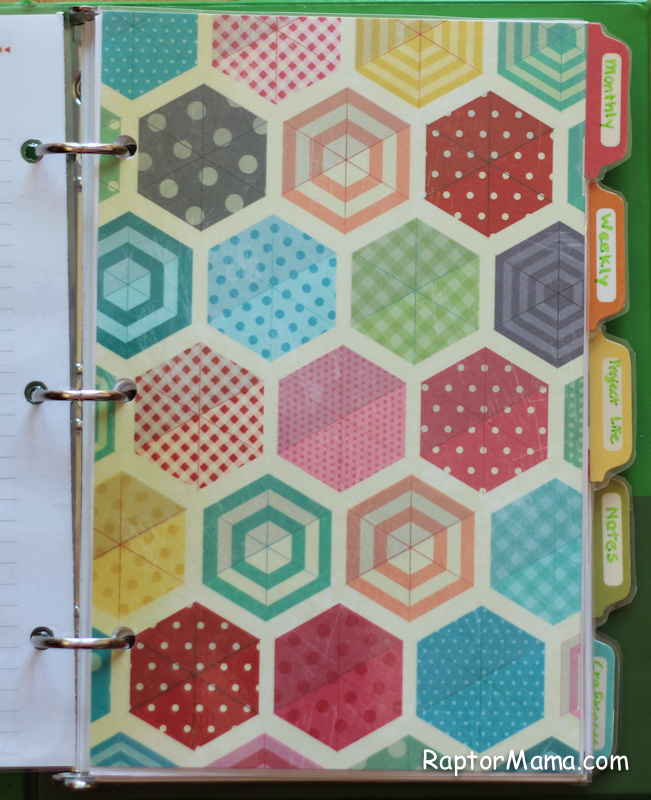 Y’all, I am in love with the dividers. I was initially going to cut them out on my cricut, but I have a Baby Bug and they needed to be wider than the cutting area. I ended up cutting rectangles with my paper trimmer, then sticking down these tab stickers (from various October Afternoon sticker sheets.) Once the tabs were stuck down, I cut around them by hand and then laminated them. I originally planned to have more dividers, but some of these tabs are from the 9 to 5 collection and I’m too cheap to pay for any more since they’re so old. On the off chance that I ever find some more, I wrote on the tabs in sharpie after I laminated them so that I could change them up.
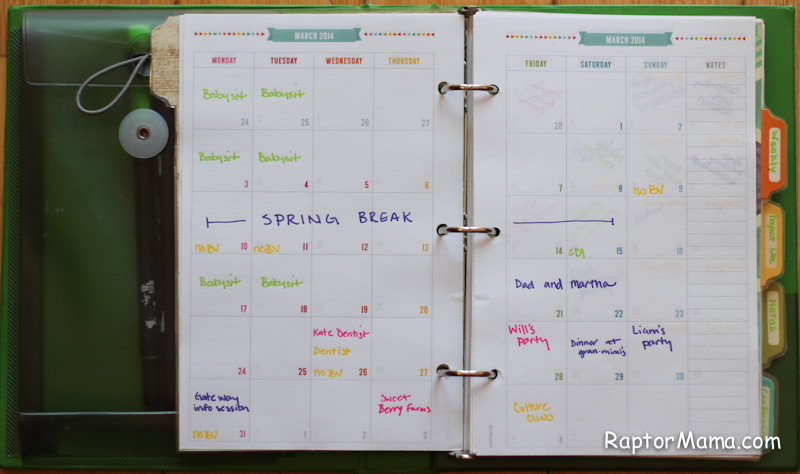 Here’s an example of the monthly planner page. I printed this one as is. I’m even color coding it, but who knows how long that will last. I try to put major events on here, but not to clutter it up with minor stuff. I leave that for the weekly pages.
 Here’s the weekly pages, again printed as is. I love that it had the option for a Monday start instead of a Sunday start. That’s how I structure my Project Life (I like the whole weekend on the same layout.) so I appreciate the continuity.
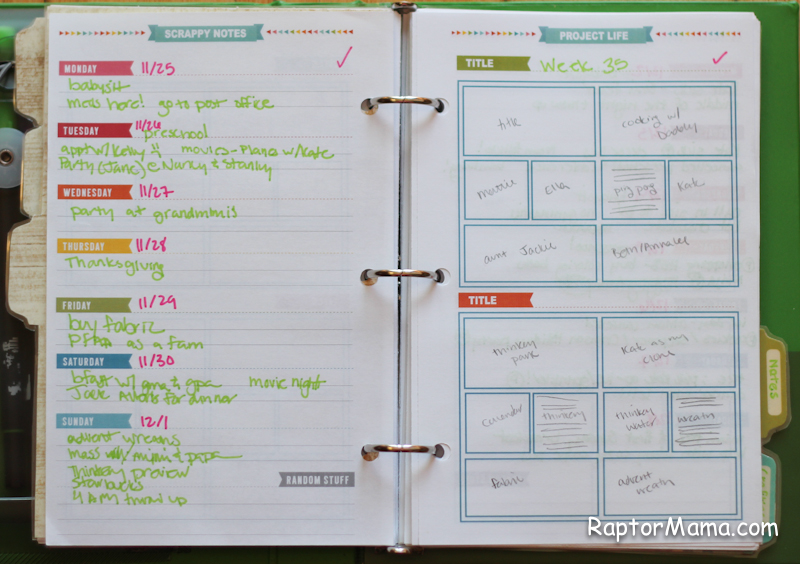 And now the pages that started this whole trip down the rabbit hole of planners. My Project Life planner pages! I have to admit, RaptorDad made these for me. He’s way better at photoshop than I am.
What I’ve been doing for the past year is writing down everything we do (after the fact) so that whenever I get around to actually doing a Project Life layout the info is easily available. Then on the right hand side, I have a grid set up so that as I’m editing the pics I can fit in exactly where each one will go, where the journaling will go, etc. It’s working really well. Even though I still have 4 weeks left to go in 2013, I don’t feel as behind since I know all of the info is already recorded.
I also made a Project Ideas page so that I can keep track of my progress with all of the various projects I have going. I have a general one, a Spring one (shown), and then I’ll probably end up making other seasonal ones when the time comes. I like having them separated like this because as soon as Easter is over, I’ll likely lose all interest in this list until next year. This was I can easily keep track of things year to year.
Here’s a similar one but for scrapbooking. Sometimes I have more layouts, sometimes less. This way I can keep track of which pictures I’ve ordered, what’s already gone up on the blog, etc. Historically, this list has ended up on scraps of paper in various places all over the house. This new system is working a lot better.
Here’s another page I designed to help me keep track of craft projects. I am seriously loving having all of these things in one place!
I have plans to print some more of the pages that came with the kit (meal planning perhaps? For sure the thank you note tracker. I’m also eying the date night planner.) I’m also considering designing some more pages in the future.
What do you guys think? Interested in seeing more planner posts in the future?
Raptor and I went on a field trip to the strawberry farm this week. It was awesome! And now I have bunches of strawberries in the food dehydrator to make strawberry chips. 🙂
If you’re local, we went to Sweet Berry Farm in Marble Falls. I totally recommend them *if* you can go during the week. We went last fall for the pumpkin patch and we made the mistake of going on a weekend. Never again. Thursday afternoon was delightful though. And seriously, these are the best strawberries you have ever tasted so it’s worth the drive from Austin.
Someone was tired of me taking pictures. 🙂
So fun! I can’t wait to scrap these. 🙂
At least, it’s finished for now. I might end up designing some more pages later. I emailed the girl I bought the original files from to see if she minds me sharing pics of my modified ones here on the blog. Hopefully she gets back to me soon! I did post a pic on twitter of the dividers that I made if anyone wants to go check that out. 🙂 I used paper from The Pier, the tab stickers from October Afternoon’s 9 to 5 collection, and then laminated them to make them sturdier. I’m loving the result.