So… Kate started Girl Scouts this year and she and I are loving it! Her troop is an awesome mix of kindergartners and first graders and all but one are new to Girl Scouts this year. The girls have been busily earning their petals (those are like badges for Daisies) with a lot of fun patches along the way. We love patches. 🙂
The other day, Kate asked me what her apron would look like when she had earned everything and was ready to bridge to Brownies. I pulled up a picture, but pointed out that we were not going to earn the journeys with the troop since we would only be daisies for one year. (If you’re not familiar with the new program, most of the badges have been replaced with journeys. Journeys are generally meant to be earned over the course of about 6 meetings, though there are programs to earn them in a day. There are 3 journeys at each level and, if you earn all 3, you get the summit award.)
I asked Kate if she wanted to try to earn a journey on her own (one of her friends has done a journey) and she was super enthusiastic about it. In fact, I have a sneaking suspicion that she wants to earn all 3. Well, fine by me, we’re having so much fun with this one that I’m down for 2 more. 🙂 I talked to her troop leader about it and she was very encouraging. In fact, one of her daughters is in first grade as well so we might work on the other 2 journeys together.
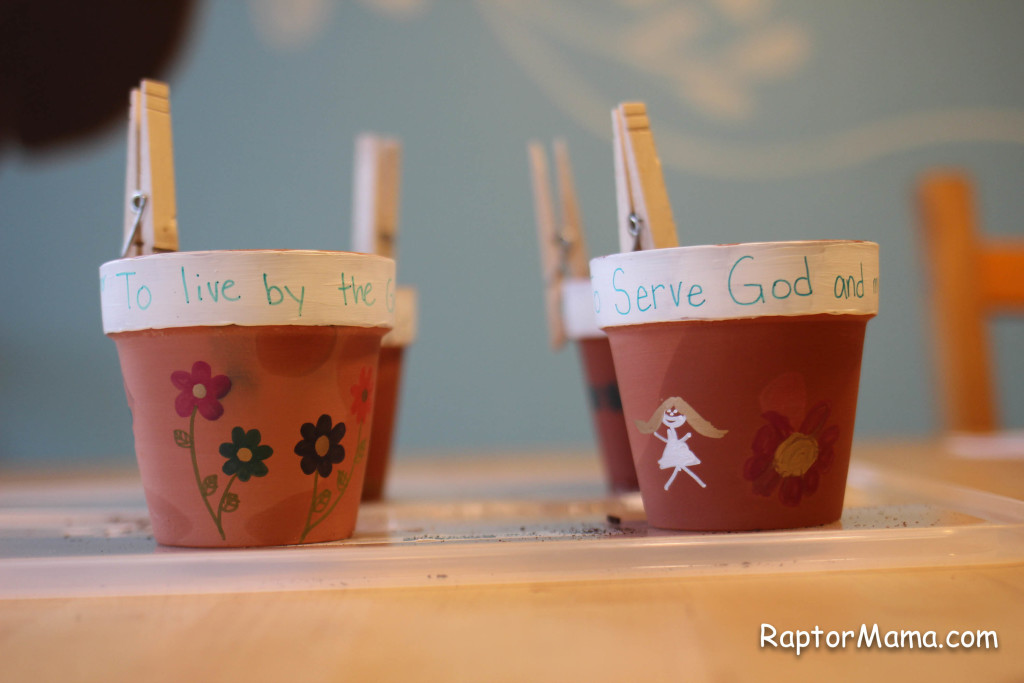
We’re adjusting a few things from the leader book, mainly taking out the group games and substituting crafts, and I think it’s going really well. Since part of the point of doing this is to have some quality one on one time with Kate, I’m being very intentional about our “meetings.” She wears her apron (omg, she’s so cute in it) and we start by saying the Promise and the Law. Then we read the chapter in the journey book, do any of the written activities in the book, and do a related craft. For our first meeting, I bought some flower pots, potting soil, and seeds at the Dollar Store. I painted white around the rim of the pots to prepare them. Then Kate and I talked about the Law and she decided on her favorite line, “Be a sister to every Girl Scout.” We talked a little bit about some ways that she could enact that in her daily life and then she wrote it on one of the flower pots. Since we had 3 more, I asked her if she would rather choose 3 more lines from the Law (there are 10 total) or if she wanted to me write the 3 lines of the promise. She decided to go with the promise. Then she colored 3 of the pots with sharpies and I colored 1. Once she was satisfied with the crafty portion, we planted some seeds. Tending to this little garden seems to be the point of the 1st 3rd of the journey, so fingers crossed that our dollar store seeds sprout for us. 🙂 We end our meetings by making a Daisy Circle and singing the Make New Friends song.
There are so many cute ideas online that I’m not even sure where all to link back to. Mostly I think I’m using this site which is a council’s website that has amazing lesson plans for all of the journeys and a bunch of badges, and this site which is a blog where a mom is walking you through what she did with her troop.
