Christmas Table

I had so much fun hosting Christmas Eve!  I had a few more ideas that I ran out of time for, but I’m really happy with what I did accomplish and now I have a list of ideas for next year.

We decided that it would be fun to have a theme for the food this year.  Since we decided while we were shopping at Ikea, Swedish seemed like the way to go.  We had meatballs, salmon, marinated cucumbers, and potato pancakes on the menu as our Swedish foods and then we had asparagus, salad and rolls in case the Swedish food was gross.  Luckily it was all delish!

I seriously love plates and I probably have more than any one person really needs, but I can’t help myself.  🙂  I don’t quite have enough of these salad plates so I alternated with the plain ones.  Hopefully it looked intentional.

I made some napkins out of flannel with my serger.  I love that thing.  I also bought some red stripped juice glasses at Ikea that we used as wine glasses.
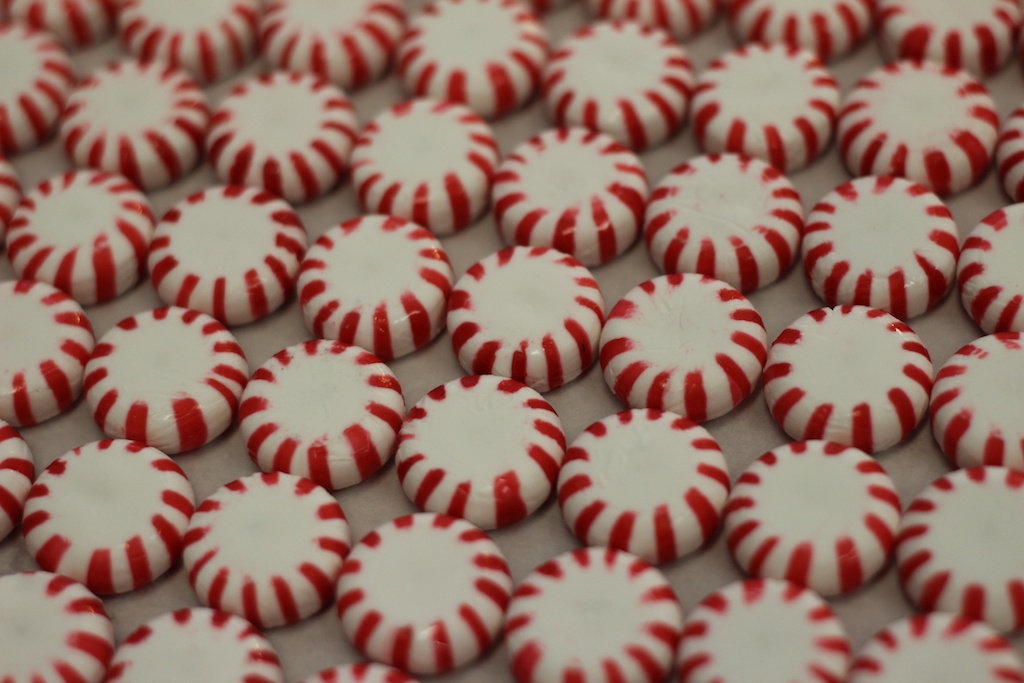
In the end the peppermint topiaries were too much with the stripped table runner, so I put them out on the island with some appetizers.  Funny story about the appetizers…  We weren’t planning on having any, but then I found these awesome bowls from Crate and Barrel that I was given last year when I was digging out my plates.  They are perfect!  That and my genetic inability to host an event without having enough food to feed a small army led me back to HEB on Christmas Eve.
I think everything turned out great and I loved the look of the red and white.  I think we’ll be sticking with that for a while.  🙂  Bonus, I just realized that I can repurpose a bunch of it for Kate’s second annual Valentine’s Day play group party!


Leaf Pile Pics

I had grand plans for an awesome post after my week off, but, well… if y’all have been reading for very long you know that I’m a major procrastinator.  lol.  It’s currently 2 AM and I just finished addressing my Christmas cards.  Except that I’m missing some addressees and I ran out of stamps.  ::sigh::  One day I’ll have it all together, right?  RIGHT?!?  All that to say that I *don’t* have an awesome craft ready to blog about at the moment.  What I do have is some awesome pictures.

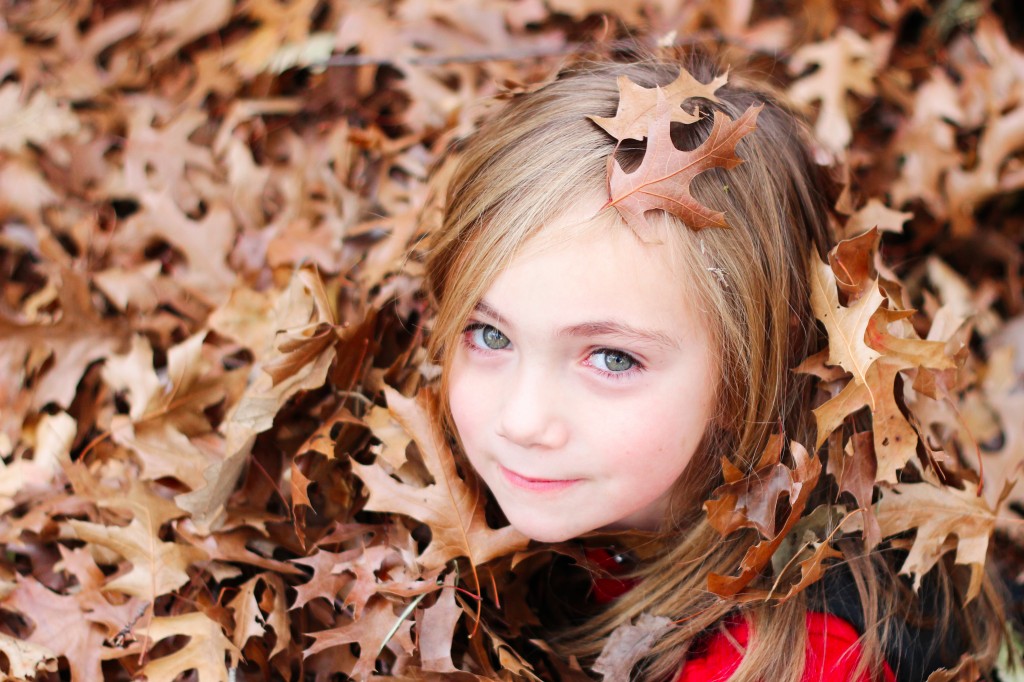
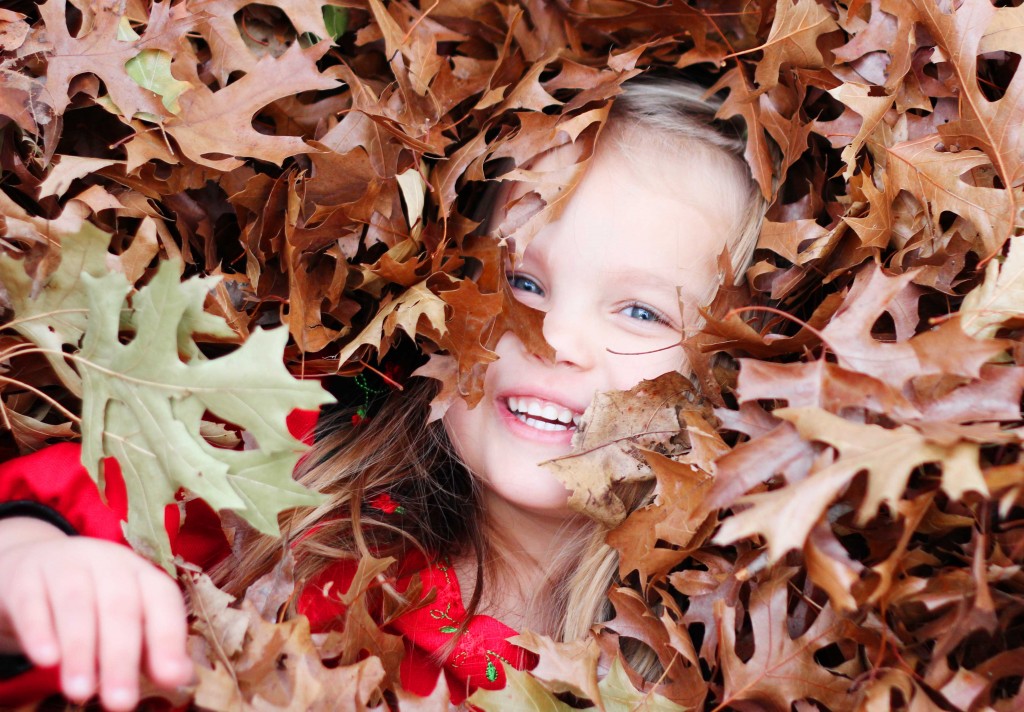
We were at my brother-in-law’s house this weekend and Kate’s cousins were playing in a giant pile of leaves. They had a blast raking them into a pile and jumping into them.  Here’s my beautiful niece.

And here’s my gorgeous daughter.  I had to bribe Kate with chocolate to cooperate (she might just be the most photographed child in existence) but I’m super happy with how these turned out.  I used my 50mm 1.8 lens (best. lens. ever.) and the settings were as follows: shutter- 1/250; f stop- 2.2; ISO- 400.  I sometimes shoot in full manual mode, but more often that not (on this occasion for example) I shoot in Apature Priority mode.

I cropped these in Lightroom (which I am totally in love with) and then ran an action in Photoshop.  I don’t often pull pics into Photoshop, but I wanted to punch up the color on these a bit since the leaves were kind of drab straight out of camera. I even used the pic of Kate as our Christmas card!

In other news, I’m now caught up through December 6th on December Daily.  🙂  Hopefully I’ll have some of that to share on Wednesday.

Lightroom

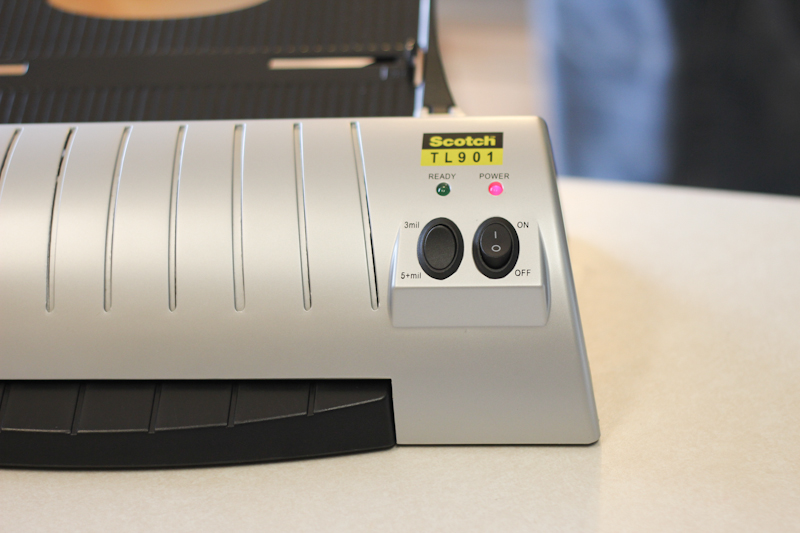
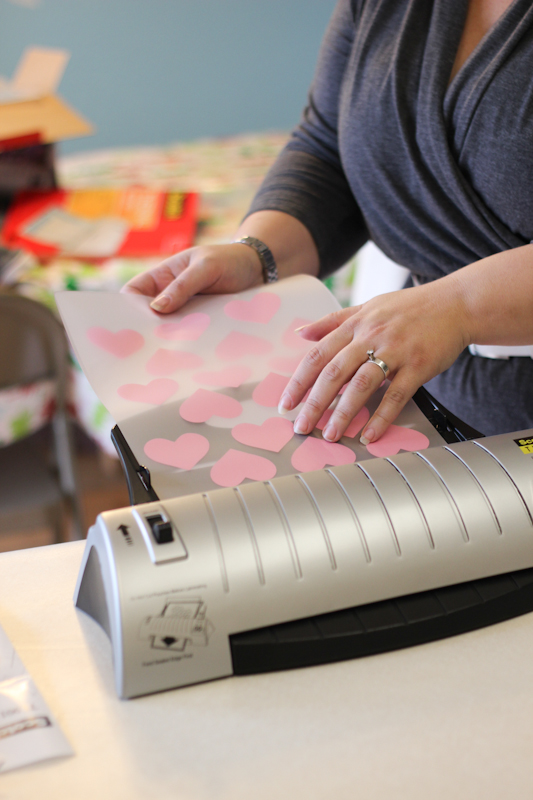
Guess who got Lightroom for Christmas?  And a laminating machine?  😀  I didn’t even know you could get one for your house.  Let’s just say that RaptorDad is the best hubby ever.

Sorry I’ve been MIA this week, but I’ve been having a blast hanging out with my fam and playing with my new toys.  Expect me to get back on track with Monday, Wednesday, Friday posting starting next week.  🙂  I finally started on December Daily so expect some posts about that.  Any other requests?

Pretty picture.

Peppermint Table Runner

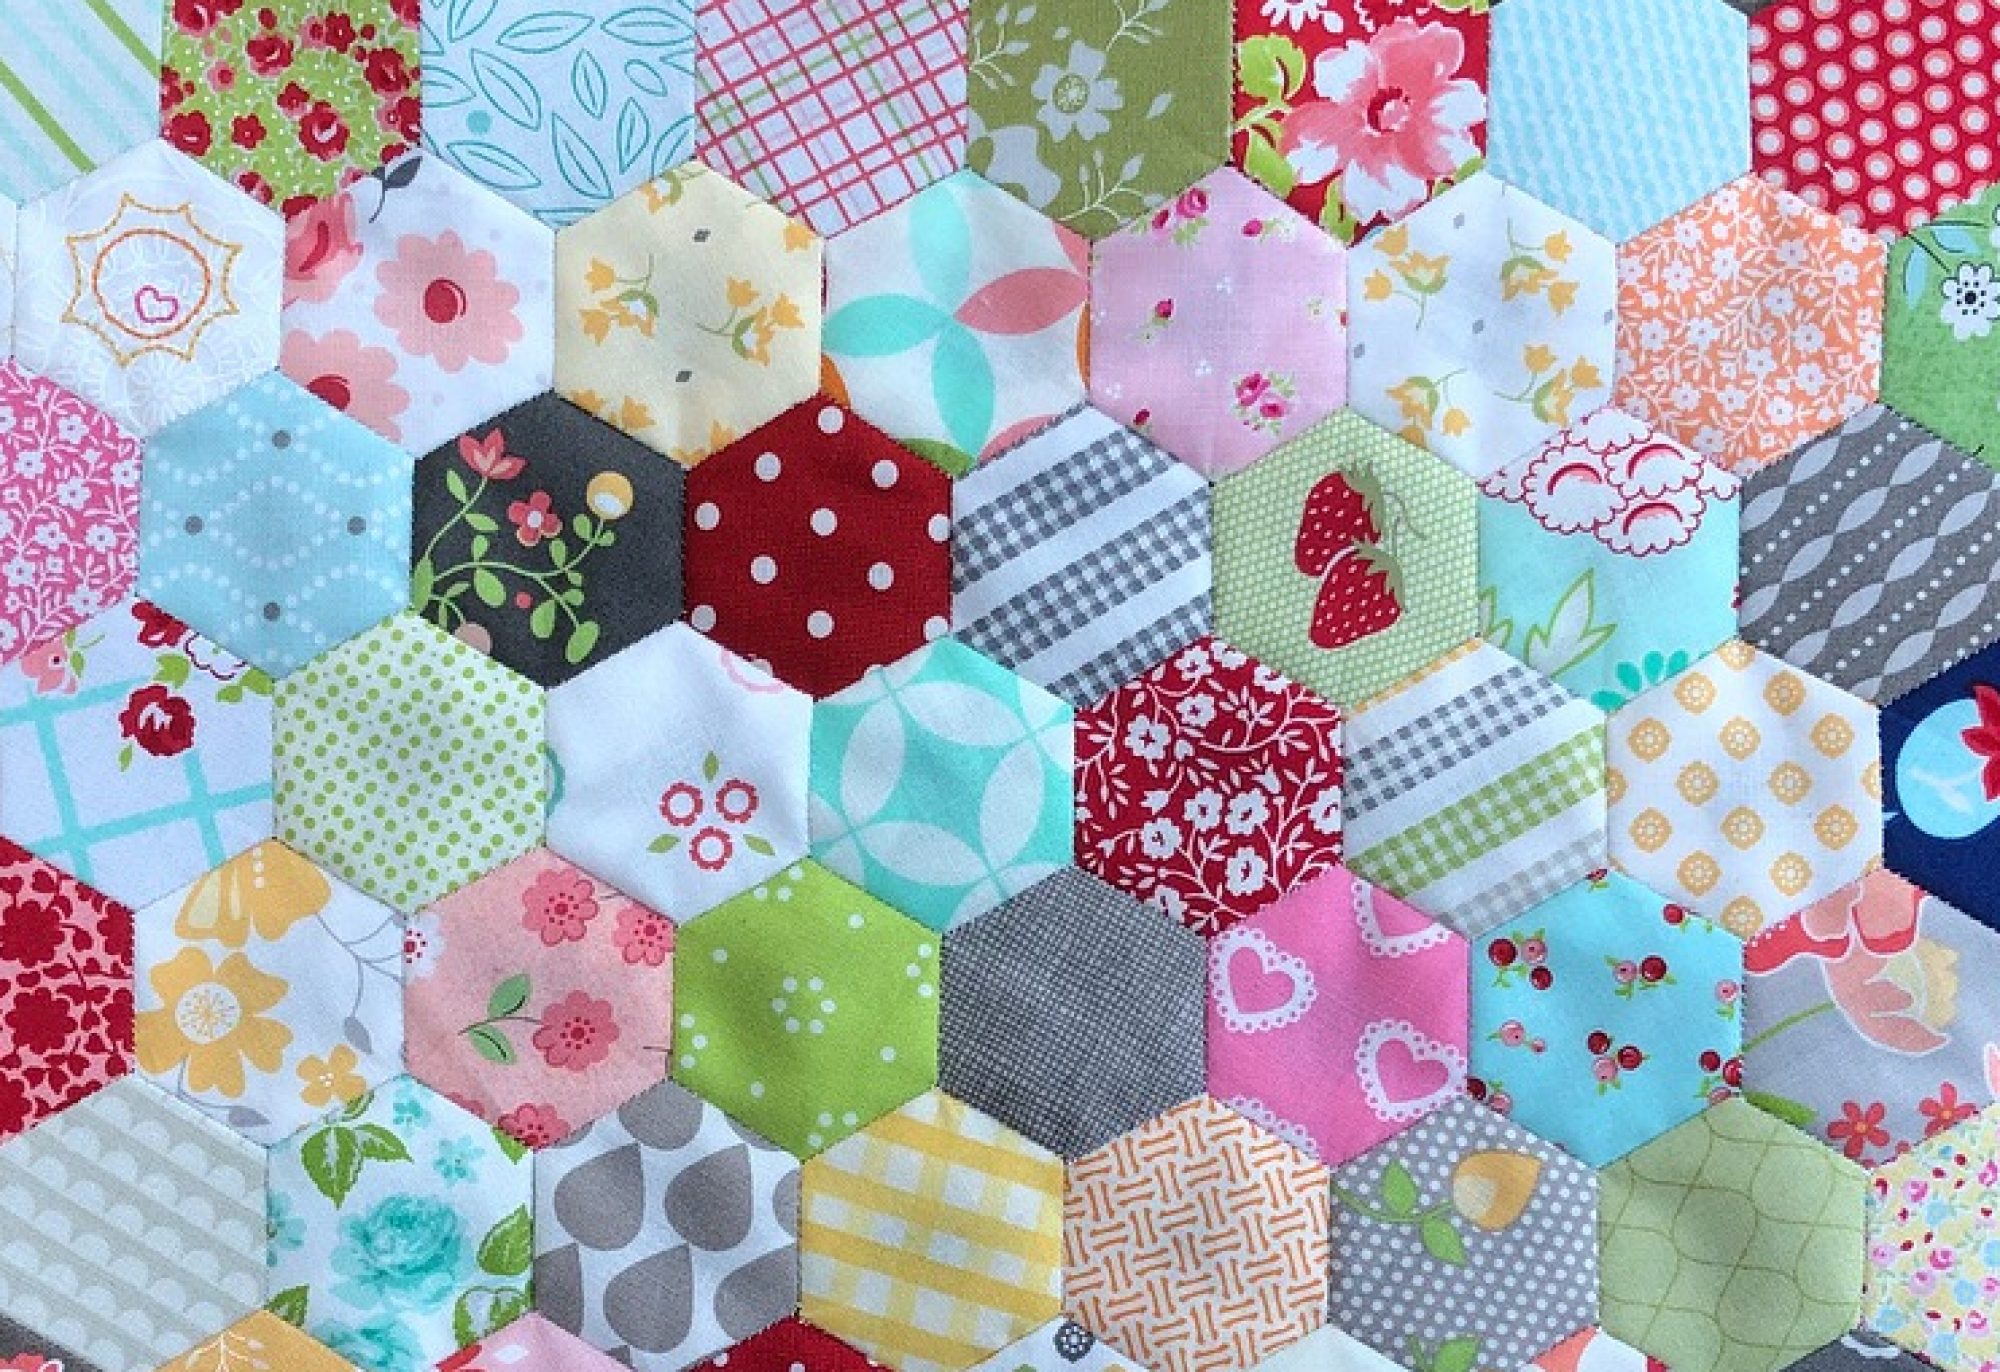
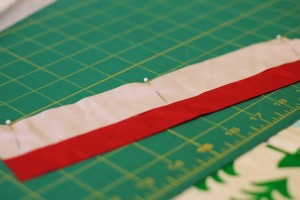
I really wanted to make a table runner for Christmas this year, but I’m waaaaaay too cheap to buy 4 yards of fabric to be able to do so with a single piece of fabric.  Since I’m an insane person (with very little sewing experience) I decided that it would be a great idea to make a pieced peppermint runner.  First, the math.  I’m using an 8 foot table.  (At least I think I am.  I’m borrowing it from my mom.  Uh…  mom, that table’s 8 feet long, right?) I wanted there to be stripes in the runner to mimic the peppermint theme, and the magic number ended up being 54.  54 2 inch red stripes and 54 1 inch white stripes.

I cut the fabric into 10 inch sections and then I cut the smaller strips from that.  Don’t forget to allow for a seam allowance!  I cut a ton of 1 inch stips even though I had already calculated that they needed to be 1 1/2 inches.  Maybe my middle school math teacher was right and I do need to show my work…


My fabric didn’t really have a right and wrong side (at least not that my untrained eye could see) so I just put one on top of the other and then pinned them.  I even managed to avoid bleeding on the fabric.  What?  Am I the only one who sticks their finger relentlessly when pinning something?  Anyone?  Bueller? Right then, moving on.

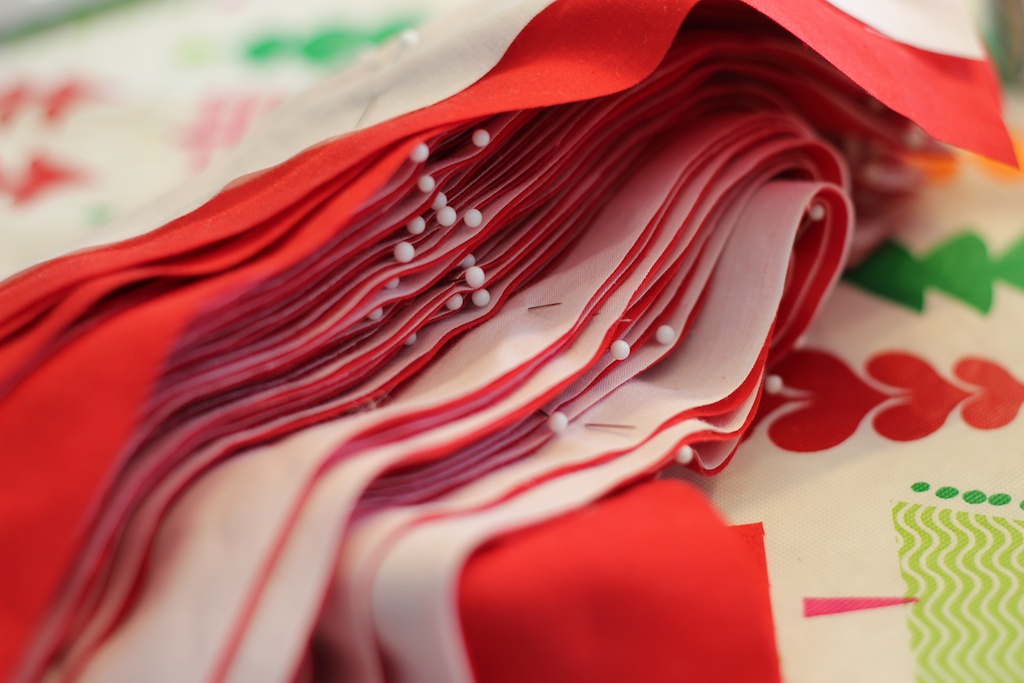
And here’s my pretty stack of 54 pinned pairs.  At this point, everything is going swimmingly.  Don’t worry, it’s all about to go downhill.  lol.

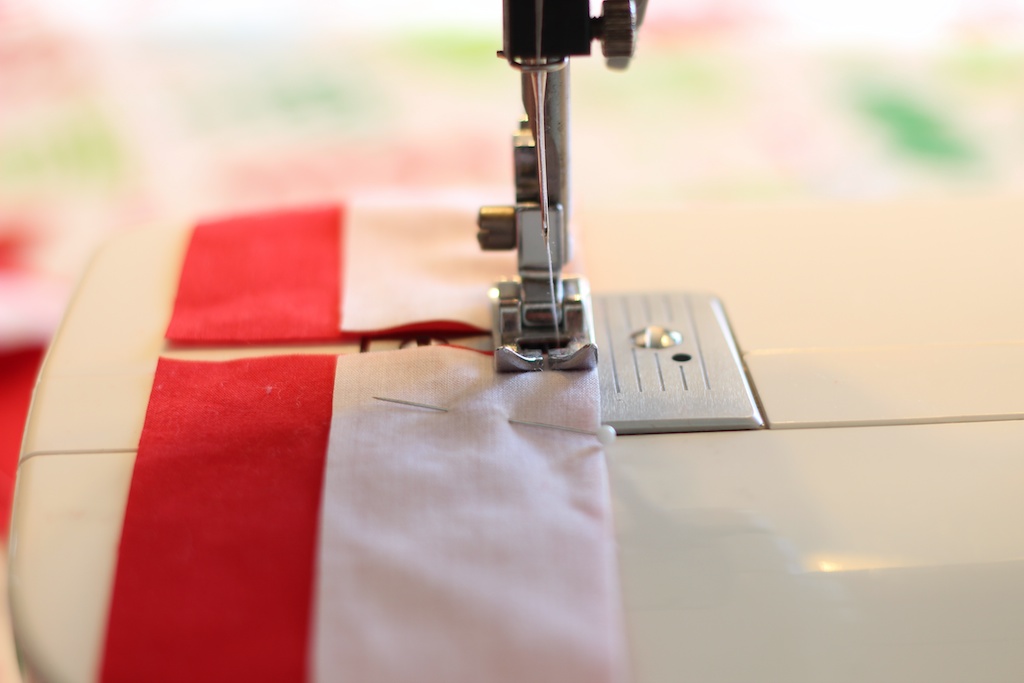
Apparently I am incapable of sewing a straight seem.  Or setting the tension on my sewing machine.  ::sigh::  This is why I’m not a quilter.  Plus side, I’m related to a bunch of quilters so I remembered to sew all of the pairs first in a long chain.

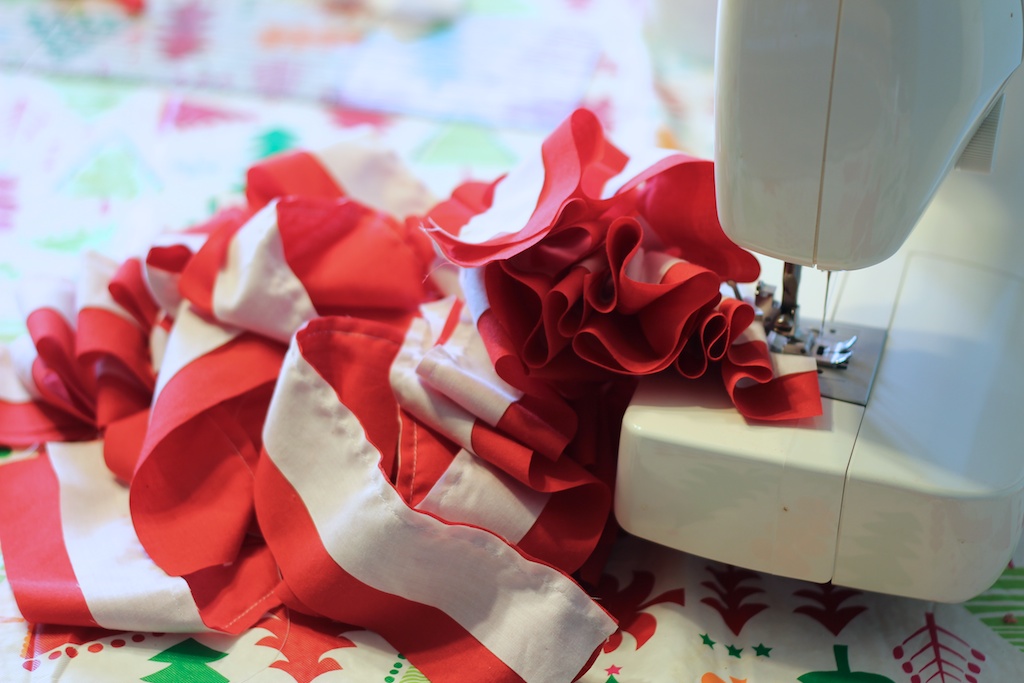
Here they are.  In all there bunched up glory.  Next you cut them apart and iron them.  You want the seam on the darker side.  (See Mom! I was paying attention all those years ago!)

Then pin pairs together and sew a bunch of quads (28).  Cut, iron, pin, rinse, repeat.  I dom’t have any pics of this a. because it’s boring and repetitive b. because I was watching Sons of Anarchy while I worked on that part and I was distracted by the hotness that is Jax.  😉

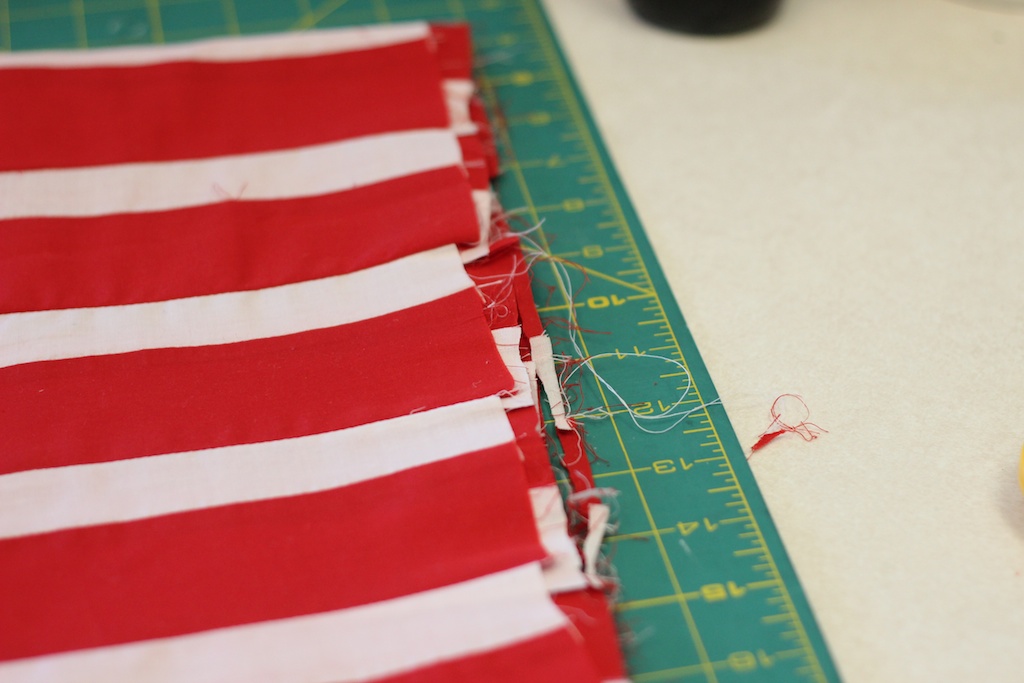
I’m not sure what went wrong, but my edges were all kind of messed up.  Not to worry.

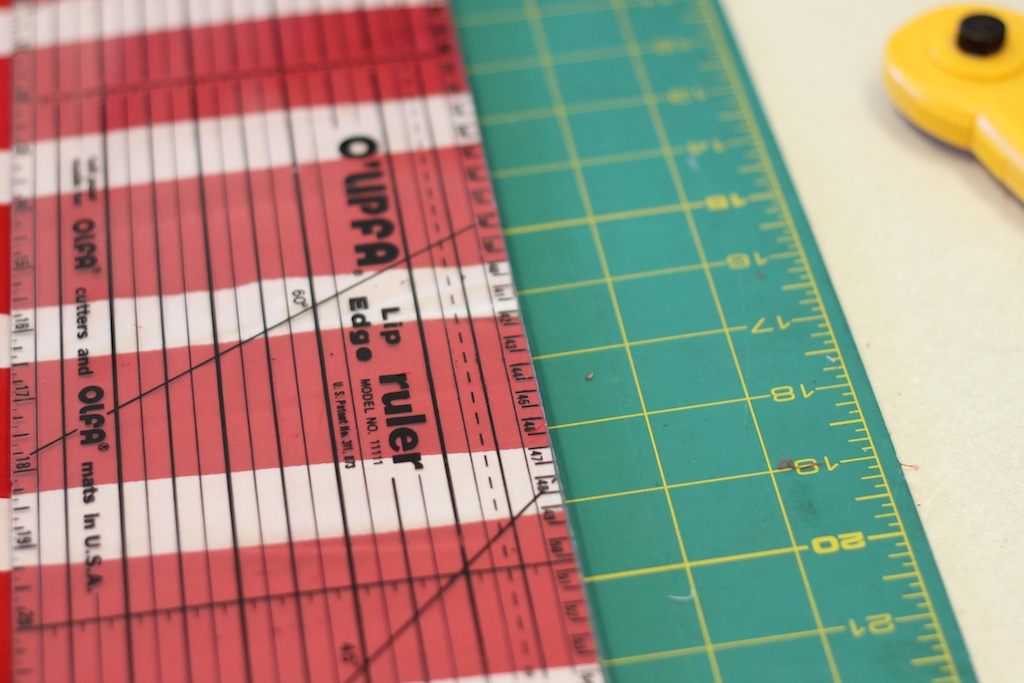
I evened them right up with the rotary cutter.  So my runner’s a bit narrower than originally planned.  Whatevs.

Time for a little double fold bias tape, which if you’ll remember from our blanket fun, I consider just about the best thing since sliced bread.

I spent a million years pinning the first length and it was totally not worth it.  I don’t know if I need a different foot or what, but by about pin number three I had to start repining as I went.  I skipped it for the next two lengths and was much happier.

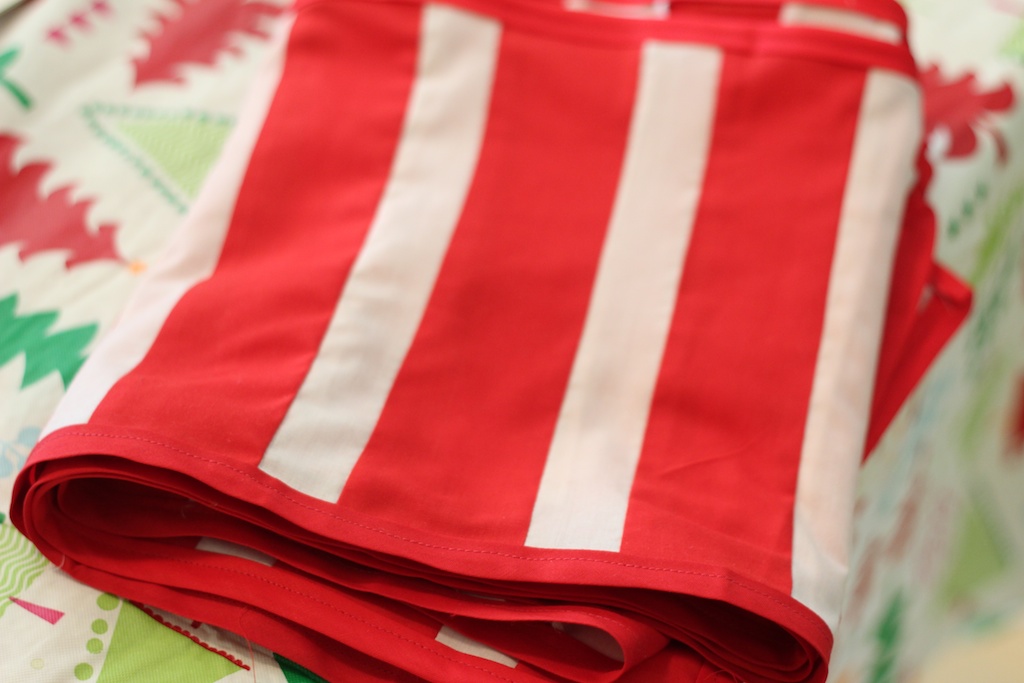
And here it is!  It lays a bit oddly, but for a first pieced project I think it looks pretty good.  It has confirmed for me that I am not ready *at all* to try quilting.  I think I would lose my mind.


Clay Christmas Tree Ornaments

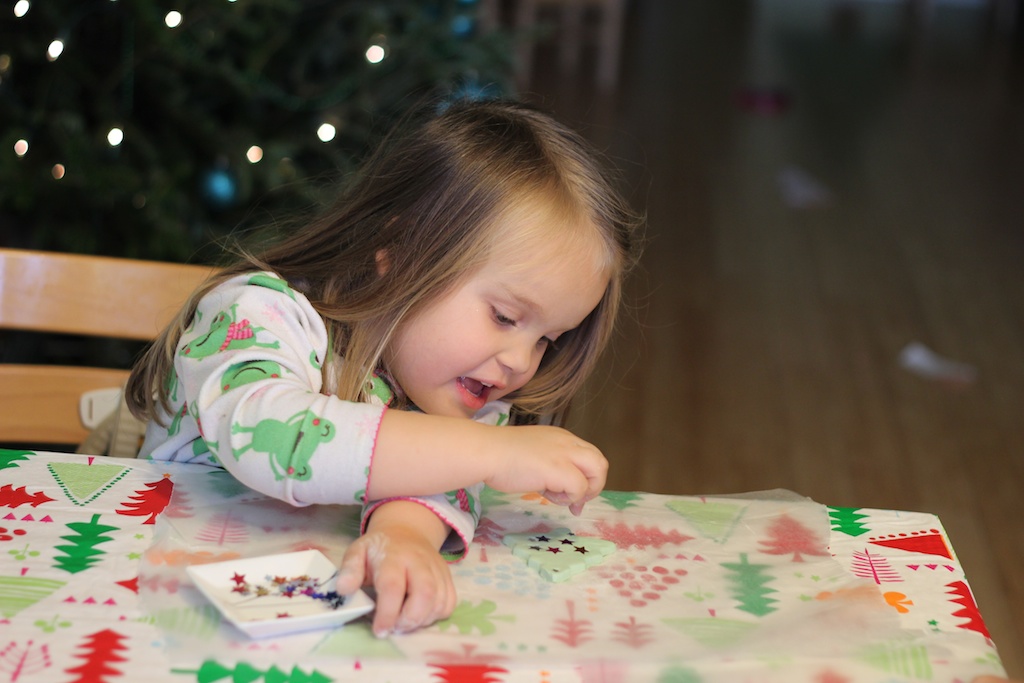
I wanted to make an ornament with the girls this year and this seemed like a fun thing to try so I decided to combine them.

I recommend putting down some wax paper first, the clay is super sticky.

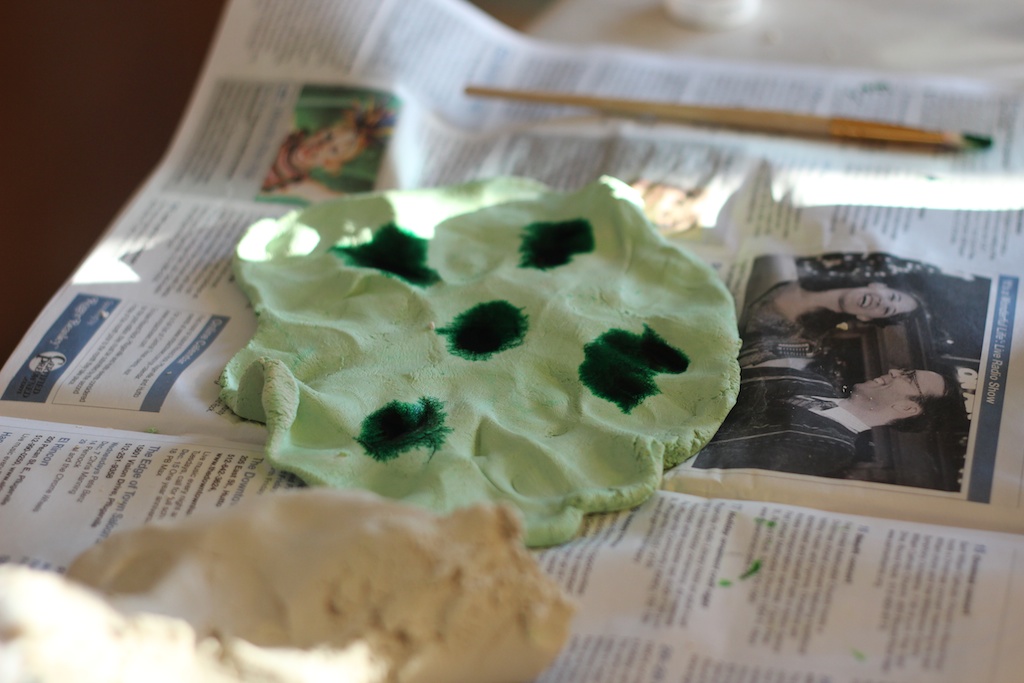
I used Crayola air dry clay that I tried to dye vaguely tinted green with some food coloring.

Then I gave each girl her *own* sequins.  I find that sometimes craft time goes better when we’re not sharing.  lol.

Abby rolled her clay out all by herself, but I had to help the little girls.

We cut out trees with cookie cutters.

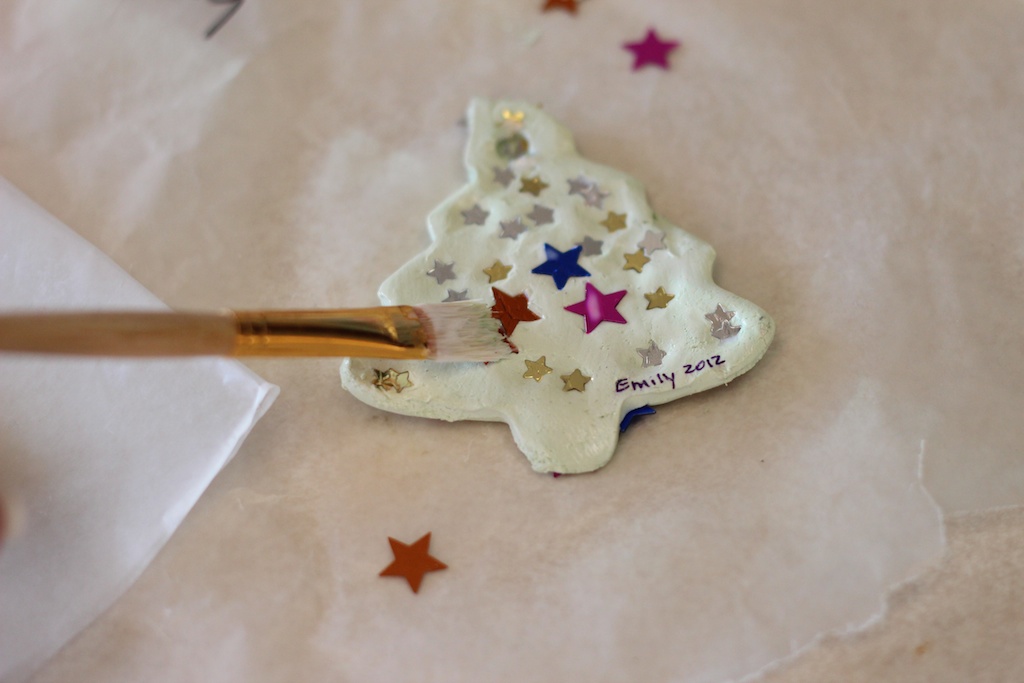
The girls had a blast adding sequin ornaments.

They insisted on adding more sequins to the back.  🙂

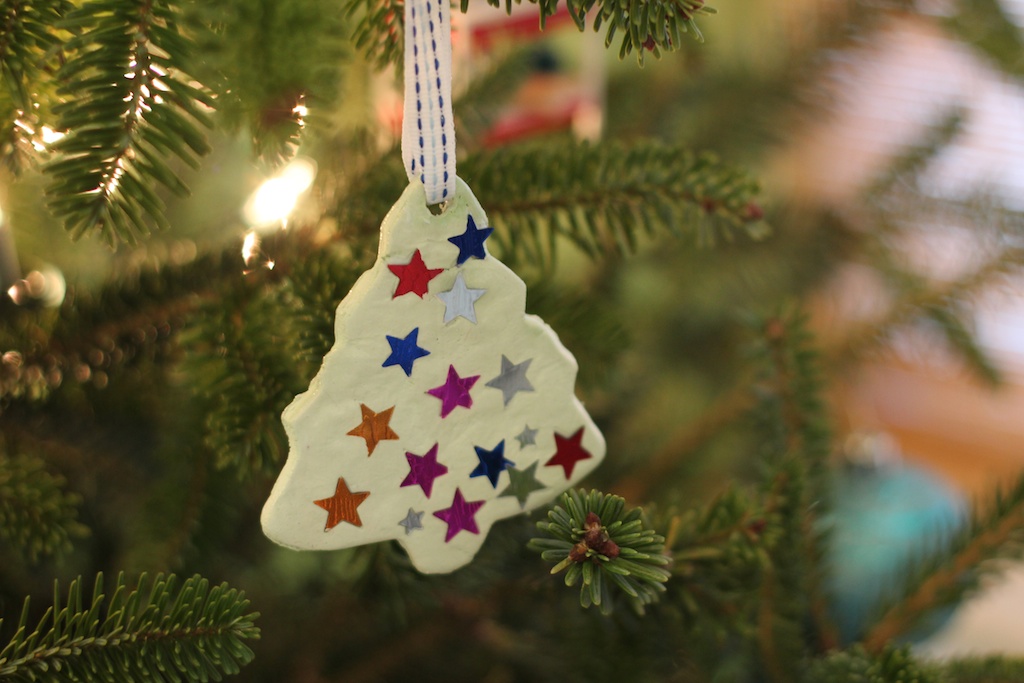
I cut a hole in the top with a straw and let it dry for a few days.  Then I painted it with some mod podge (my fav!) and put a ribbon through the hole.

I think they turned out super cute!

Some Assembly Required

Kate got an awesome doll house for Christmas today.

20121216-223026.jpg

Let’s just say that there was some assembly required. 🙂

20121216-223143.jpg

So awesome!

20121216-223220.jpg

She got some of the furniture for her birthday this summer. I love this stuff!

20121216-223348.jpg

In fact I may have been playing with ever since I put it together. Which was after I put Kate to bed. Lol.

Bento Boxes

I love packing Kate’s lunch.  I use a lunchbots bento box and some wilton silicon cups.  I like the heart ones.  They’re super cute and they fit perfectly in the corners.

On this day, I sent her with a mini cucumber, some cut up pear, black berries, and some tortilla roll-ups (tortilla with laughing cow cheese and ham rolled up and sliced).  Then I cut some leaves out of some cheese with some mini cookie cutters and put them on top to be festive.

On this day I sent celery bites (celery with sun butter), ham, apple slices, crackers and tomatos.

Peppermint Centerpiece Tutorial

I’m am so excited about this.  Like for serious.  I’m having my family over for Christmas Eve and *obviously* I’m going way overboard with the preparations.  😉  Kate and I went to a birthday party this weekend that had a peppermint theme and it was awesome.  Clearly I’m ripping the whole thing off for my party.  lol.

First up are the centerpieces, peppermint balls.  Gather your materials: flower pots (Ikea), floral foam spheres (Michael’s), peppermints (Target) and a hot glue gun.

Then unwrap the mints and start glueing!  Side note, be careful not to glue the mints to your finger.  Don’t ask.


At first, I thought I would start with a line of mints and work sideways, but that didn’t really work since the sphere is curved.


It started off good, but then the mints weren’t lining up like I wanted so I pulled them all off and started again.

I decided to try again working from the inside out and I was much happier with the results.


I just kept filling it in accepting (grudgingly) that there would be some weird gaps.

I sprayed the whole thing with hair spray to (hopefully) keep it from melting and/ or running.

I love the way they turned out!  I’m thinking of adding a bit of teal ribbon just below the peppermints.  Thoughts?

Oh, and super exciting, I just found out that I’m being featured on another blog! Squee! My advent calendar was featured at True Aim Education! Go check it (and all of the other awesomeness) out at True Aim Education.

parents as teachers

Felt Christmas Tree

I caved.  Everyone and their dog has made this felt Christmas tree.  I’ve seen it all over Pinterest.  I decided that I had to make it.  (It required a lot or arm twisting.  ::wink wink::)  I didn’t have a large enough piece of felt on hand, so I decided to cut each tier for the tree separately and then stitch them together.  Then I added a trunk and a star.

I thought about trying to attach it to the wall with ticky tack or something, but I ended up just stapling it.

Now for the ornaments.  The great thing about this tree is that it’s made of felt so ornaments made of felt stick to it.  I cut out a bunch of circles and well, for lack of a better word, ornament shapes.  Basically circles with triangles on top and bottom.

Then I cut out a bunch of rectangles to use as stripes.

Initially I wasn’t going to attach the stipes permanently, I was going to let Kate stick them to the felt and move them around at will.  Then Michael pointed out that she would have a blast if I let her glue them together.  Girl loves glue.  I picked up some sequins too.

She loved sorting the sequins into this little mold.  It’s from Ikea and I think it was originally meant for ice cubes.

When I cut the stripes, I was envisioning something like this.  These are 2 that I made.  Let’s just say that Kate’s far from a minimalist.

Kate was thrilled that I let her use the glue.

Kate very carefully put four stripes on the ornament.  She wanted to add more but I convinced her that they just wouldn’t fit.  Really I was concerned that if it got too heavy they wouldn’t stick to the tree.

Next up sequins!

We both had a ton of fun with this project.

I told her that the ornaments had to dry overnight before she could put them on the tree. The next morning she ran over to the tree first thing to play with it.

I love it when she gets so excited about a crafty project!


Park Bag

So as I said, we were at the park last week hanging out with a friend and I was super impressed with how prepared she was.  She had chalk, buckets, shovels, a blanket…  all of the things that I always think I should bring to the park, but then forget when it actually comes time to head to the car.  Then she shared her secret- she keeps a park bag in the car!  Genius!

I pulled out Kate’s old diaper bag (which I spent way too much money on, but which I still love!) delighted that I had found a new use for it.

We don’t use plastic containers to store food, but we seem to accumulate them at a rapid pace nonetheless.  It seemed like they would work for holding the chalk.  Initially, I wanted to put the chalk in a cute little drawstring bag that I was planning on making at a later date, but actually the plastic container was kind of perfect.

We used to have 10 of the stacking cups, but they’re disappeared over the years into the great toy box in the sky.  I gathered up the remaining few along with a shovel and added them to the bag.  Side note: I always put Kate’s name on them.  I’m more than happy to share while we’re at the park, but having her name on them makes it much easier to make sure that they come home with us.  Especially when 12 kids have the same shovel.

Finally I added our super snazzy new picnic blanket.  Eventually I want to add a granola bar or 2 for emergency snacking and a travel size Benadryl.  Maybe an extra set of clothes (although am I the only one who gets super irritated to have two outfits tied up at school, one in the diaper bag and now possibly one in the park bag?)  Other suggestions?  What do you always wish you had at the park?