St Patrick’s Day Mod Podge Letters and Goals

Remember the JOY letters?  And the LOVE letters?  I’ve been putting them on a shelf in our built-ins and they’ve been so cute that I decided to make a set for every month! 🙂
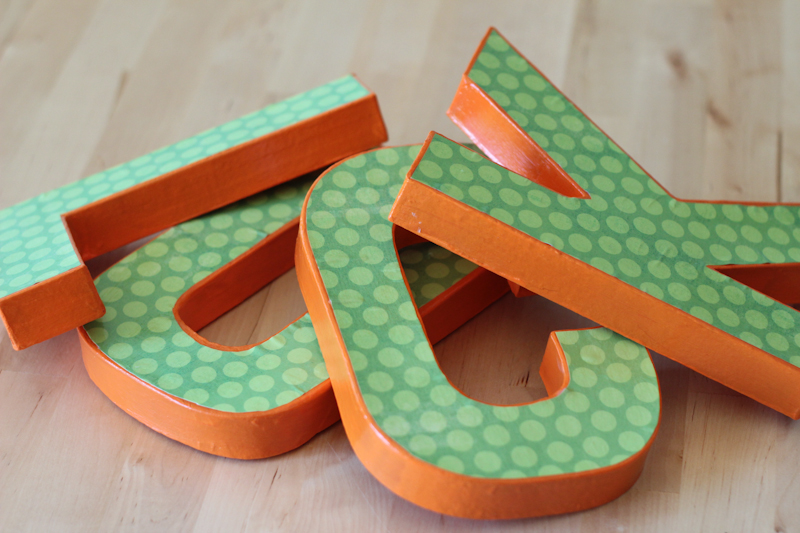
RaptorDad suggested LUCKY for March, but they were out of Ys at Joanne’s so I went with LUCK.  I used the Lime Twist line from My Minds Eye.  I love this line.  In fact, I bought it when it was new and used every last scrap.  Imagine how happy I was when I found a huge collection of it at Archivers last week!

I was initially looking for some shamrock paper for this project, but I couldn’t find anything that I *loved.* Then I realized  DUH!  I can just use green paper.  RaptorDad suggested orange paint which ended up being perfect.  It made the green pop and it’s the colors of the Irish flag!  Perfection.
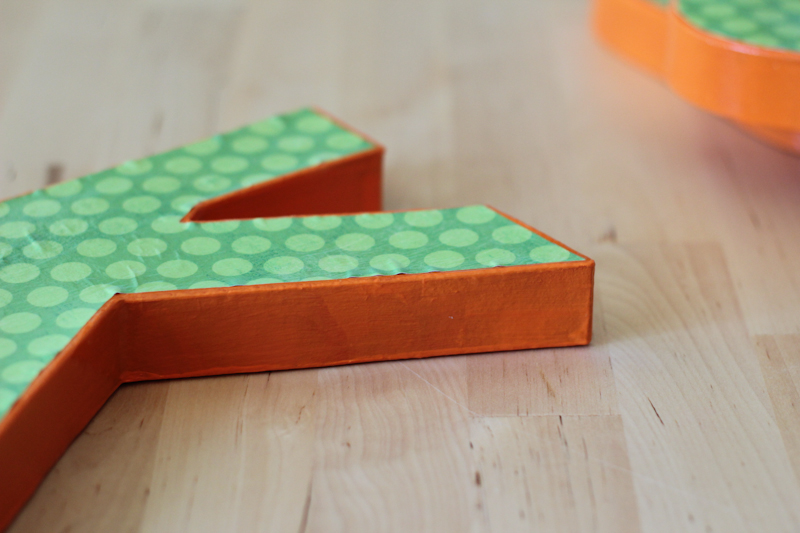
The last time I made these, people asked me what I did about the wrinkles in the paper and I was perplexed because I didn’t really have a problem with wrinkles.  Not the case this time.  The collection pack of these papers was quite thin and I think that’s why I ended up with wrinkles.  Bottom line, if you want to avoid wrinkles use a thicker weight paper.  I think that a brayer would have helped too, but let’s be honest, I only have so much preschool time available to craft and I’m not wasting it looking for/ buying a brayer.  In the end I decided that it looked fine wrinkles and all.
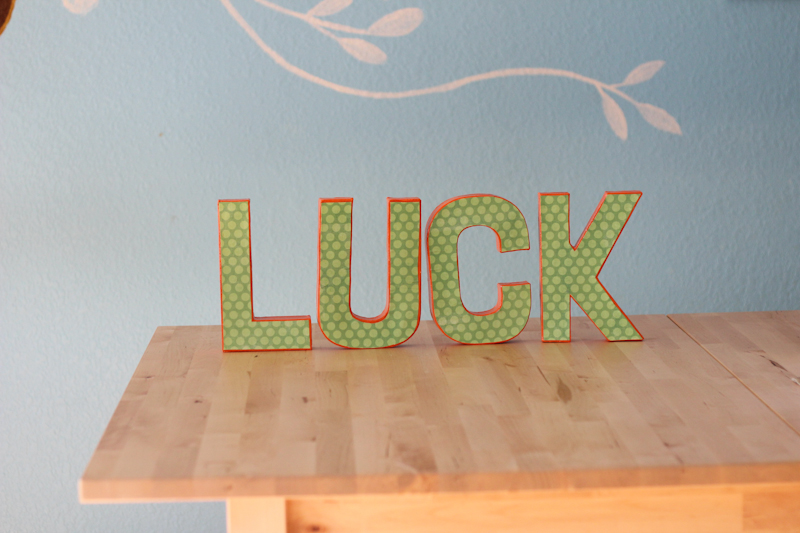
Cute!

Now, for the goals update.  I did pretty good this month!

1.  Finish April and May layouts.  This one is dependent upon me actually getting my pictures back from the printers which would involve me ordering them…  See number 4.  Done!  Barely, but it’s done.  I thought it was a lost cause, but Kate had school Thursday and I finished the last 4 layouts just in the nick of time.  🙂

2.  Finish December Daily.  Also done!  I finished this up on Tuesday during preschool.  I’ve been so productive this week.  🙂

3.  Sort and select phone pics for September, October, November, December and January Project Life.  I like to do the phone pics first and then see where I need a DSLR pic to fill in after.  The majority of my Project Life is phone photos.  This was quite the undertaking, but it’s done.  Who hoo!

4.  Order these dang pictures!  Done and done.  Can I just say that I <3 Persnickety Prints?  Because I totally do.  🙂

5.  Design and make Valentine’s for Kate.  They were super cute if I do say so myself.

6.  Finish up projects for Kate’s Valentine’s Day party.  I could always have done more, but I’m pretty happy with what I did do.

7.  Rebuild my blog buffer.  Not sure if I can check this one off or not.  I was hoping to have a 2 week buffer and instead I have a 2 entry buffer.  Meh, it’s better than nothing.  I’ll keep this one on for next month though.

March Goals:

1.  Scrapbook June and July.  Eeeppp!  That’s a lot of pages.

2.  Organize/edit/select DSLR photos and phone photos from RaptotDad’s phone for Project Life for October, November, and December.

3.  Organize/edit/select photos for Kate’s scrapbook for October, November, December.

4.  Meal plan for March.
December Daily Wrap-Up

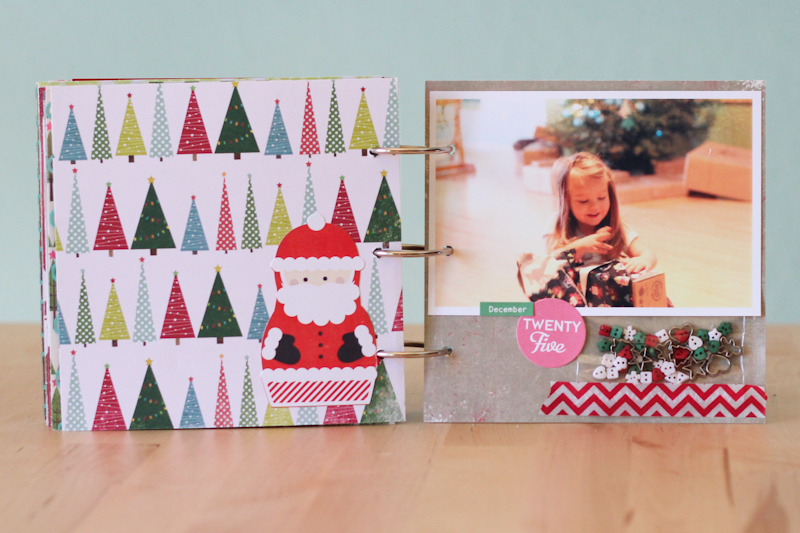
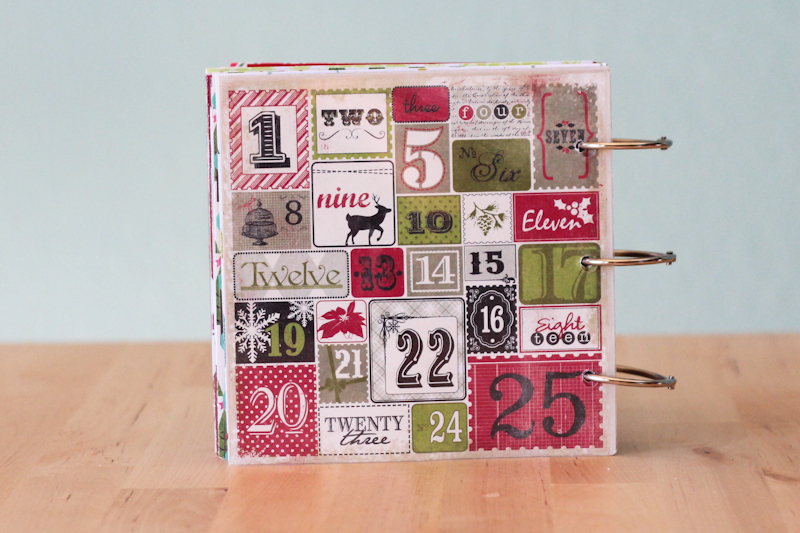
It’s finally finished!

My first inclination was to leave the acrylic cover blank, but since I wasn’t really that happy with the first page I went ahead and added some stuff to it.

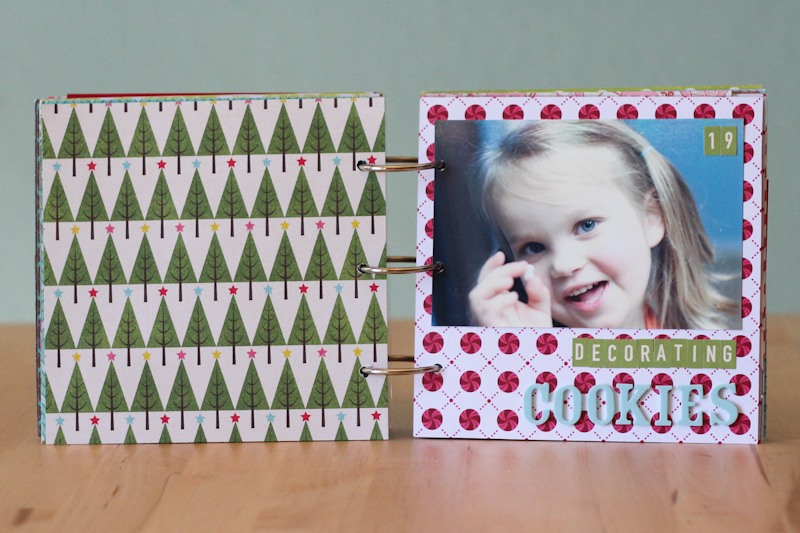
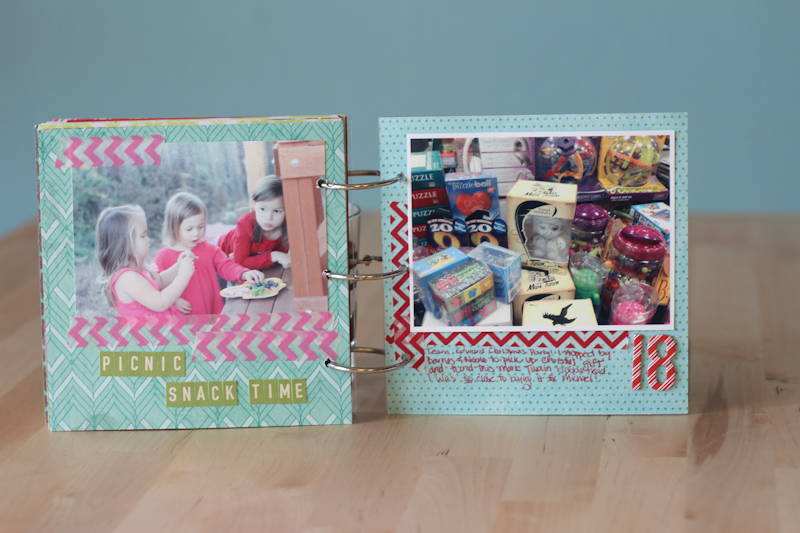
Page 18: Pretty simple with some paper, washi tape and those yummy peppermint thickers.

Page 19: Again, simple.  You can tell that I was losing interest by this point.  lol.  This happens every year.  I might go back later and add some washi tape to the back of page 18…

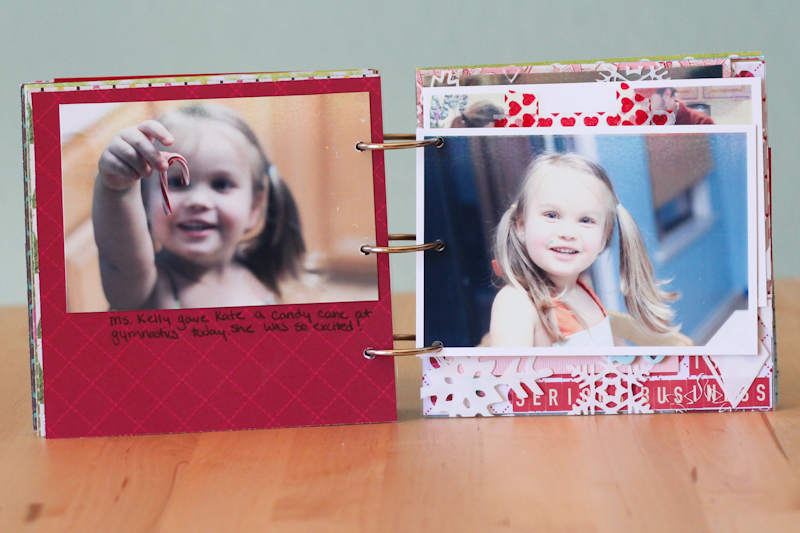
Added an extra page for day 19.  I love the layers.  You can see the transparency and the page behind it as well.  🙂

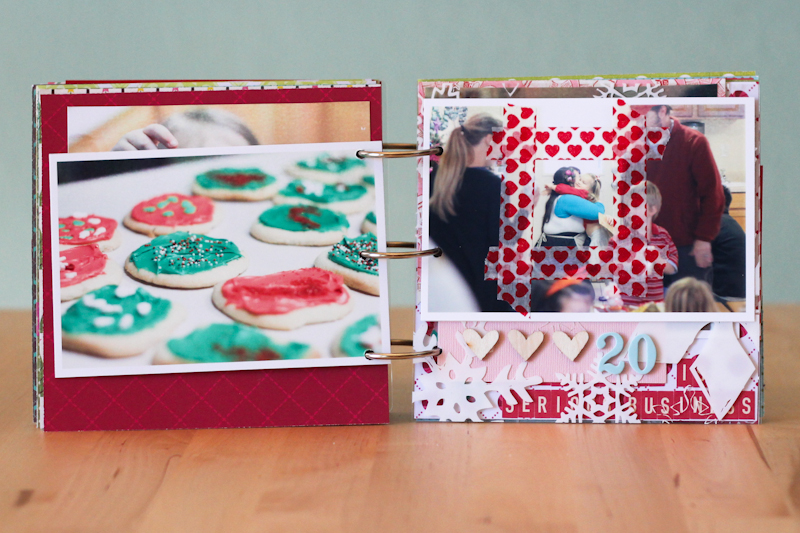
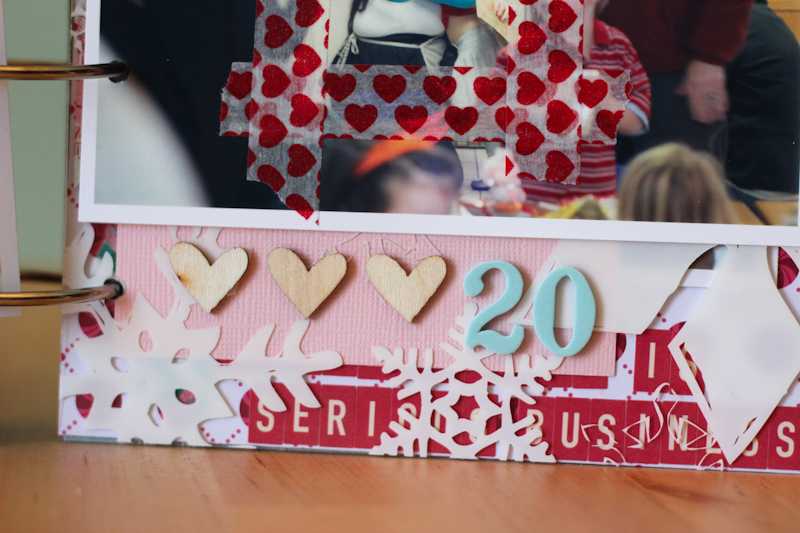
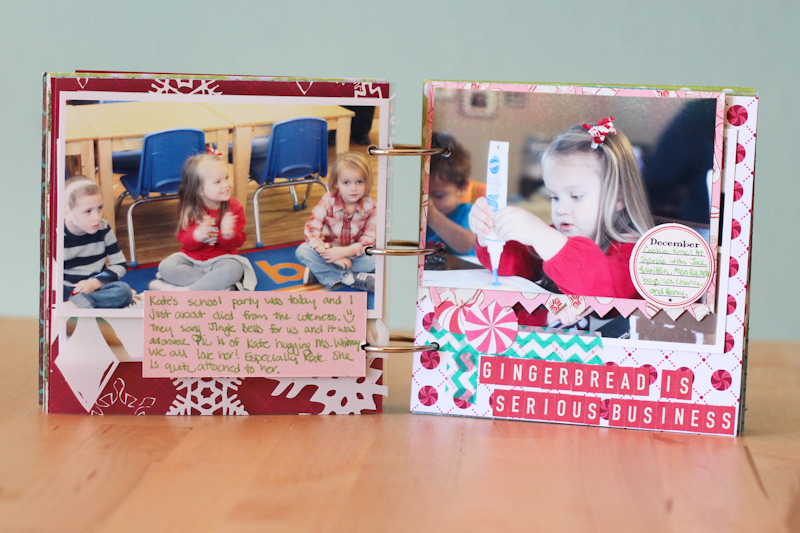
Day 20: I love this page.  Kate seriously adores her preschool teacher.  I didn’t want to crop the picture down because I liked the idea of leaving the background of the class room visible, but I wanted to draw attention to her hugging her teacher.  In the end, I decided to make a box with washi tape.  I added a few wood veneers which we all know that I love.  <3

The pink is actually backing the photo on the back side.  It helps to set off the hearts and number as well as allowing some space for journaling on the back side.

I added another page so I could include some more photos.  I used my Knock Outs to pink the edges.  <3

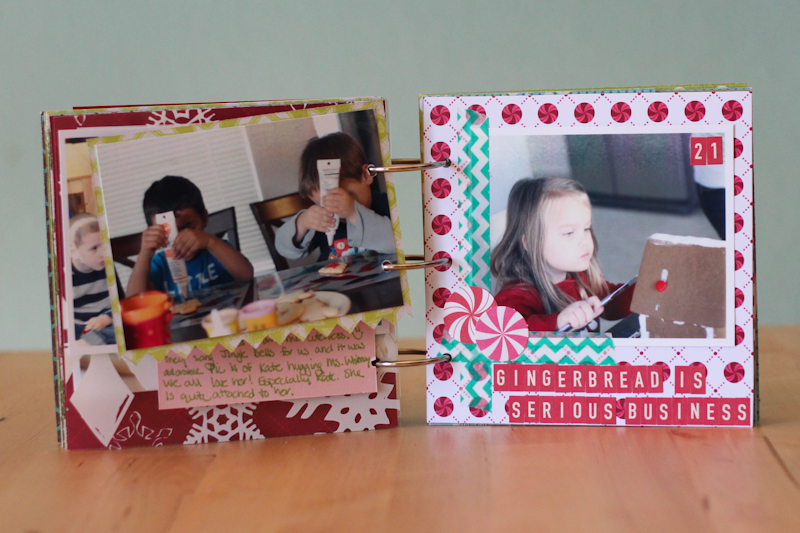
Day 21: This one was a doozy.  🙂 First gingerbread decorating.

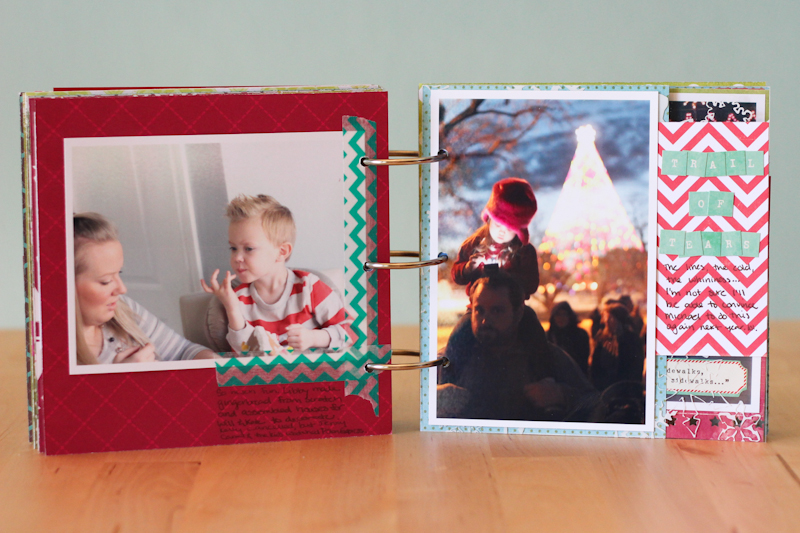
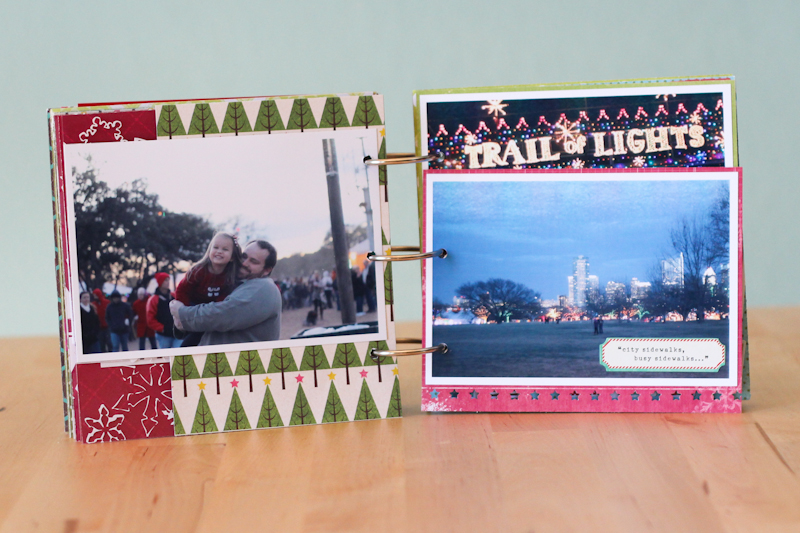
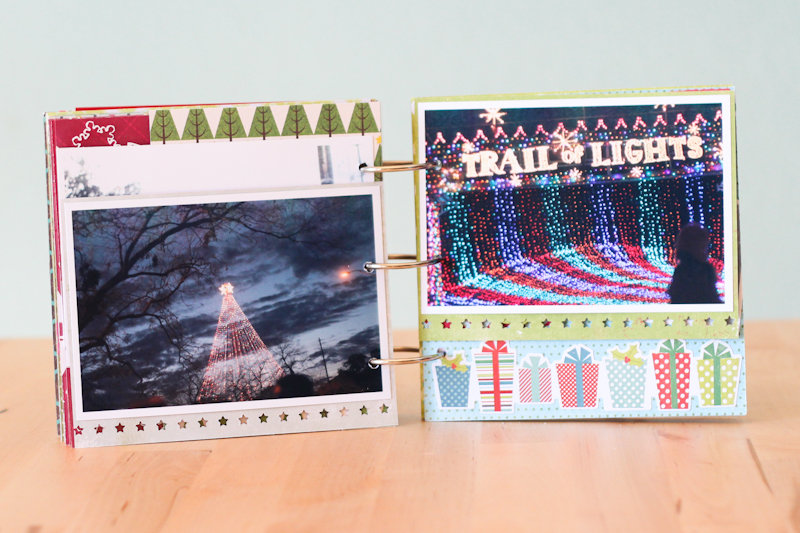
We went to the Trail of Lights that night and I got some neat pictures.  I couldn’t narrow them down!  This one’s on a transparency and I backed the picture on the backside with some paper since it’s landscape and this one is portrait.  I thought that it was neat (and a little sad) that her face was lit by the iPhone.  Such a statement about her generation.

I used the knockouts on this add-on page.

This one too.  🙂

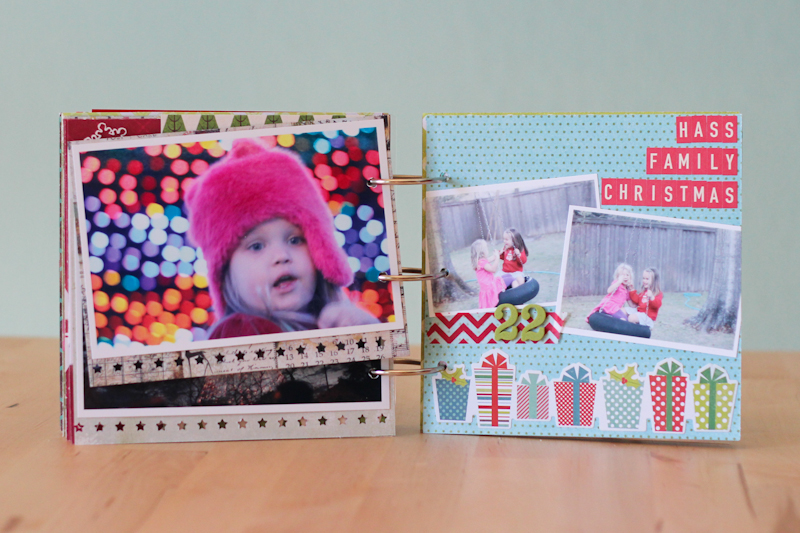
Day 22:  A return to the simpler pages.

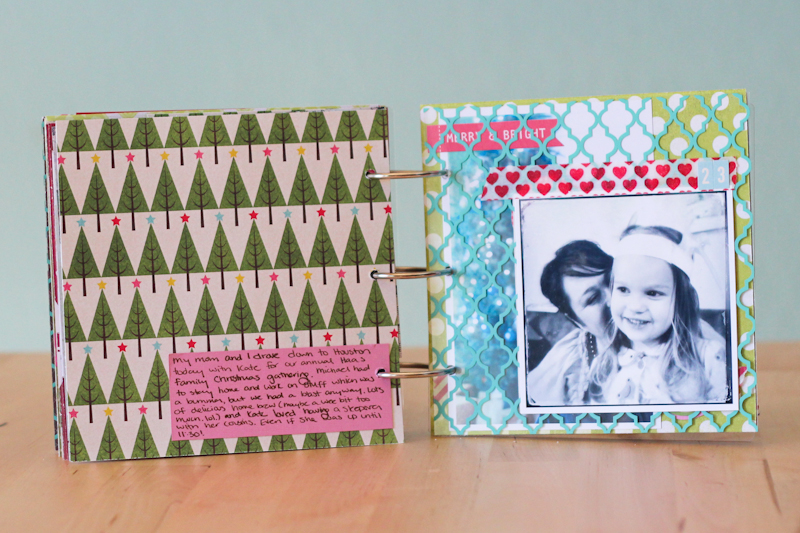
Day 23: Have I mentioned that I love transparencies?  ::swoon::  Also, how adorable is this picture?  🙂

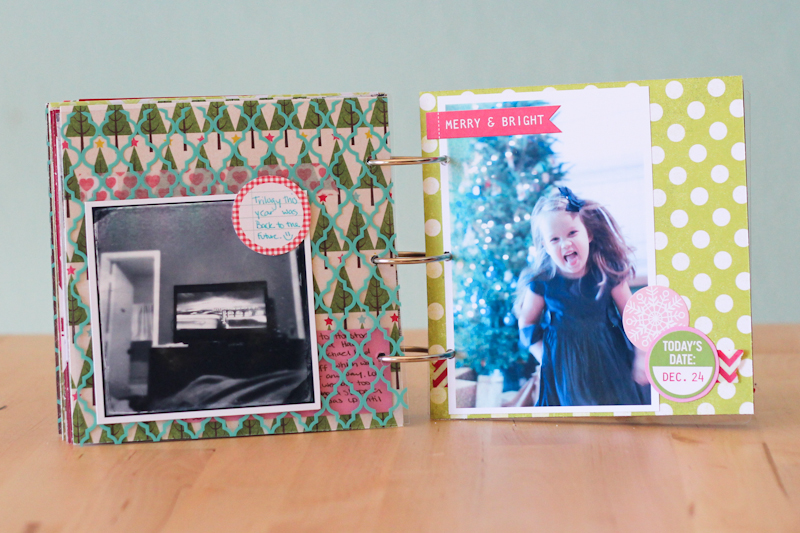
Day 24: I always end up with a ton of pictures on the 24th and 25th, but December Daily is not a replacement for Kate’s regular scrapbook.  With that in mind, I decided to select only one picture from each day.  I love this one.  The color isn’t great, but it’s just so Kate.

Day 25:  The background paper is kind of blah, but I chose it because I wanted the  back side for the back cover.  I love the button pouch!  I have a tutorial coming up on it soon.

And it’s done!  I left the back acrylic cover blank because I thought this paper was perfect.  That and I’m a bit sick of this project.  🙂  Time to pack it up with the rest of the Christmas decorations.  Give me 9 months and I’ll be ready to do it all over again.


Shamrock Lacing Cards

Kate loves new projects.  Even if it’s the exact same project in a different color.  🙂

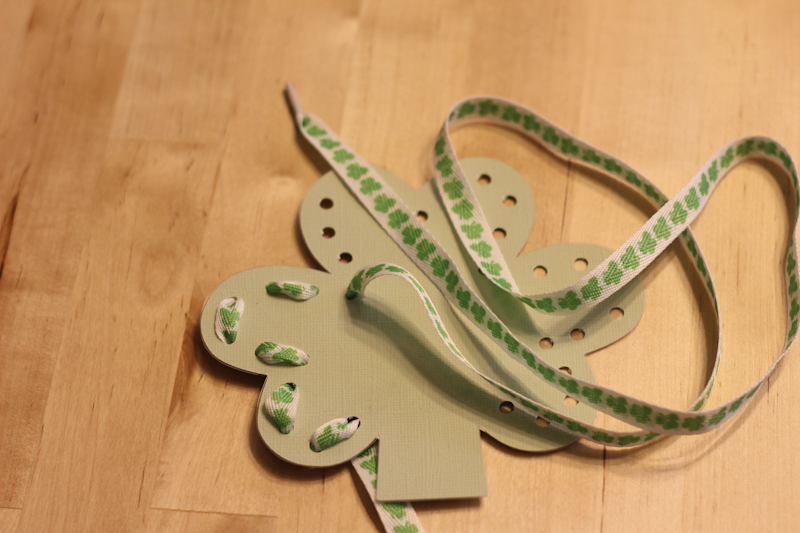
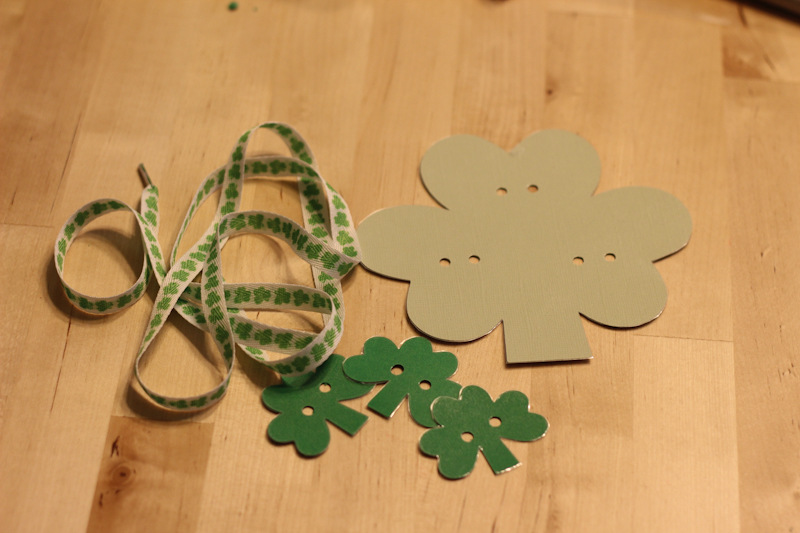
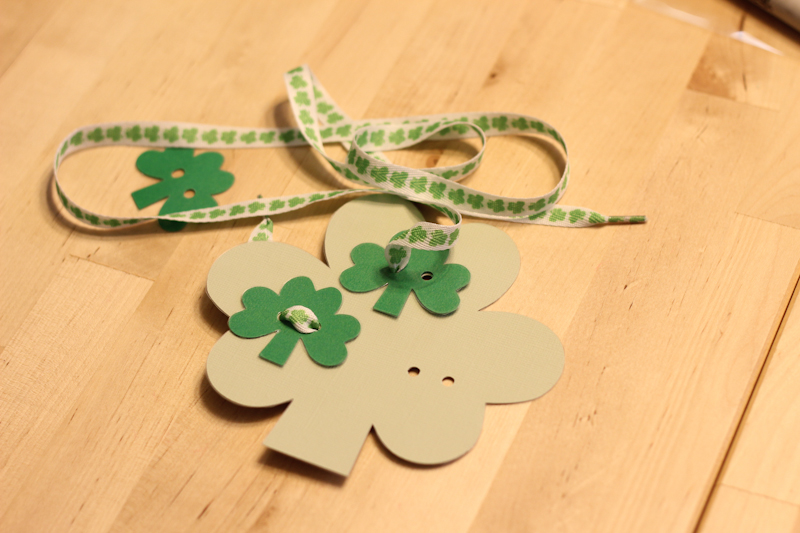
I found these cute shoelaces at Joanne’s and remade my SVG SCAL file to look a bit more like a shamrock.  🙂  I used the heart stamp for the leaves and then added a trapezoid stem.  Tip: angle the bottom hearts down and it’ll look more realistic.  Then I punched holes around the edge with my Crop-A-Dile.

I had a few extra small shamrocks so I decided to try something a bit new.  Kate has been very interested in sewing lately and desperately wants me to teach her, but I’ve been struggling with how to go about it.

This was perfect. She could “sew” the smaller shamrocks to the larger shamrocks with the shoelace.  It let her practice sewing without dealing with a sharp needle.  It was a huge hit!  She loves sewing “like a big girl.”


Shamrock Alphabet

Let the St Patrick’s Day fun begin!

Kate has been super interested in phonics lately which is both good and bad.  Good because she’s obviously learning a ton at school.  Bad because I stink at phonics.  We’ll have to learn together Kate.  lol.

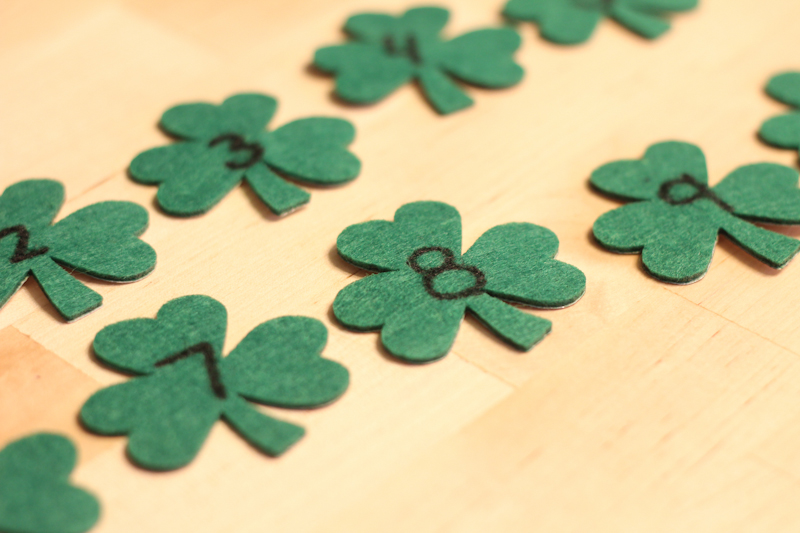
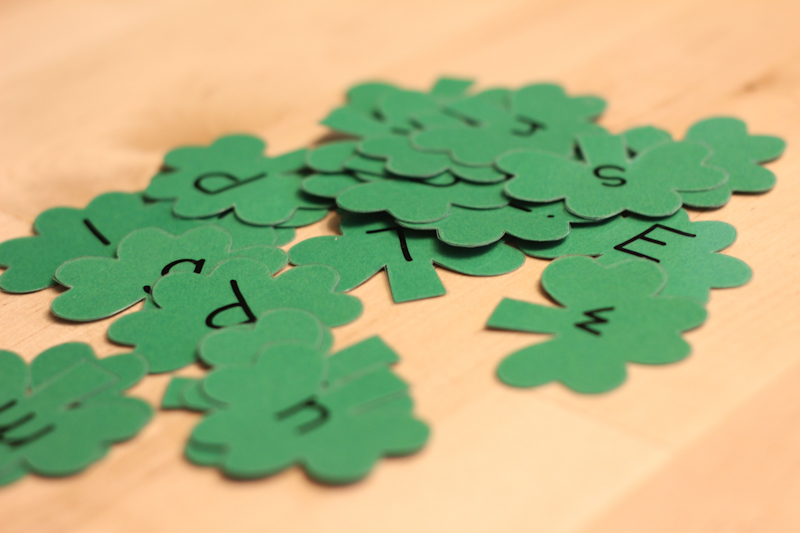
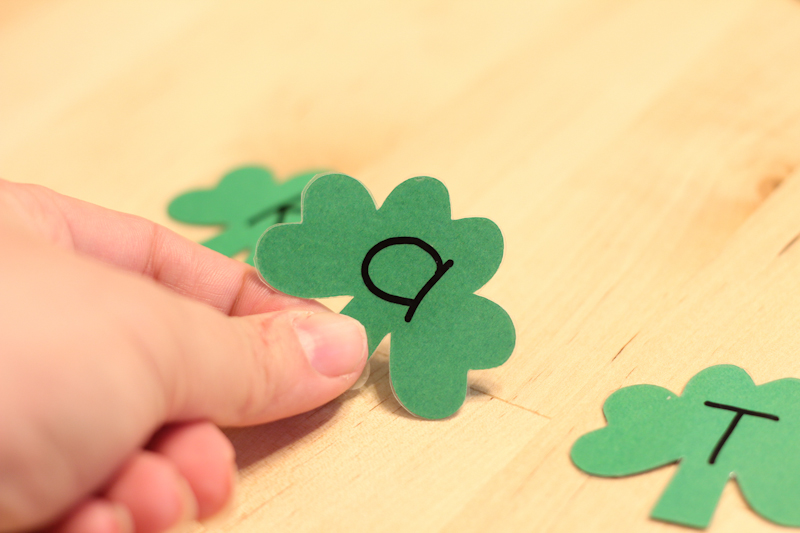
I love seasonal stuff so when I packed away the heart and arrow letters, I decided to make a St Patrick’s Day version.  I created a SVG file with my SCAL software and cut out a bunch of shamrocks with my Cricut.  Yes, I realize that they look a little “off.”  Rest assured that the next set I made were better.  🙂

I laminated them with my super nifty home laminator and then wrote on them with a sharpie.  I know that it would look more polished if I stamped them or something, but let’s face it I’m throwing these together during loud quiet time and I think they look just fine.  🙂

Instead of doing an upper/ lowercase match game this time, I put the uppercase on one side and the lowercase on the other.  I opted not to make them magnetic this time because Kate is not nearly as interested in her magnet board as I thought she would be.  I think because it’s tucked away in a corner.  We’ve used the shamrocks in a couple of different ways.

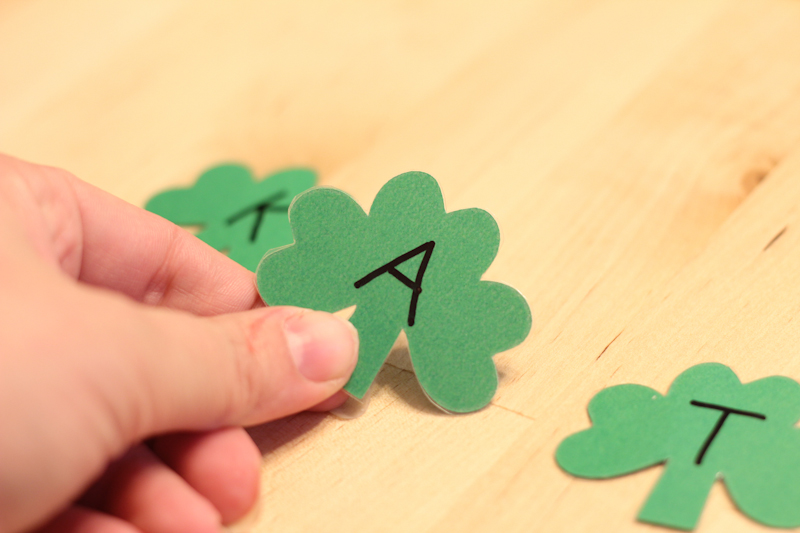
1.  Putting them in alphabetical order.  I turned them all to lower case and Kate flipped them to upper case as she lined them up.  She also make the phonetic sound for each letter as we found it and we thought up words that started with the letter.  She got bored after H, but that’s ok.

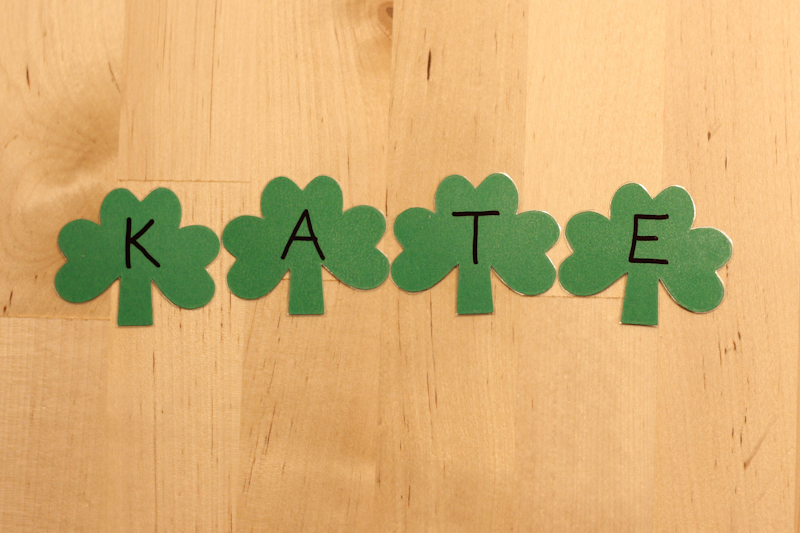
2.  Sounding out words.  Kate told me that she wanted to make words, so I put together simple ones like DOG and CAT and then we sounded them out together.  I wouldn’t have done this with her except that she asked and she’s been trying to sound out anything she comes across.  Holy cow.  My baby can read!  (Not really, but she’s pretty darn close.  lol.)

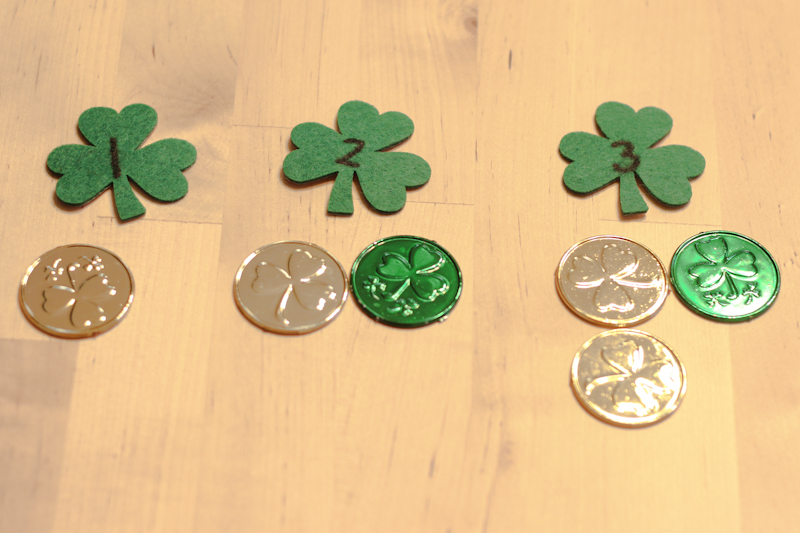
3.  Sorting.  We haven’t done this yet, but I’ve thought that she would flip them all over to uppercase or lowercase.  She *loves* to sort thing.

More December Daily

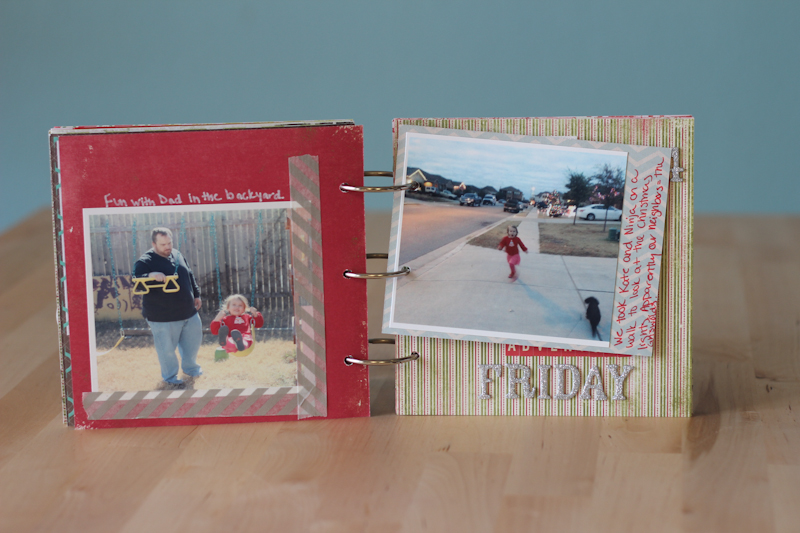
It’s like the project that won’t die.  ::sigh::  This is why I’ve always tried to keep up in years past.  I’m pushing through though because it’s so darn fun to look at the next year!

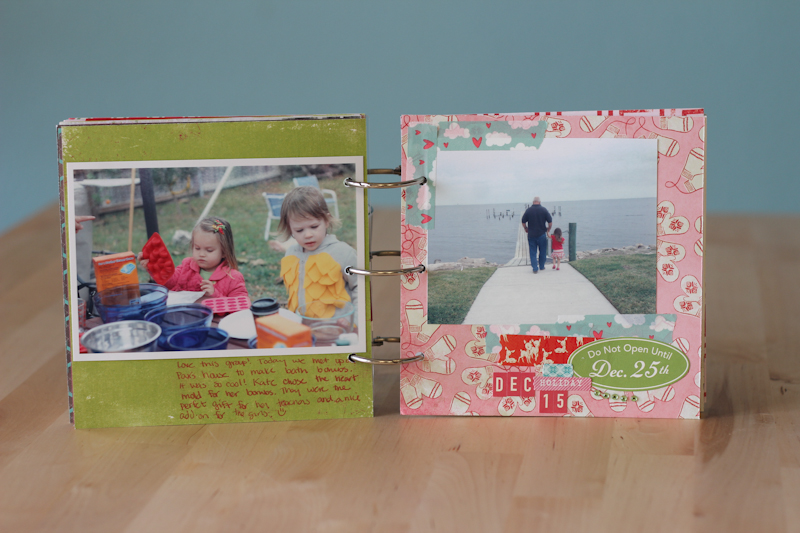
Day 11:  Kate *loved* making this page.  I think that when I’ve finished with all of my Christmas layouts/ December Daily this year, I’m going to go through and box up all of the stuff that I’m not in love with.  Then next year Kate can either make her own December Daily or Weekly or whatever.  I think she would get a huge kick out of that.  Maybe with a focus on writing instead of pictures?

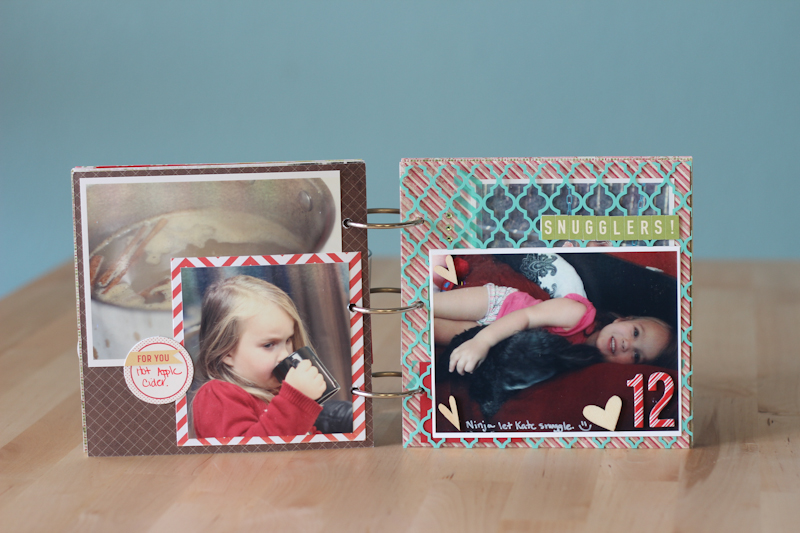
Day 12:  Poor Kate was sick so we snuggled all day.  Love the transparency (Hambly) and the wood veneers (Studio Calico).

Day 13: Pretty simple, but I did spice it up a bit with some jewels.

Extra little page.

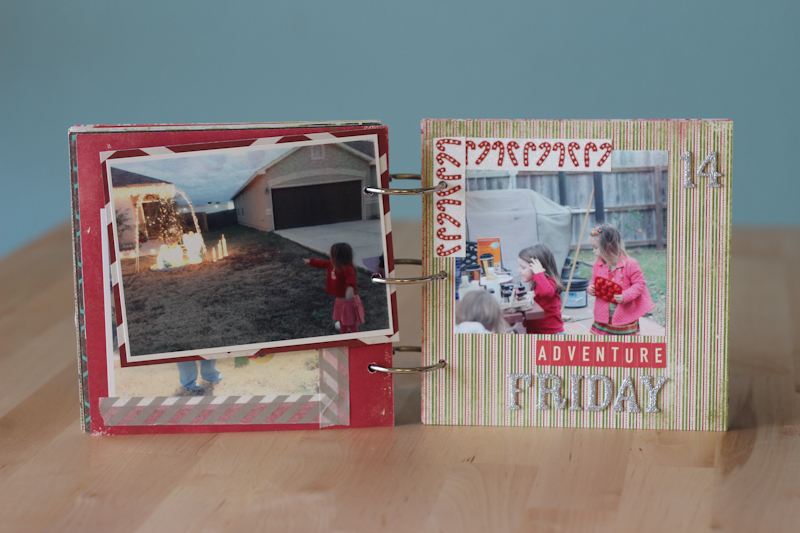
Day 14.  Not a great picture.  In my defense, we were having too much fun to mess around with the camera!

Day 15:  I was shooting for a little embellishment cluster with the stickers in the corner, but it didn’t quite come together.  Oh well.

Day 16:  Santa!  (Still obsessed with those Thickers by the way.  Why didn’t I buy more than 1 set when I had the chance!!!)

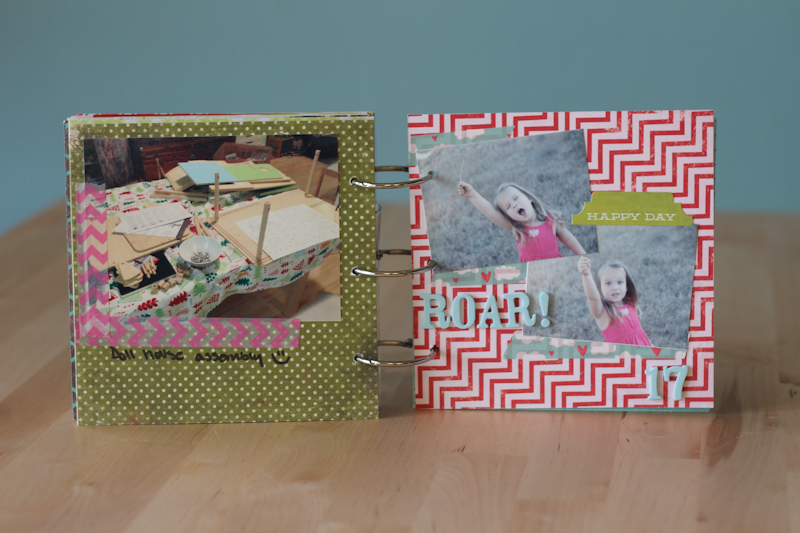
Day 17: Roar!  I should really pull these into photo shop and run a filter on them to give the background a bit of color.  Still cute though.  🙂

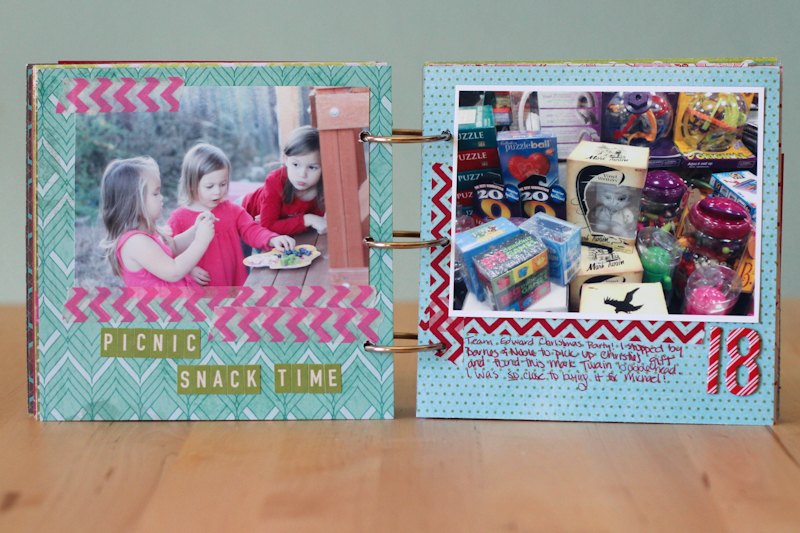
Here’s the back of day 17.  Picnic time.  🙂

Valentine’s Day Party and Goals Update

It’s party day!  (Which means that I’m writing this on Sunday while frantically cleaning my house so that my new friends don’t think I’m a slob.  lol.)  I’ll try to write a post with party pictures later this week, but I couldn’t resist a quick sneak peak.

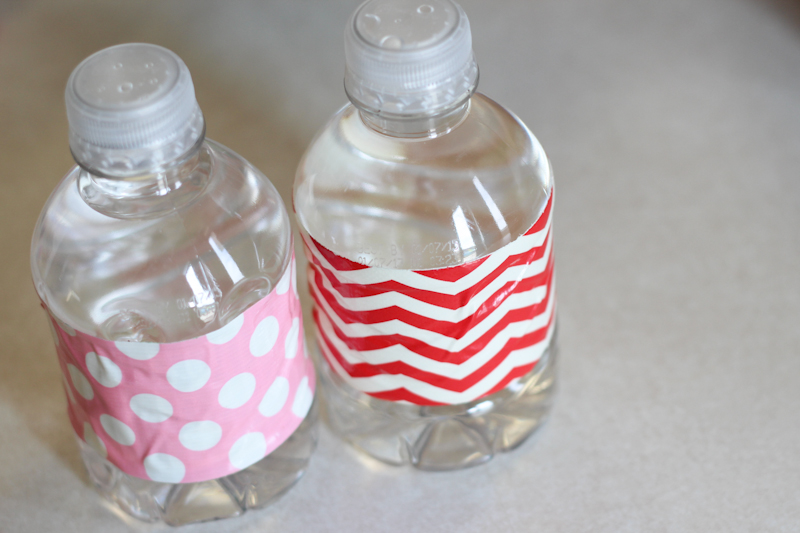
We never use plastic water bottles because I’m way too much of a hippy for that, but I do make exceptions for parties.  They’re just so darn convenient!  That and you can cover the labels with cute patterned duct tape.

I also thought it might be time to revisit the February goals since we’re now halfway through the month.  🙂

1.  Finish April and May layouts.  This one is dependent upon me actually getting my pictures back from the printers which would involve me ordering them…  See number 4.  April is done!  However, I’ve done basically nothing for May…  I need to get on that.

2.  Finish December Daily.  I’ve done 2 more days bringing the grand total to 20.  Only 5 to go.  It’s so close I can taste it!

3.  Sort and select phone pics for September, October, November, December and January Project Life.  I like to do the phone pics first and then see where I need a DSLR pic to fill in after.  The majority of my Project Life is phone photos.  Done!!!

4.  Order these dang pictures!  Done!!!

5.  Design and make Valentine’s for Kate.  Done!!!

6.  Finish up projects for Kate’s Valentine’s Day party.  I didn’t finish all of the Valentine’s Day projects I was hoping to, but the party ones are finished at least.

7.  Rebuild my blog buffer.  Well, I’m one ahead which is a start.  I need to get some more stuff done!

All in all, I’m feeling pretty good about where I stand.  I do need to get on the scrapping though.

Valentines!

I may have gone a bit overboard with Kate’s valentines this year.  I just couldn’t help myself!  Kate’s requests were to have hearts and butterflies so I thought about making these, but Kate’s school said not to send any candy and I thought that they would look silly with pencils.  Then I saw that one of my friends was making homemade playdoh and I decided to copy her.  🙂  I used the first recipe from this blog.

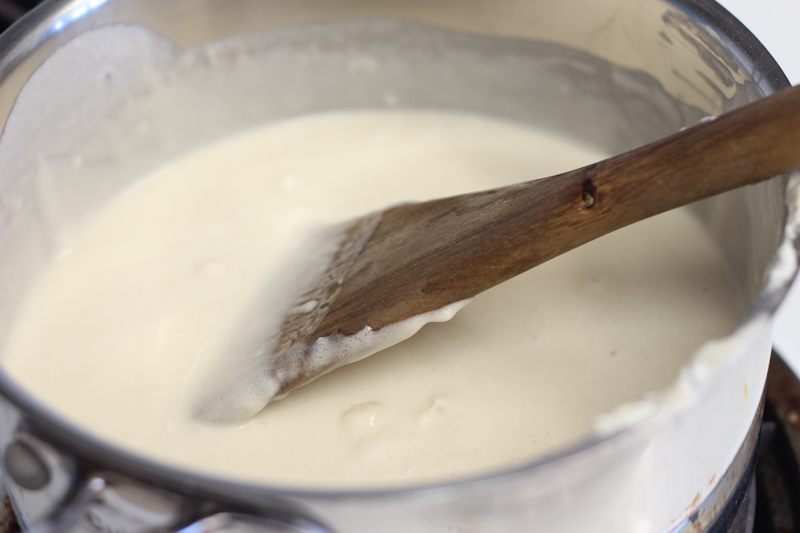
This recipe involves you cooking the playdoh on the stove top.  You basically stir it forever and then when you can’t stir it anymore it’s done.

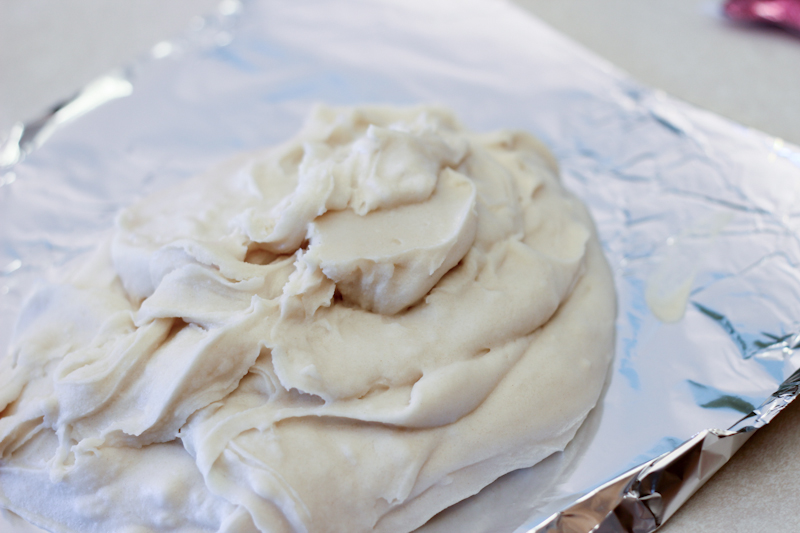
Don’t be fooled when it gets thick like mashed potatoes.  You’re looking for a concrete consistency.  The good news is that if you take it off too soon and it’s still sticky, you can put it back in the pot and cook it some more.  Let’s just say that I have first hand experience with this.

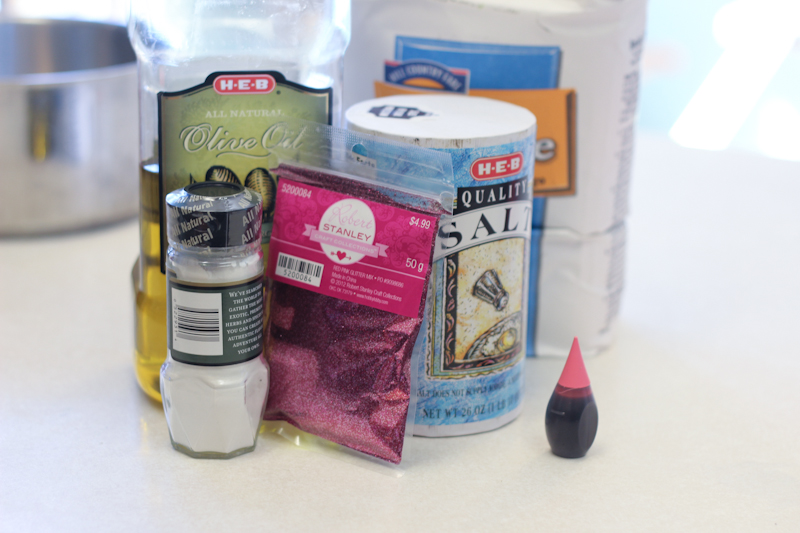
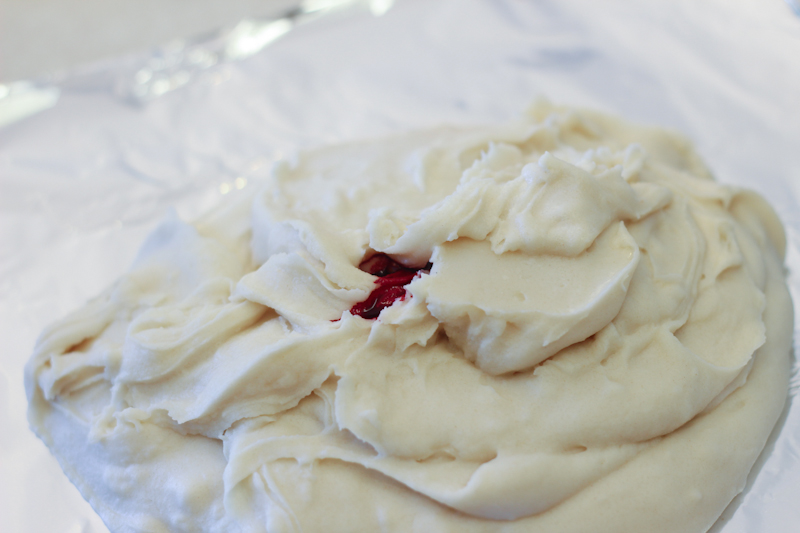
Once it’s not sticky anymore, add some food coloring.  I used about 10 drops of pink food coloring for a double batch of playdoh.

Kneading playdoh is oddly cathartic.

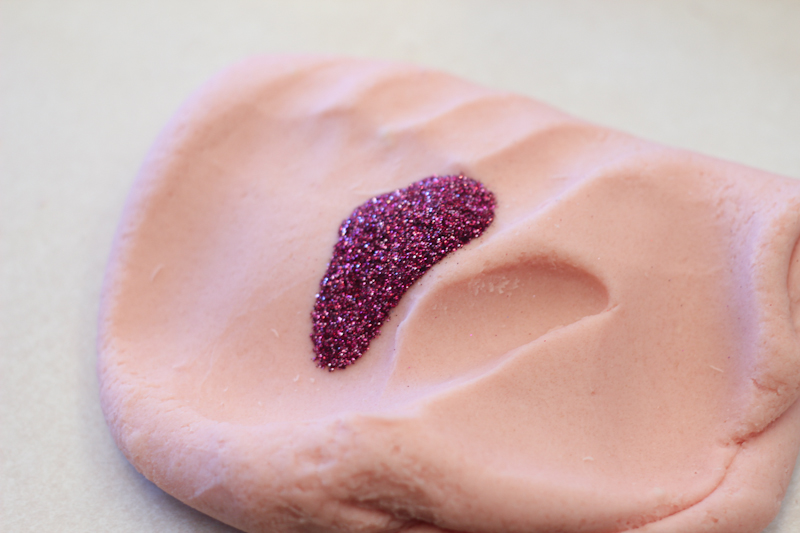
The pink was pretty snazzy, but I decided that some glittery would spice it up.  🙂

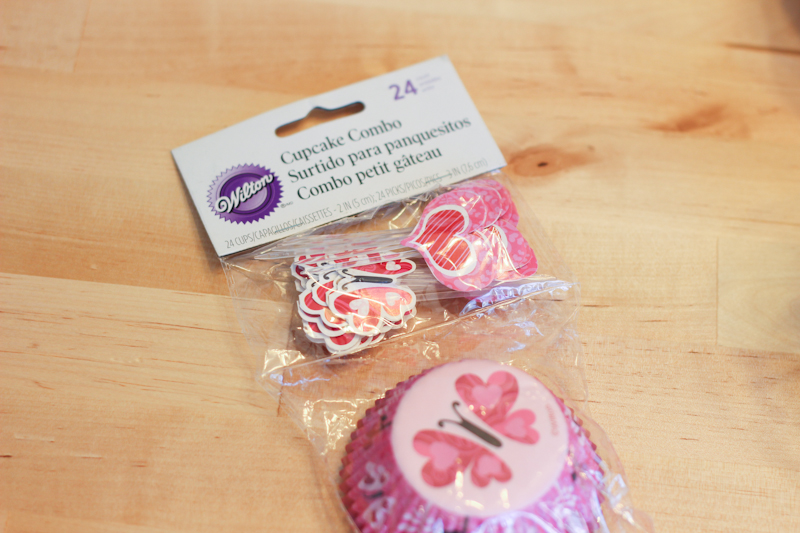
I thought that it would look cute in a cupcake liner in a treat bag.  I couldn’t believe it when I actually found cupcake liners with hearts and butterflies!

I rolled the playdoh into balls (8 balls per double batch) and put them in the cupcake liners.  Then I inserted the cute included topper.

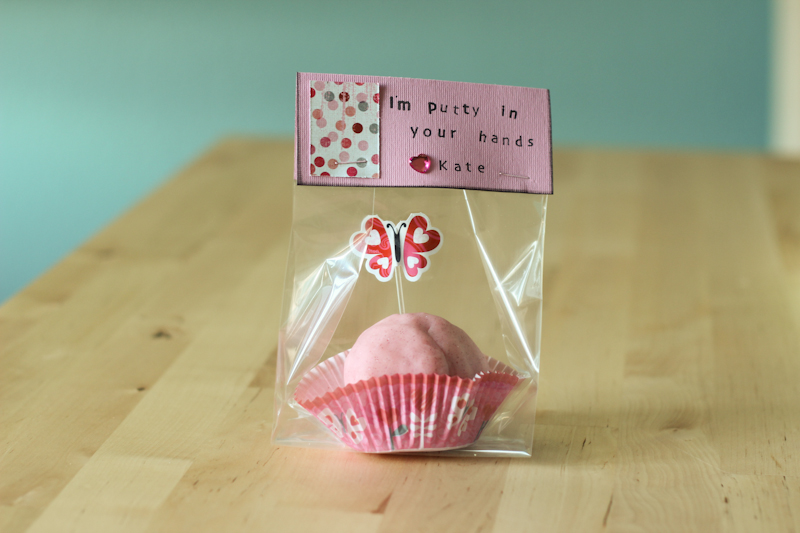
Perfect!  I popped them into clear treat bags and stapled some valentines on top.

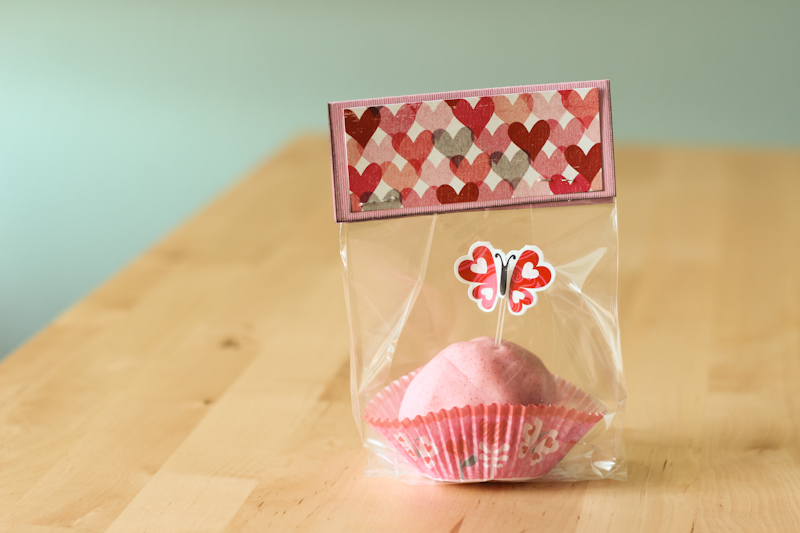
Pretty simple.  Just some cardstock, stamps and patterned paper.  Oh, and a little gem.

Here’s the back.

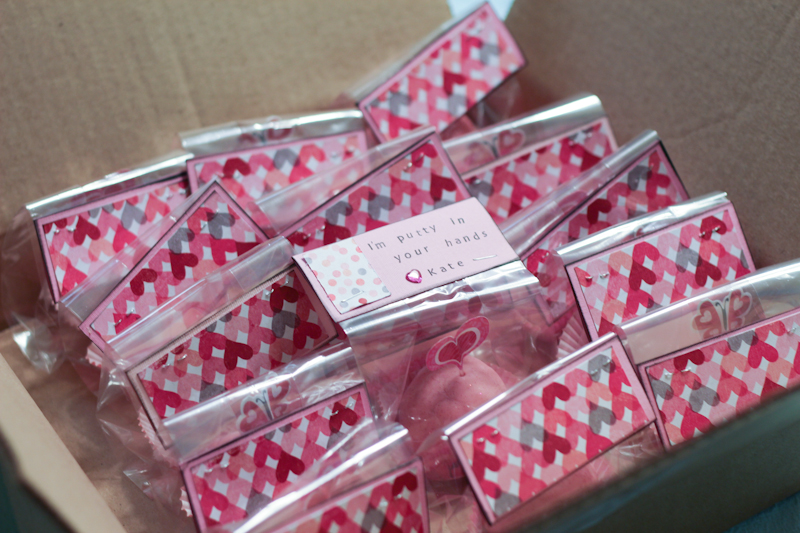
All packed up and ready to go to school!  Kate was super excited.  🙂


Persnickety Prints

I’ve tried a lot of photo developers and, I’ll be honest, I’ve never been that impressed.  The color always seems off, but not in any kind of consistent way that I could edit for.  I had heard of Persnickety Prints from a couple of different scrapbooking blogs and decided to give them a try.  Boy am I glad that I did!  The pricing was very competitive, ($.15 a print if you order at least 200), only $5 in shipping (there was even a free coupon when I ordered), and they got here super fast.  I ordered on a Sunday night and they were at my house on Thursday.  Wow!  And y’all, they came wrapped in tissue paper and washi tape.  Be still my heart!

20130212-203153.jpg

The best part though?  The quality was amazing!  The color was spot on.  Perfection.  They even have funky odd sizes, I got a 6×10 for a Project Life layout and it looked great.  I do believe that I’m a convert!

Marshmallow Pops

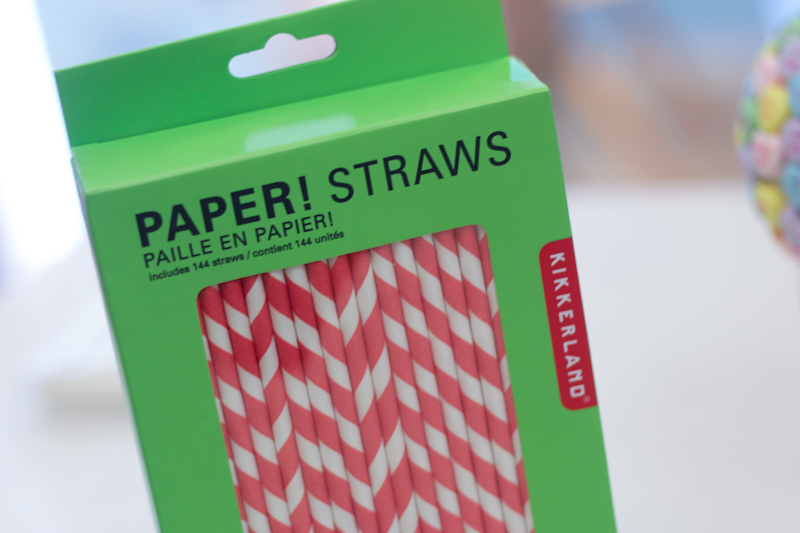
I saw these on Pinterest and knew that I had to make them for our Valentine’s Day party! Given my somewhat, shall we say, erratic success rate with Pinterest I figured we would be wise to do a trial run.  Or two.  🙂  You need straws or sticks, marshmallows, almond bark, and sprinkles.  I love these straws!  I initially wanted pink stripped straws, but they were $15.95 for 50 and these red ones were $7.98 for 144.  I’m not gonna lie, I was *still* super tempted to get the pink ones, but not even I could justify it.  🙂

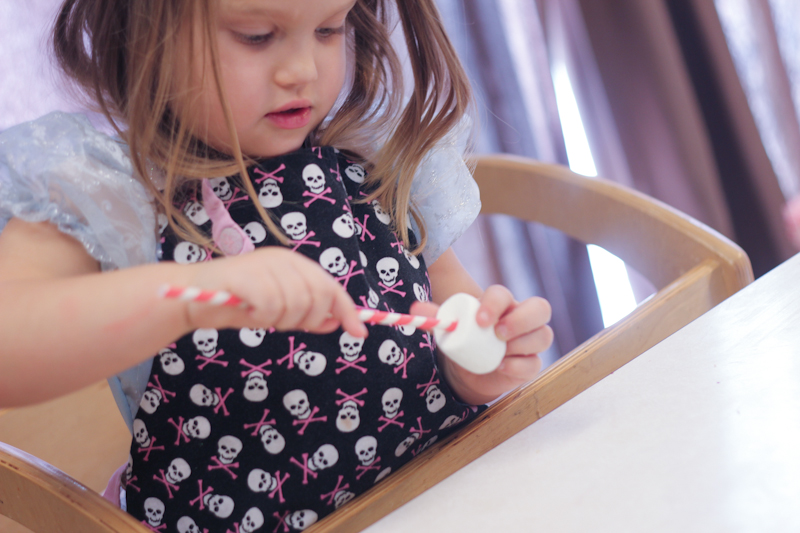
The first time (when I took pictures) I just smushed the marshmallows onto the straws and dipped them in the chocolate.  Then I read the directions.  (When will I ever learn?  lol.)  It works better if you cut a slit in the marshmallows before you put on the straws and stick them in the freezer for a few minutes.  Trust me.

Kate was a great helper.  🙂

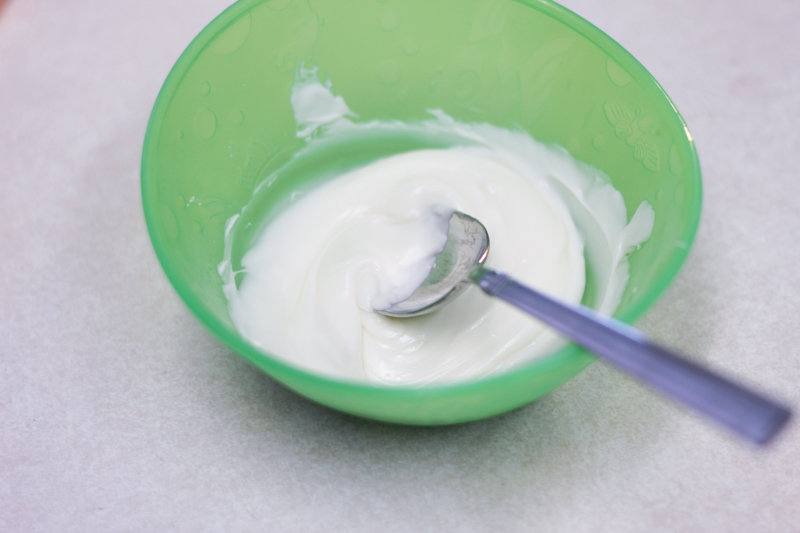
Another tip, the first time I melted the almond bark in the microwave.  It worked much better the second time in my jury rigged double boiler.

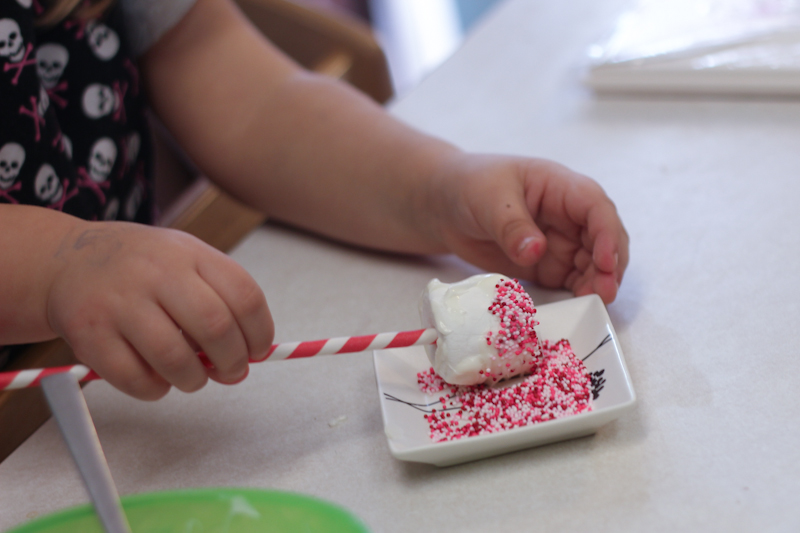
The advantage to melting it in the microwave was that Kate could help dip the chocolate.  I love involving her in the kitchen (most of the time.)

Then we just rolled them in my embarrassingly large sprinkle collection.

We also tried just dipping the marshmallows in water, but found that the sprinkles didn’t stick as well long term.

All in all, we had a blast!  I think they turned out super cute.  Plus, they’re egg free (one of Kate’s friends is allergic) and way easier than cake pops.


October Afternoon Witch Hazel

I love Halloween.  And I love this Halloween paper!  October Afternoon of course.  🙂

I’m also seriously in love with these Thickers.

And the knock-outs border punch.  And washi tape.  🙂
And Kate in a Little Red Riding Hood costume.  🙂