First off, let me say that I just looked back and realized that most of my titles end in an exclamation point. Wow. Sorry about that. 🙂
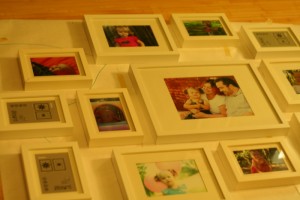
So this weekend, I went through and replaced a bunch of our framed pictures with more recent ones. I also decided to redo the photo collage in our dining room. I’ve never been super happy with the arrangement in there so I decided to take all of the frames down and start over. I also bought a few new frames to add to the mix. Initially, I was hanging them all willy nilly and was getting very frustrated when the arrangement wasn’t turning out the way I wanted it to. The problem was that the frames were all different sizes. We have a travel photo collage in our hallway and I’ve just added to it as we’ve gone new places. I think it’s a nice arrangement, but all of the frames are the same size so it is easy to arrange them. This one was much more challenging so I decided to arrange the frames on the floor first.
This is so not my own idea by the way. I’ve seen it a million times on the internet, but I can’t find a source at the moment. Actually, I probably could but I’m lazy. Don’t judge me. OK, so I just went and looked, but google is not my friend today. Sorry guys. I thought that I had pinned it, but no such luck.
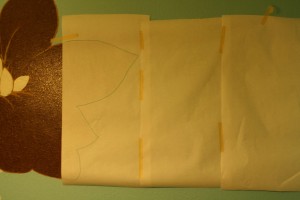
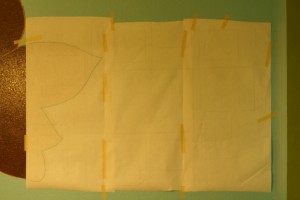
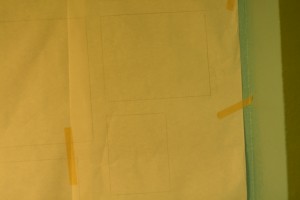
First up, I taped some butcher paper to the wall in roughly the area that I thought I would like to put the pictures. We have an awesome mural on the wall that Michael painted and I wanted to make sure that I didn’t cover it up so I traced the flower on to the butcher paper. It also gave me some prospective on where the pictures would be on the wall.
Then I took put the paper on the floor and started playing around with the arrangement of the photos. Michael helped me out because he has a much better eye for these sorts of things than I do. He also suggested some overlap between the mural and the photo collage.
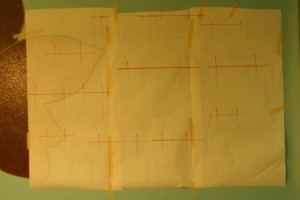
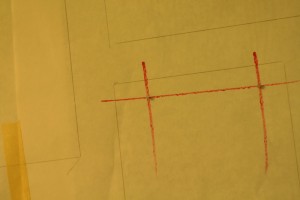
Once I was happy with the arrangement, I traced around each frame with a pencil and taped the paper back up. I thought about just marking the tops of the photos, but in the end traced all the way around them.
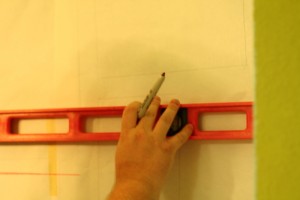
Then Michael and I used a level to mark where the tops of the frames should be. He drew the lines a smidge lower to allow for the width of the frame.
He suggested that if we do this again, we use the level to hang the paper instead of having to redraw each line. Always thinking that one. 🙂
Then I nailed right through the paper. So much easier than what I was trying to do before. When I was done, I just tore the paper off. I was a bit worried that the nails would come out with the paper, but they stayed put. Here’s the point when I was really glad that I had traced all the way around the frames. I was able to use the paper as a map to show me which frame went where.
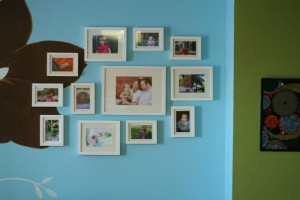
And here’s the completed collage the next day. I am really happy with how it turned out, though looking at this photo I can see that some of the frames aren’t quite level. Michael marked the lines with a sharpie and it was a bit thick. Next time I’ll use a pencil. I do wish I had taken the time to do this the first time because now I have pencil lines and nail holes all over that wall. 🙂
By the way, the big 8×10 in the middle was done by the amazingly talented Libby of LibbyAnn Photography. If you’re thinking of splurging on some pictures, I totally recommend her.
