I completed 15 layouts on Friday and Saturday, many of them 2 pagers. None of them anything spectacular. They were all just blah throw down layouts. While I was at my crop on Saturday there were some ladies there who were passionate about their scrapping. They had come from all over Texas and they were obsessed with Tim Holtz. Now that’s not really my style, but their stuff was amazing and it reminded me of how much fun I used to have scrapping. When I would get *maybe* one layout done a week, not 15 in 2 days. When I used to spend hours adding layers of fun goodies, not just slapping some pictures on some cardstock and calling it a day. I was inspired.
Today, I got one layout done. It was only a one pager. I spent hours on it. I love it. Now it is far from perfect, but I felt like I finally got to play again! I’ve decided that I can’t keep on at the pace that I was. Good lord, I have something like 19 layouts slated for January alone. I’ve decided that I am going to be much more selective about the layouts that I choose to scrap- as Michael says, I don’t need to make a page every time Kate goes to the park.
Without further ado, let me take you through the 16th layout.
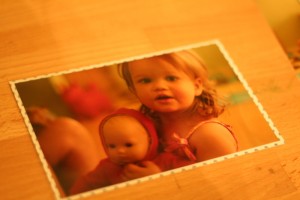
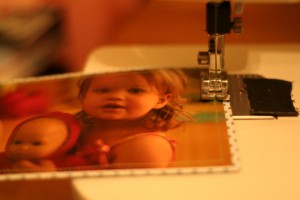
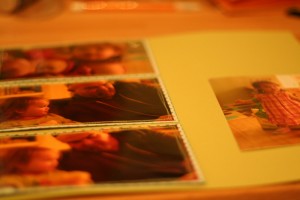
First I trimmed the photos slightly, maybe 1/8th of an inch off of each side? Then I matted 3 of the photos very thinly with some patterned paper before I busted out the big guns, the hubby’s sewing machine. I have had several scrapping buddies who are intimidated by the thought of sewing on paper and I just don’t get it. Of course, I learned to sew on paper way before I learned to sew fabric so maybe I’m biased, but I think paper is easier. It doesn’t bunch or shift and you can glue it together instead of messing with pins. I didn’t even change the bobbin. 🙂 Don’t put glue right where you’re going to sew though. It tends to gunk things up. For these pics, I sewed a slightly crocked line around the edge 3 times.
Then I decided to ink the edges of the paper, because, hey why not? I got nothing but time here. This was right about the point that Kate woke up from her nap and I realized that I had basically gotten nothing done during her whole nap except for matting 3 pictures. It was fun though! I went ahead and slapped those 3 pictures down while Michael was getting her up. Have I mentioned lately that he’s awesome? 🙂
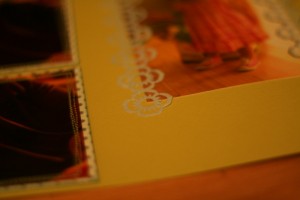
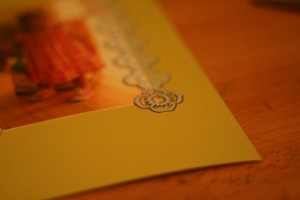
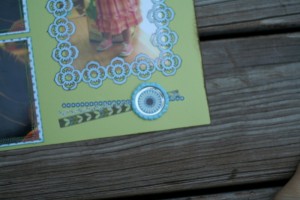
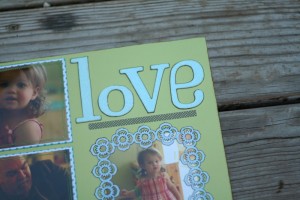
Now what to do with the one remaining picture… I decided to frame it with some of the die cut ribbon tape stuff that came with the patterned paper I was using. It’s kind of a pain to use, but it sure is cute. It wasn’t really popping against the paper though so I outlined it with a brown marker after I had it down to give it more definition.
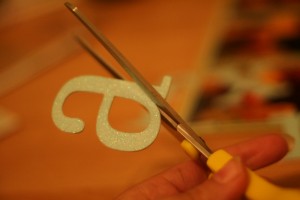
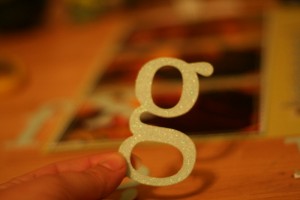
Then I decided to use some of my stash of chipboard glitter letters. Of course, I only had 1 of the 4 letters that I needed, but I’m not one to let that stop me. I just cut up an “h” to make an “l,” a “g” to make an “o” and an “a” to make an “e.” The “e” doesn’t look perfect, but I’m going with it anyway. I went ahead and outlined these too.
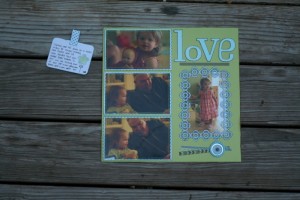
I also made a little tag to slip behing one of the photos to add some journaling. Not that it needed to be hidden, but it didn’t fit on the page anywhere. Then I threw on some rubbons and a bottle cap. Speaking of, who knew bottle caps were back in style? Not me, but I saw them out at Archivers this weekend. Lucky for me I never throw anything away and I still have several from the last time they were popular. I had even already flattened and painted this one. 🙂
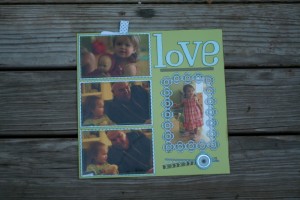
Here the finished layout! I decided to get all artistic with the background. Well, that and the fact that it was rapidly getting dark and I wanted to take these photos with natural light.
Here’s a close up of some of the details.
Questions about any of the supplies? Leave a comment and I’ll try to dig out the packaging.
