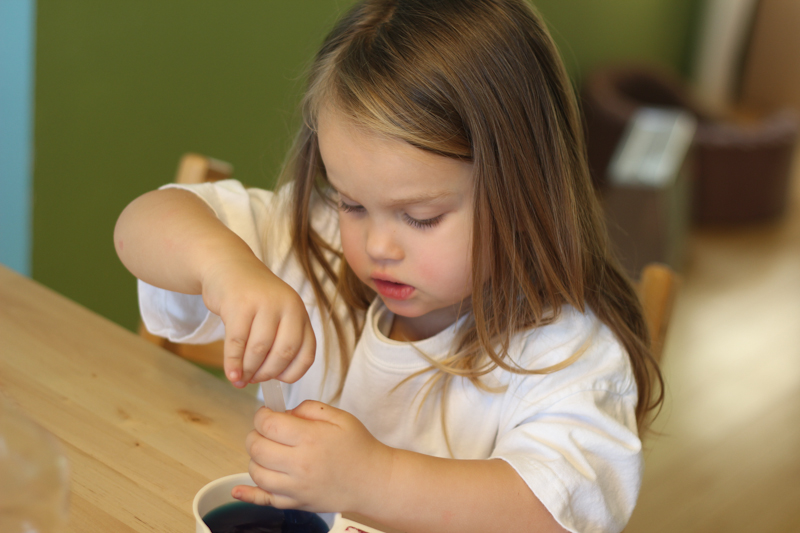
I, Raptor Dad, recently had a surprise surgery that left me laying about for a couple of weeks. One of the side effects is that I still can’t lift Raptor or do strenuous activity. That means that a lot of the crazy playtime has had to been toned down. Raptor and I started doing projects together so that she wouldn’t feel neglected.
At Hobby Lobby we discovered a Beginner’s Hydraulics project kit that used syringes to make simple machines (cranes, scissor lifts, etc.). This was a huge success with Raptor even though it was five years ‘too’ old for her. After we finished all the projects I realized that 1) Raptor was still curious about water flow and 2) she was really interested in the syringes themselves because she was still processing the fact that I was getting medicine every day via an IV line. As a result of my medical issues we had literally a hundred empty syringes, some of them had contained chemicals and were deemed off limits, but a vast majority had only had sterile saline (salt water). We rinsed these out and have been coming up with little projects for Raptor use them in. It gives her something to do with me and helps her “master” this object that was causing her some concern.
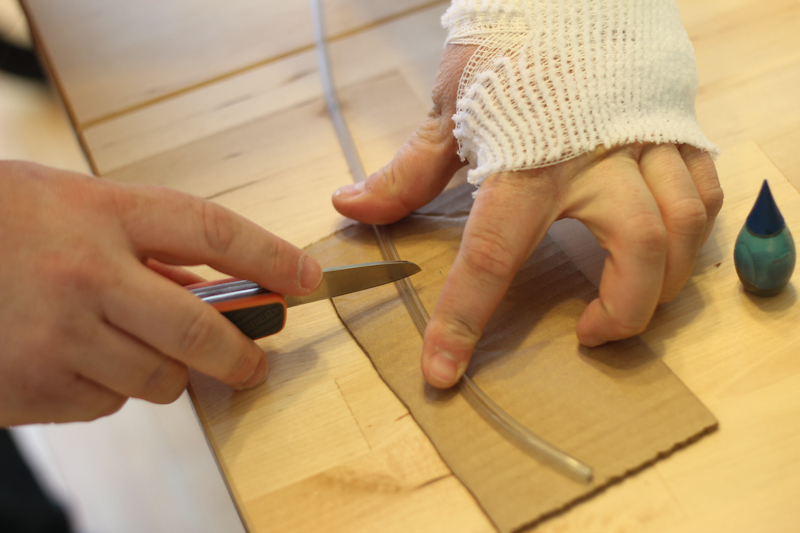
It started simple, using a syringe to transfer water from one cup to another. Next I found some surgical tubing (not from my surgery, it’s available at Home Depot) and connected two syringes together and filled one with water. Raptor could now push on one hand and feel the water push the stopper out in her other hand. The equal and opposite reaction fascinated her. She doesn’t have to understand the underlying science for it to be making an impression and fuel her curiosity. 🙂
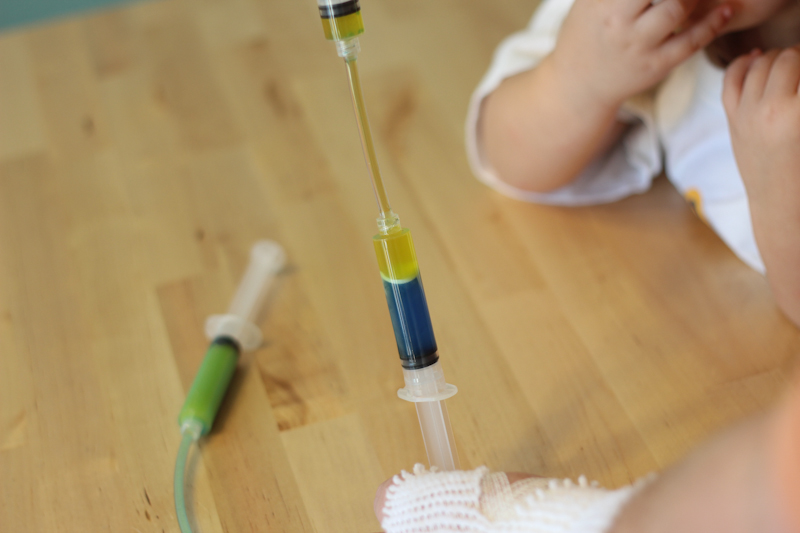
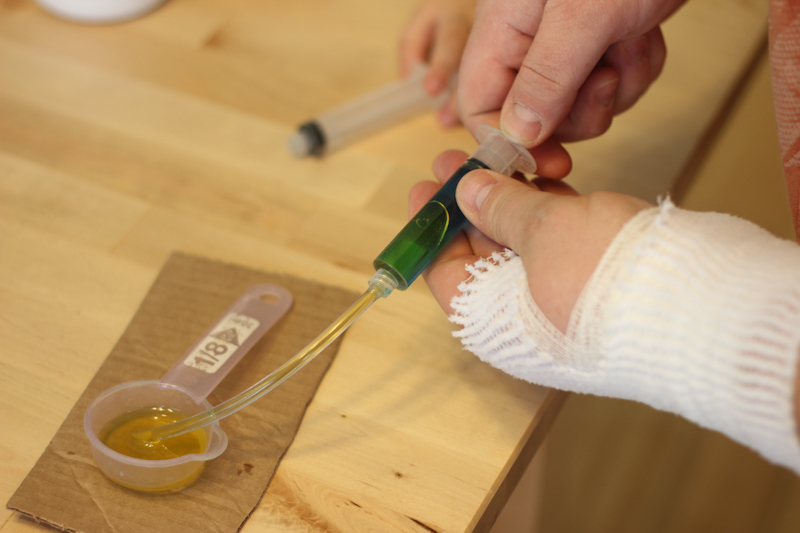
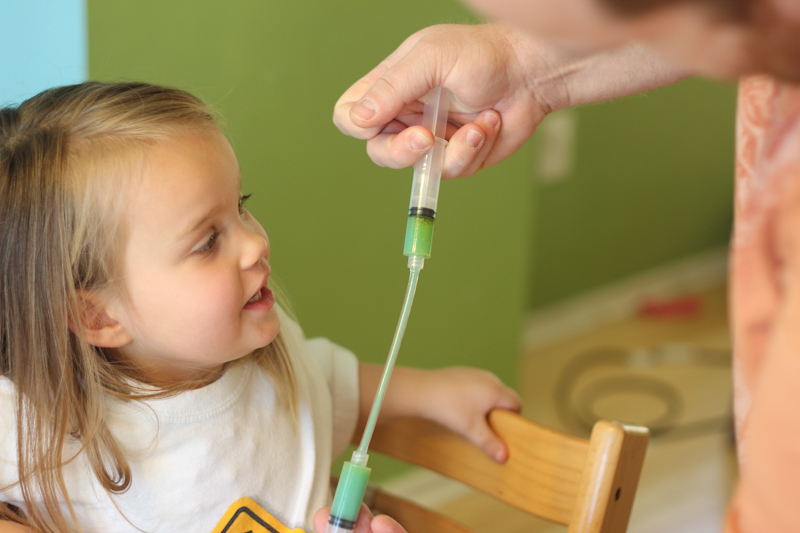
The most recent phase is a lesson in color mixing and material density, but again for her it’s just good fun. We half filled one syringe with blue water and a second syringe with some very yellow virgin olive oil. Once connected Raptor could mix forcefully to make a green emulsion that would slowly settle back out to blue water and yellow oil. It has been a huge hit in Casa de Raptor! Here’s some tips on making your own if you want to.
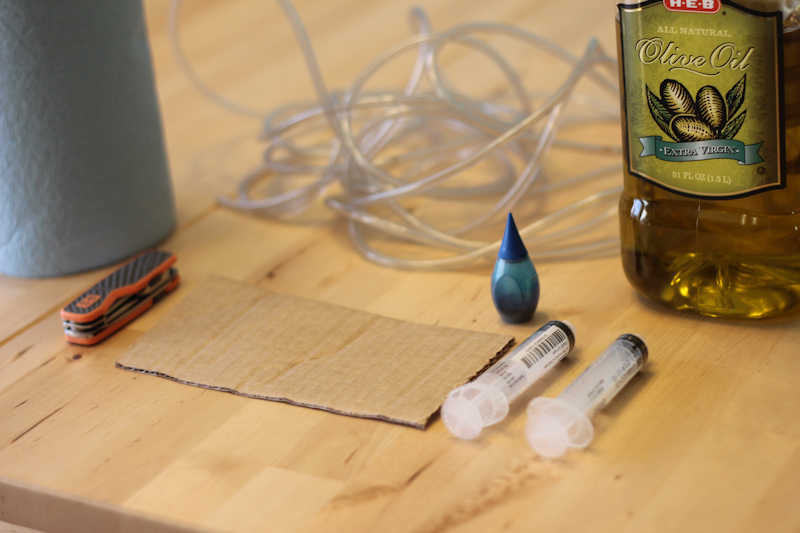
1. Collect the following: food coloring (blue recommended since oils are usually yellow), oil with a strong coloration, 2 syringes (no needles…come in baby medicine usually), plastic tubing (Home Depot), water, enthusiastic child helper
7. Squeeze and watch your kid smile. Squeeze back and forth vigorously to make a frothy color mixed emulsion. The more you do this the longer it will take for the colors to separate.
And that’s about all you need. Hope you enjoy as much as Raptor did!

Thanks for sharing your thoughts on Hat. Regards