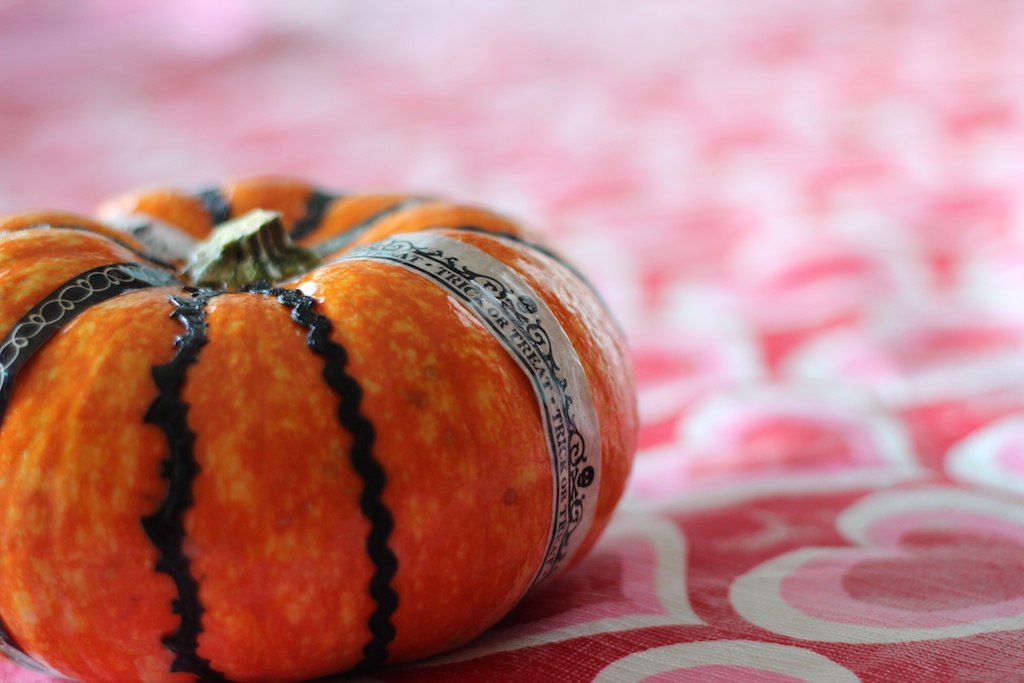
Halloween is seriously my favorite holiday. So we’re going to get started with the halloween crafts a little early, m’kay? Just be glad that I waited until September was halfway over to start. (I’ve been pinning stuff since mid August.)
First up is a ribbon pumpkin from Pinterest. The original had you hot gluing ribbon on the pumpkins, but I decided to go with mod podge instead.
I found these cute tiny little pumpkins at HEB and I couldn’t resist. I knew they would be perfect for this project. I had a tiny bit of bat trim left over from 2 years ago (I think it was Making Memories?) and I bought some black ricrack and Martha Stewart washi tape from Joannes. Honestly, I was hoping to find more black trims at Joannes, but I had to settle for the washi tape instead.
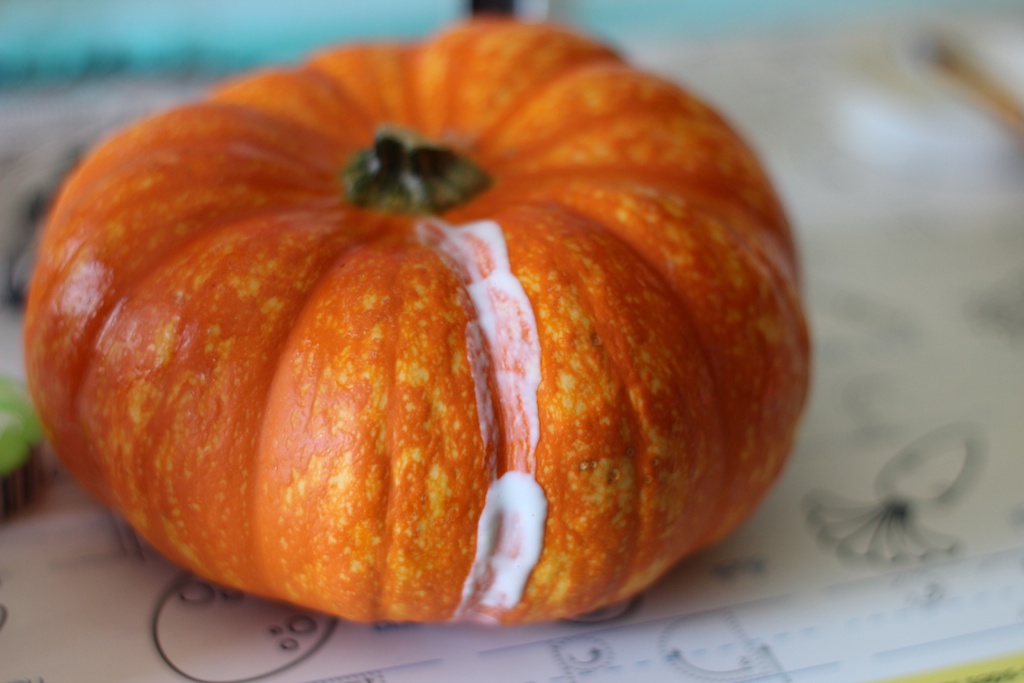
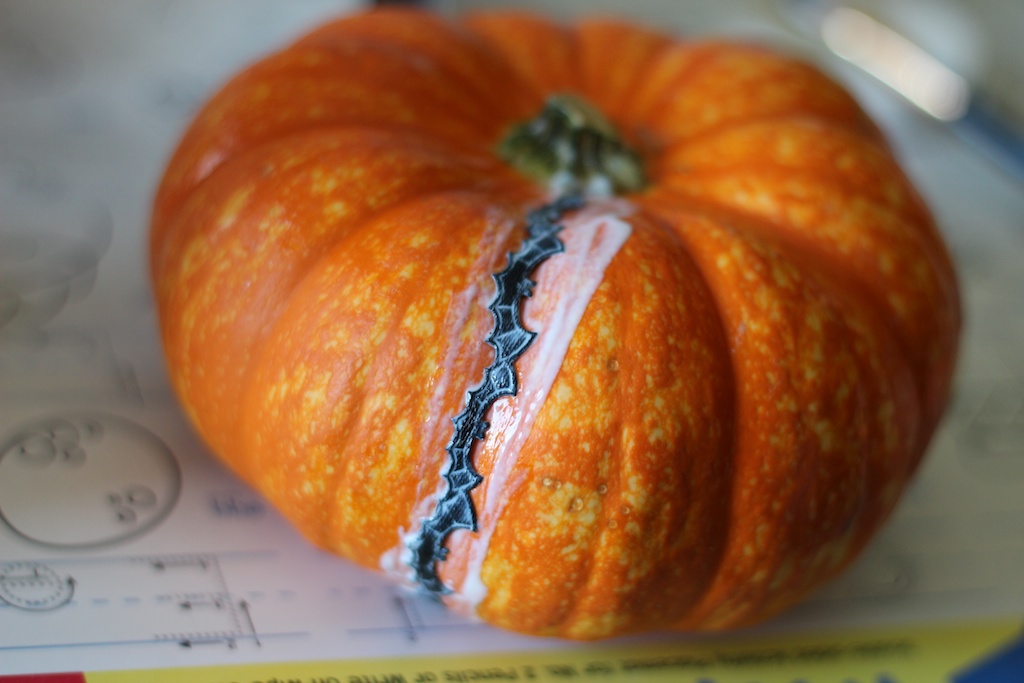
I painted a strip of mod podge on the pumpkin and then set the first piece of trim in one of the grooves.
Then I painted more mod podge over the top. Side note: I love mod podge. It is seriously stinky, but it’s awesome.
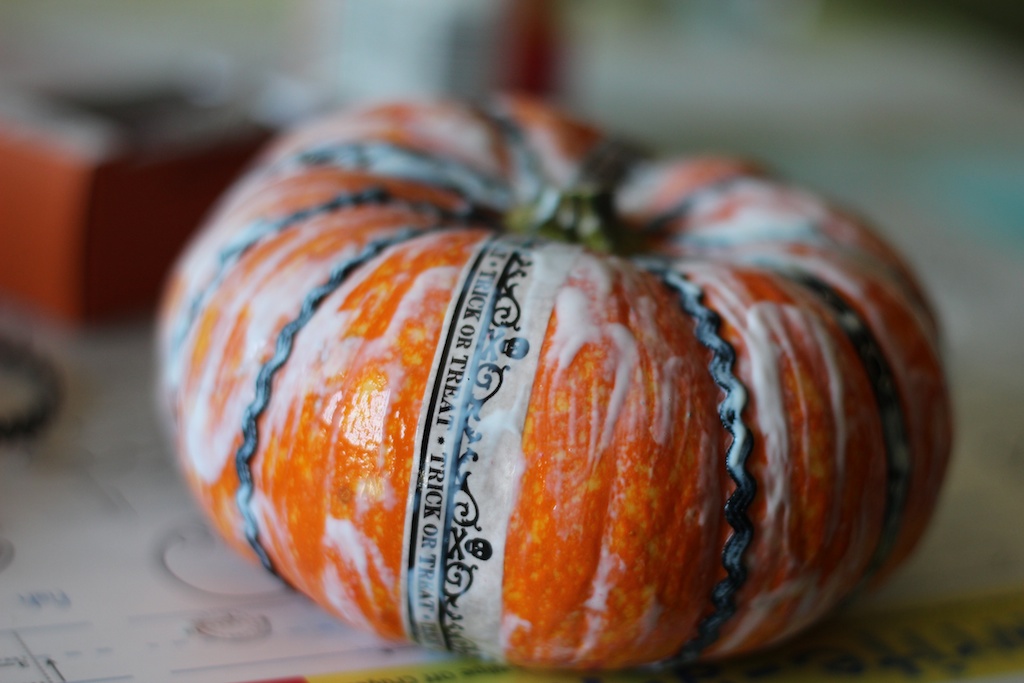
After the bats, I added the ricrack.
Then I added the washi tape and painted a coat of mod podge over the entire pumpkin. The trim worked a lot better than the washi tape, but I’m still pleased with the look of the pumpkin overall.
And yes, I use the Valentine’s Day table cloth as a crafting table cloth.
