When I was pregnant with Kate (a million years ago!) I saw some homemade knock off taggie blankets in a cloth diaper store and I thought, I can make that. 🙂 It took a bit to figure out, (especially because it was pretty much the first thing I had ever sewn other than a scrapbook page) but I ended up pretty pleased with the result. Kate sleeps with it every night. In fact, it’s the blanket for her special bear, Boris (long story.)
It should become quite apparent at this point that I was *not* a sewer when I picked these materials. Both of these are a bit difficult to sew (understatement!) but the different textures are fun for babies. What compelled me to put these on the blog after all this time? Well, my awesome sister-in-law is pregnant with twin boys (so excited for her!) and I wanted to add something homemade to her baby shower gift so I decided to make 2 of these.
Initially, I wanted to make them coordinating and not identical (which is how their mom plans to dress them) but them I found this brown satin and blue minky.
After I found this awesome ribbon (that matched perfectly!), and I knew I had to use it. Since I didn’t have it in green and I bought it forever ago, I decided that identical blankets would be the way to go.
I cut the ribbon in maybe 3 inch strips, folded it in half and pinned them to the satin loops facing in. Don’t pin it to the minky! It’s way too stretchy, trust me.
I went with 3 ribbon loops across instead of 4 this time. When you use 4, they have a tendency to get caught up in the corner seams. 3 is *much* better. Trust me.
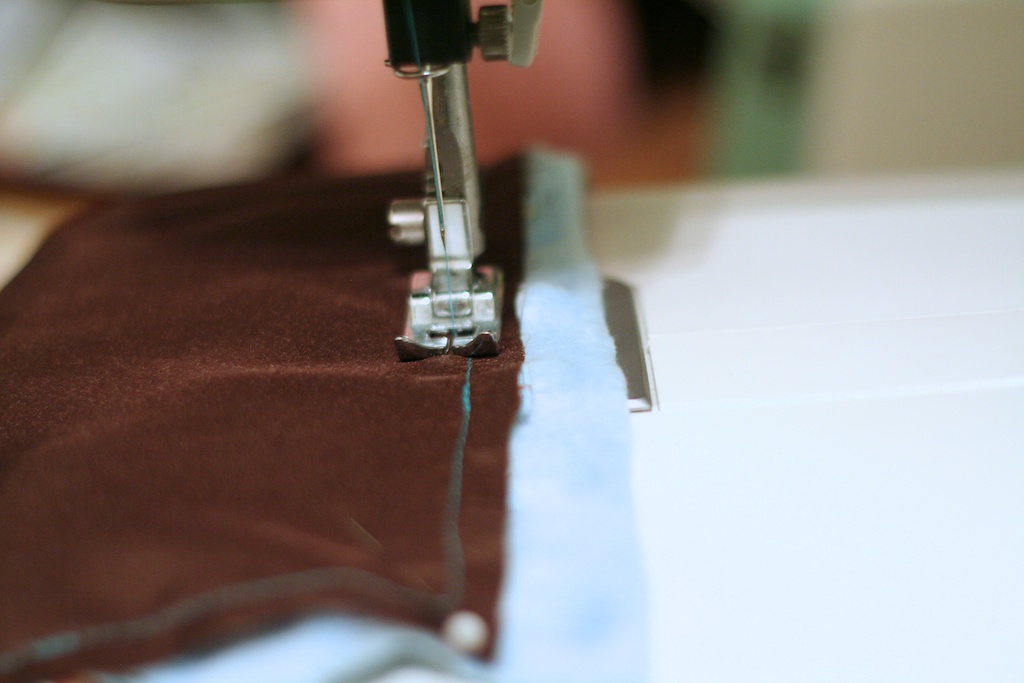
Stich once around the satin to catch all of the ribbon loops. I like to backstitch over them to make sure that the ribbon won’t be pulled out as the baby plays with it.
Once you’ve gone all the way around the satin, pin it to the minky right sides together and stitch around again. The minky will stretch out and get all out of shape, but that’s ok. Just use your satin as the guide and your final blanket will be square.
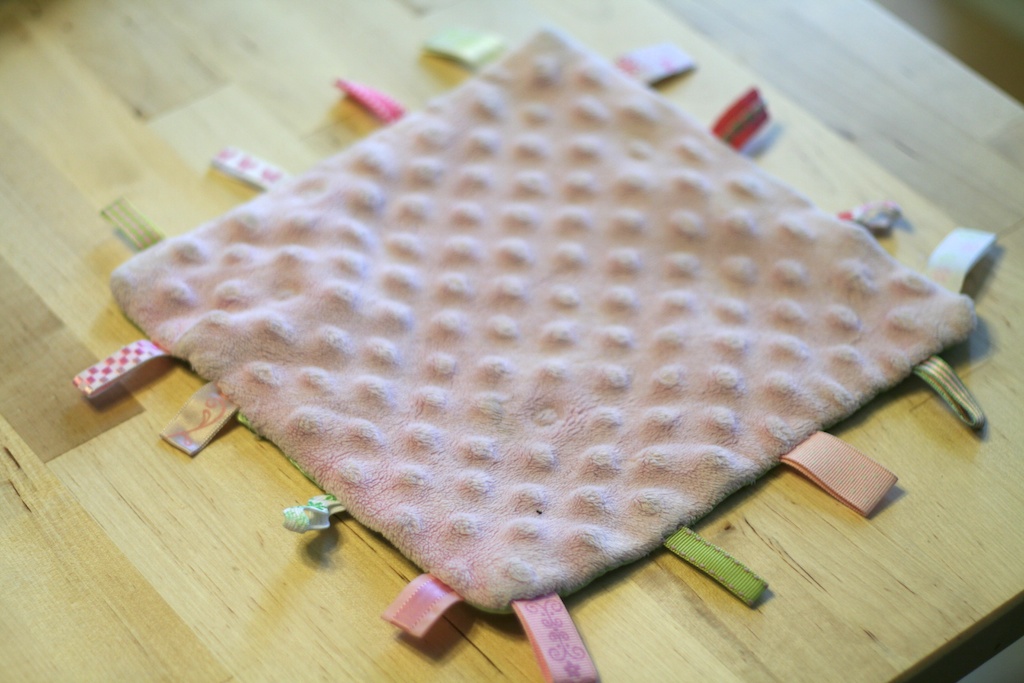
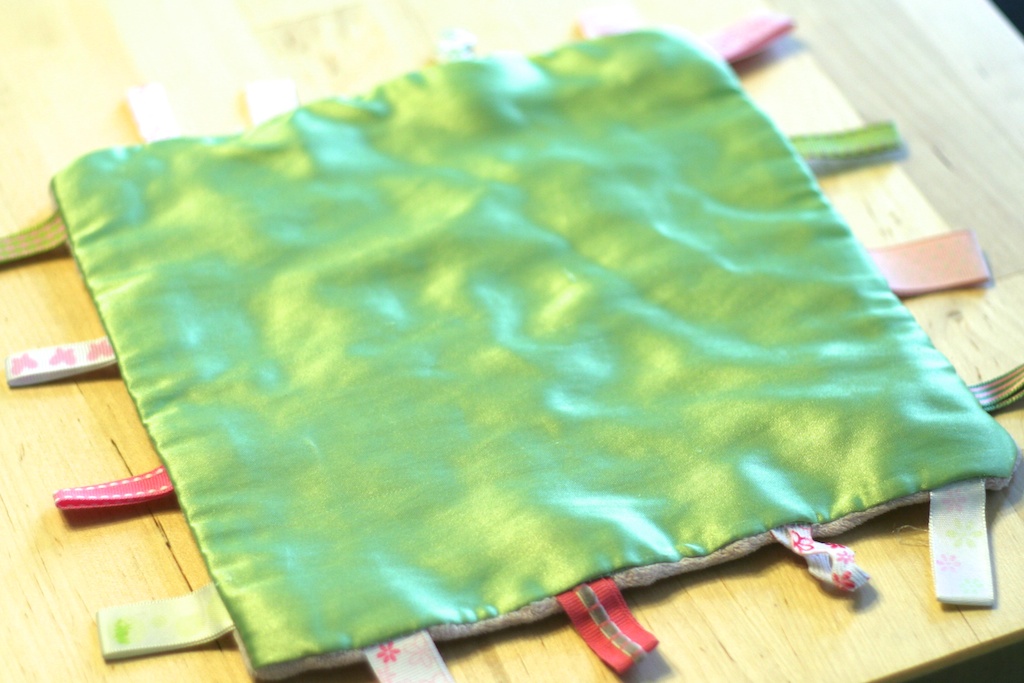
Leave a little spot to turn the blanket right side out and then hand stitch it closed. I’m pretty lazy with the hand stitching, so I only leave about an inch, maybe an inch and a half. I don’t have a picture of the blue ones, because I finished them right before the shower and forgot! Trust me though, they turned out really cute. 🙂 I’ll leave you with a picture of Kate’s instead.
After 2 1/2 years, it’s a little worse for wear, but I think it’s held up surprisingly well. Her’s is pink minky on one side and this green satiny stuff on the other side.
Brings back memories!


