For this minibook at least. I’m sure there will be more minibooks to come in the future. 🙂
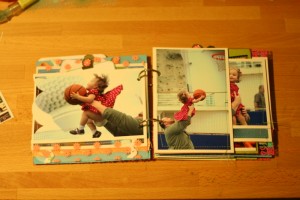
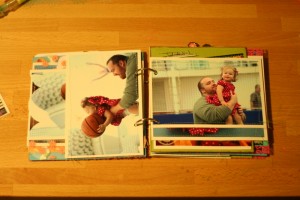
I take a ton of pictures. Seriously, a ton. So it’s hard for me to narrow them down for a project like this. Even after ruthless culling, I still wanted to include 7 photos of Kate and Michael playing on the basketball court deck. Instead of including 4 full 6×6 pages which I would then feel compelled to embellish, I adhered 3 sets of the photos back to back and included them as stand alone pages.
It was at this point that I realized that it would be much better to have 3 rings instead of 2. I wanted each picture to go through (at least) 2 rings so it wasn’t floppy, but I also wanted them spread apart so that you could see the next set of pictures peeking through. Mine are spaced as wide as they could be given the placement of the rings, but ideally I would have had them justified at the top and bottom. Next time.
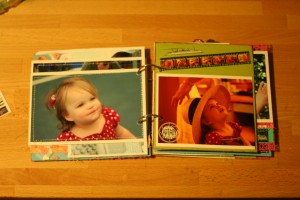
Once the book was assembled, I noticed that the photo only pages were kind of sticking so I took the book apart and added some quick stitching around the edges. The texture was an added bonus. You can see on the next page that I added some more film strip ribbon and a few more rubbons from my stash.
This project was so much fun! I actually completed it without buying anything which is a minor miracle for me. To be fair, I could probably open up a store with the amount of scrapbooking products that I have collected over the years. What can I say? Unlike clothes, paper is always the right size. 🙂


