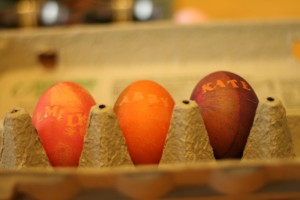
Oh my. For some reason, unbeknownst to me, I decided that it would be a good idea to dye Easter eggs. With Kate and the 2 girls I sometimes babysit. Welcome to crazy town. 🙂
First of all, if you’re planning to dye eggs, I recommend buying the cheap white eggs, not organic brown eggs. Mistake number one. I decided to forge ahead anyway. Nothing could make me return to the train wreck that is HEB until I absolutely had to. Like say, we run out of diet coke. Or wine.
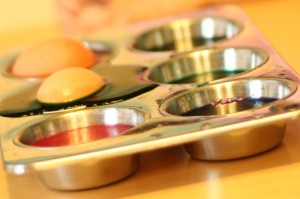
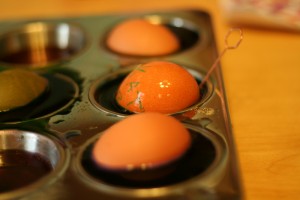
I found this great idea on Pinterest (which I am totally addicted to by the way) to put the dye in a muffin tin. We’ll go ahead and call that mistake number two.
I’m getting ahead of myself though. First I cut each of the dye tabs in half so that I could split the dye between 2 sets of muffin tins for the 2 big girls. I was feeling so optimistic a this point. ::sigh::
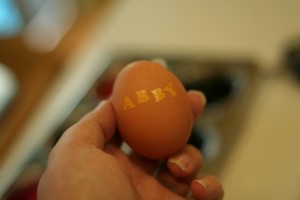
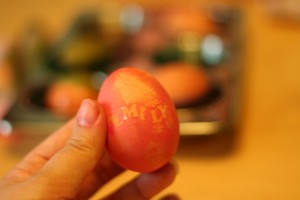
I decided to put stickers to spell out the girls’ names on the eggs. The plan was to remove the stickers after the eggs sat in the dye bath. As you can see, Kate is more than ready to get this show on the road.
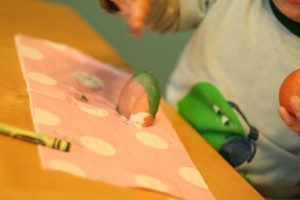
Michael decided to try a crayon resist. Probably would have been a good idea not to use washable crayons. It did work as a resist, but all of the color was leached out. We’ll call that mistake number 3.
Turns out that the crayon color disappearing was just the beginning. I was trying to dry the egg and the dye started rubbing off. OK, at this point it was just getting comical. What are we up to at the point, 4, 5?
Hmm… I’m just going to go with “shabby chic”. 🙂 Kate just could not help herself, she had to bang the eggs on the table. It was pretty funny.
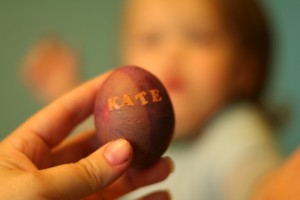
Kate’s name egg turned out the best because it was in the darkest dye bath, but I think they all turned out pretty cute. Bottom line: we had a lot of fun, but we’re not going to be winning any egg decorating contests. 🙂
